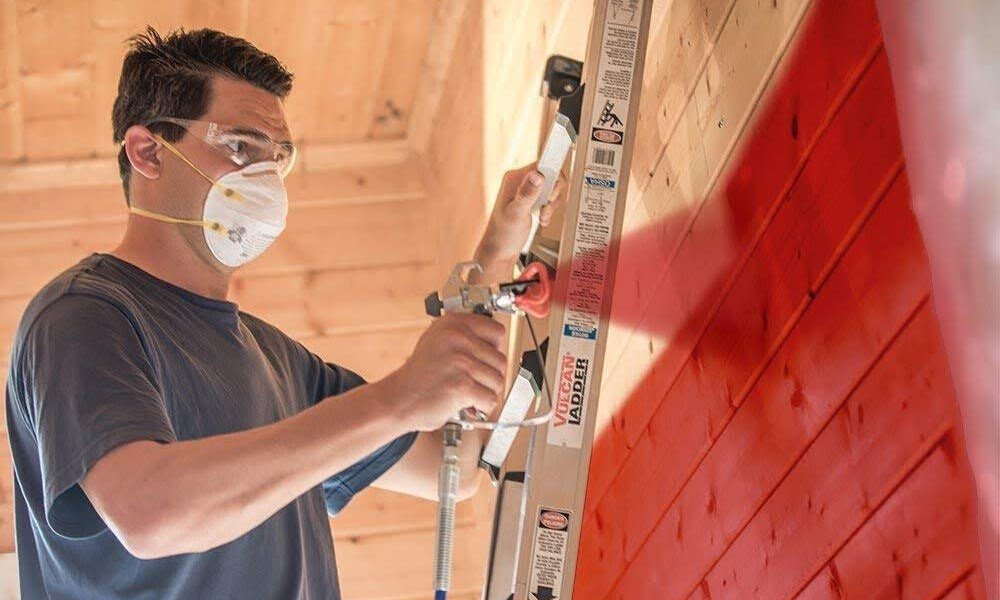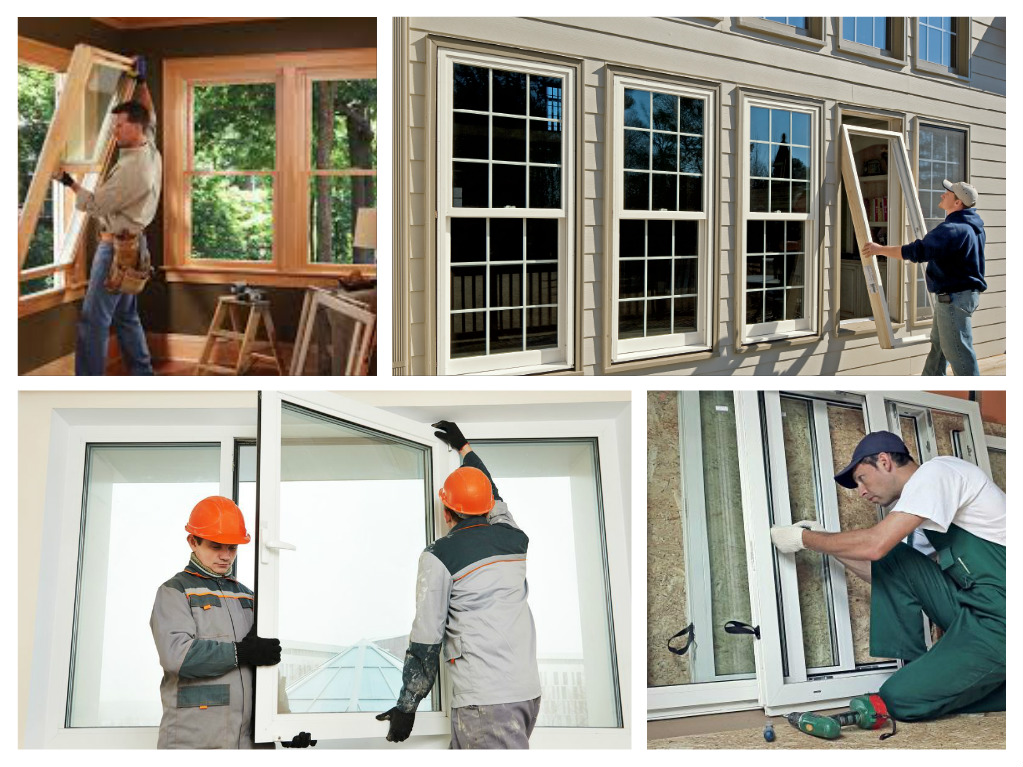
You may have received a scarily high estimate from your local window and glass replacement specialist, or you may just be a DIY enthusiast – there are many reason why you may decide to tackle window replacement on your own. It’s no wonder – the job can be done by almost anyone with the right tools and the following handy guide!
1. Make Sure You Choose the Correct Type of Window
You are not looking for the kind of window that is installed in a new structure, but purpose-build replacement windows, which are also known as insert or pocket windows. These are precisely for fitting into your existing frames, and have no nailing fins.
2. Be Careful With Your Measurement Accuracy
Remember, over time your windows will become warped and weathered, which will make the measurements vary from between the top, the middle and the bottom of the sashes. Always measure from the inside, and use your smallest measurement as your control, as your shims and stops will fill the gaps if there are any.
3. Take it Easy on the Old Components
The last thing you want to do when replacing your windows is to damage the material of your existing frames, as this can end up costing you a whole lot more when the whole frame needs to be repaired or replaced. Be gentle with your craft knife or screwdriver when you pry the stops and trim away from the frame. Don’t throw them away, but hang onto them, as you will be needing them later.
4. Be Extra Careful with the Sash Mechanisms
Once the sash has been removed, you need to remove any other chords, pulleys or chains which remain, in order to make space for the new window. Don’t take the outer stops, but clean up the interior to prepare it for the new pane.
5. Start With a Dry Run
Get an idea of how the pane will fit by setting it into the space using your shims, before applying any putty or caulk.
6. Use Shims to Get a Perfect Fit
Shimming is essential for ensuring that your panes fit your window frames snugly – as a weather tight fit is vital for energy-efficiency.
7. Don’t Forget to Take Out the Packing Clips
Insert windows come with supporting clips which help you align them right. Don’t forget to remove them before you install the windowpane.
8. Ease the Windowpane into Place
First apply a small bead of caulk and then gently ease the window into the space. Use your shims as guides, leaving them sticking out slightly for easy removal later. Do not tighter the mounting screws too much. Position the header to fill any space between the window and the frame, and then screw it firmly in place.
9. Put Your Installation to the Test
Before you add the finishing touches, give your fitment a stress test to ensure that the sashes slide smoothly and are not too tight or too loose.
10. Seal with Caulk and Finish with Stops
Now, all that remains is for you to complete the installation by caulking the windows from the inside. This is when you fit those stops you hung onto, by installing them with small finish screws.