Brick, is everywhere, you’ll find it in the walls of your house, garden walls, and a host of other applications. In general, it is a great material for building with, brick is strong and durable. However, if you have an external brick wall you’ll know that the weather can take its toll on the cement between the bricks.
In the first instance, this will make the wall look old and uncared for. But, a lack of cement between the bricks will also weaken the wall, and the longer it is left the worse this will become. In short, you need to remove the old cement and replace it, a process known as repointing.
Plan First
Before you can start the repointing you need to consider whether you have the time and the tools available or if you are better off getting a professional to undertake the brick repointing.
If you decide this is something you can do yourself then you need to note it is a time consuming process and you will need several tools, including a hammer, chisel, cement mixer, and access.
Take a good look at the wall you are repointing, you are going to need to access all of it and that may mean ladders or scaffolding.
Having everything ready beforehand will make the process easier.
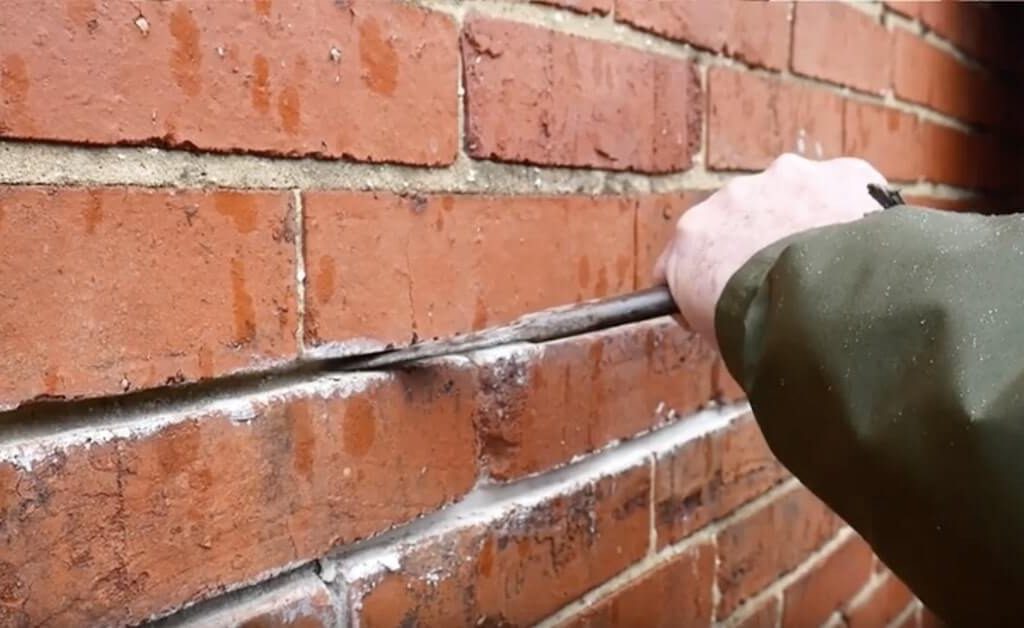
Remove The Mortar
You’ll want to use your hammer and chisel to remove the mortar between the bricks. It is best to remove at least an inch of the mortar to provide the new mortar with good contact points. Simply place your chisel against the mortar and start hammering. But, you should only do a small area, roughly the size that you’ll be able to mortar in one go.
Adding Mortar
You’ll need to use the same mortar mix as was originally used on your house. This is usually just sand and cement but some properties used lime. Once you’ve mixed your mortar spray the bricks that you are repointing. This helps the mortar to stick and not dry out too quickly.
Push the mortar right into the cracks to ensure it is against the existing mortar. It is better to do thin layers and let them dry a little before you add the next one.
Once you have completely filled the gap you can let it almost completely dry and then wipe the excess mortar away to give a perfect finish.
Sealing Up
Your mortar needs to be sealed to protect it from the elements. The best way to do this is to make the joints concave or V-shaped, this prevents water from being able to sit on them and will help the new mortar to last for years.
If this is the first time you are doing this it is a good idea to practice on a small area first, even if you have you do it several times until you are comfortable with the finish. It will make the overall result much better.