White oak hardwood floors are a popular choice among homeowners due to their natural beauty and durable nature. Over time, however, wear and tear, foot traffic, and the accumulation of dirt and stains can take a toll on their appearance. This is where refinishing comes into play.
Overview of White Oak Hardwood Floors
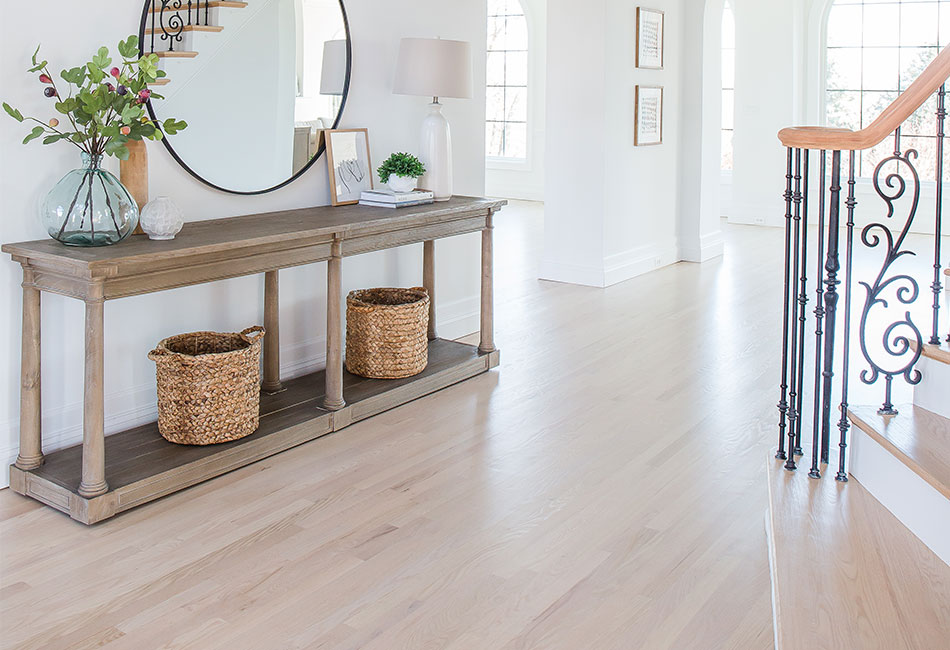
White oak hardwood floors are known for their timeless beauty and durability. These floors are characterized by their natural color variation, which adds depth and visual interest to any space. White oak floors can range in color from pale tones with hints of yellow to rich medium browns. This variation in color adds uniqueness and charm to each plank, creating a stunning visual impact.
Choosing white oak flooring with low, medium, or natural variation allows homeowners to achieve different aesthetic results. Low variation floors have a more consistent color throughout, providing a sleek and modern look. Medium variation floors have a moderate range of color tones, creating a warm and inviting atmosphere. Natural variation floors showcase the full range of colors found in white oak, giving a rustic and organic feel to the space.
Refinishing white oak hardwood floors offers an opportunity to enhance their natural beauty and restore their original luster. By sanding down the existing finish and removing any excess stain, the floors can be brought back to their former glory. Homeowners can then choose from a variety of stains and finishes to achieve the desired color palette, ranging from light and airy tones to rich and dark hues. Whether it’s a light wash stain for a coastal aesthetic or a deep ebony stain for a dramatic effect, refinishing white oak floors allows for endless possibilities in creating beautiful and personalized floors.
Preparing for Refinishing
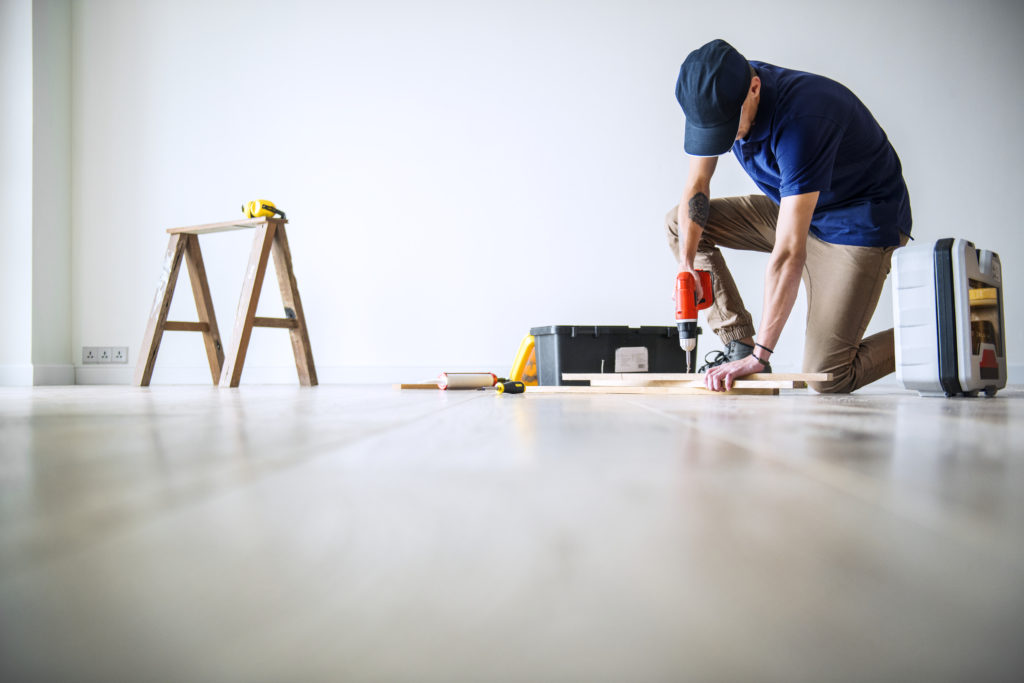
Before refinishing white oak hardwood floors, it is important to properly prepare the room to ensure a successful and smooth project. Follow these steps to get your space ready:
- Remove all furniture: Start by removing all furniture from the room. This includes chairs, tables, rugs, and any other items that may be in the way during the refinishing process. This will provide a clear and spacious area to work with.
- Cover vents with painter’s tape: To prevent dust and debris from entering your HVAC system, cover all vents in the room with painter’s tape. This will help maintain a clean and healthy environment during the refinishing process.
- Number and remove base molding: Use a pry bar to carefully remove the base molding around the perimeter of the room. It is important to number each piece as you remove it, so it can be easily reinstalled later. Removing the base molding will allow for better access to the edges of the floor and ensure a seamless finish.
- Nail down any loose boards: Inspect the floor for any loose or squeaky boards. Secure them by nailing them down with finishing nails. This will prevent any movement during the refinishing process and result in a sturdy and even surface.
- Consider future remodeling plans: Take into consideration any future remodeling plans that may affect the floors. If you are planning to make changes to the kitchen or bathroom, it is advisable to complete those projects before refinishing the floors to avoid any potential damage or the need for touch-ups later on.
By following these steps and properly preparing the room, you can ensure a successful refinishing project and achieve beautiful results for your white oak hardwood floors.
Removing Excess Stain and Finishes
Removing excess stain and finishes from white oak hardwood floors is an essential step in the refinishing process. Properly preparing the floor surface and using the appropriate tools and techniques ensure a successful outcome.
To begin, it is crucial to thoroughly clean the floor and remove any dust or debris. This can be done by vacuuming or sweeping the area. Next, inspect the floor for any excess stain or finishes. Excess stain can be removed by lightly sanding the surface with a fine-grit sandpaper. Be careful not to dig too deeply into the wood as this can cause damage.
If there are multiple layers of finish on the floor, it may be necessary to use a chemical stripper. Follow the manufacturer’s instructions carefully and apply the stripper evenly to the floor. Allow it to sit for the recommended amount of time to dissolve the finishes, then use a scraper to gently remove the old finishes. Be sure to work in small sections and keep the scraper at a slight angle to avoid damaging the wood.
After removing the excess stain and finishes, thoroughly clean and dry the floor before proceeding with the refinishing process. This will ensure that the new finish adheres properly and results in a beautiful and durable finish.
Applying New Finishes
Once the white oak hardwood floors have been cleaned and prepared, it is time to apply the new finishes. There are various types of wood finishes that can be used, including oil-based polyurethane and water-based polyurethane. Both options offer durability and protection for the floor.
When applying finishes, it is recommended to start with a quality wood finish such as oil-based polyurethane. This type of finish enhances the natural beauty of the wood and provides a protective layer. Apply the first coat with a brush or roller, following the manufacturer’s instructions for drying times.
After the first coat has dried, lightly sand the floor with a fine-grit sandpaper to smooth out any imperfections or brushstrokes. Vacuum or sweep away any dust before applying subsequent coats. It is generally recommended to apply at least two to three coats of finish for optimal protection. Allow each coat to dry completely before applying the next.
For those who prefer a more eco-friendly option, water-based polyurethane can also be used. This type of finish dries faster and has a lower odor compared to oil-based polyurethane. The application process is similar, with multiple coats and drying times in between.
Applying new finishes to white oak hardwood floors not only enhances their appearance but also ensures their longevity. Remember to follow the manufacturer’s instructions for each specific product and allow ample drying time between coats. With the right finishes and proper application, the result will be beautiful and durable white oak floors that will stand the test of time.
Final Steps for Refinishing White Oak Hardwood Floors
After applying the multiple coats of the chosen finish and allowing ample drying time, the final steps for refinishing white oak hardwood floors involve cleaning, applying the final finish, and removing any plastic sheeting.
To prepare the floors for their final finish, it is crucial to clean them thoroughly. Remove any dust or debris by vacuuming or sweeping the entire floor surface. This step ensures a smooth and pristine finish.
Next, it is essential to ensure proper drying time. Allow the final coat of finish to dry completely, following the manufacturer’s instructions. This step is crucial to achieve a durable, long-lasting finish and to prevent any damage to the freshly refinished floors.
Once the drying time is complete, it’s time to apply the final finish. Whether using oil-based polyurethane or water-based polyurethane, apply the final coat with a brush or roller, following the manufacturer’s instructions. Take care to apply an even and smooth layer to create a beautiful and protective finish.
Lastly, carefully remove any plastic sheeting or protective covers from the surrounding areas. Dispose of them properly, ensuring that no residue or debris is left behind.
By following these final steps, your white oak hardwood floors will have a stunning and long-lasting finish, enhancing the natural beauty of the wood while providing excellent protection against daily wear and tear.


