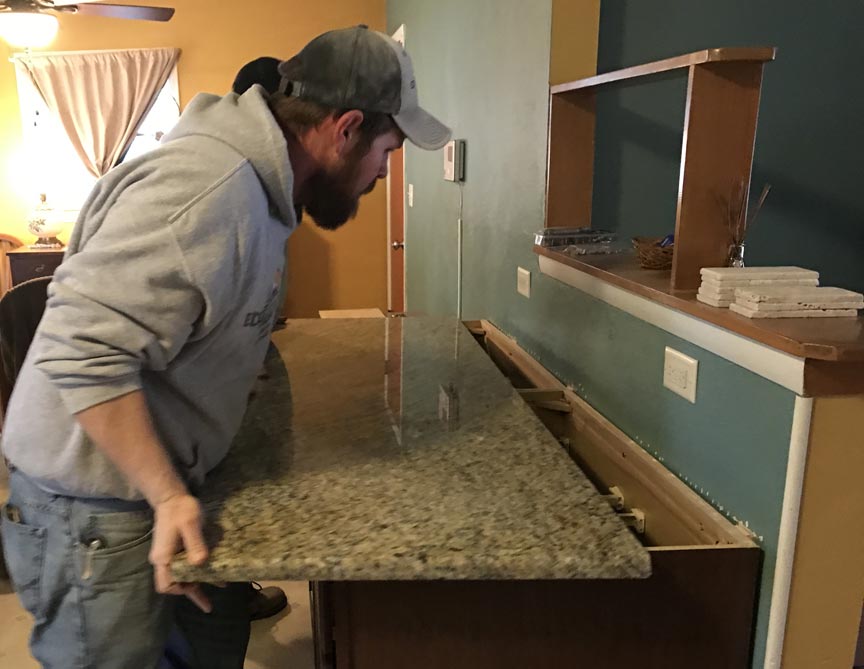
Some elements of your home can create a great impact without being too obvious, and one of them is your countertop. Whether it is in the kitchen or bathroom, with the proper materials and color choices, it can anchor the décor of your house altogether. However, the fit and finish of the countertops are really important.
Getting the right countertop measurements will not only give you a great fit but will also let you have the most accurate estimate to see that it fits your budget. The only way to get this done is to know how to measure your countertops correctly.
Don’t worry; learning how to measure the countertops properly and accurately is easy. All you need are a few simple tools and basic math to measure, sketch and make a rough estimate.
Whether you are looking for epoxy or quartz countertops or any stone surfaces, read this post byCaesarstone before buying. Additionally, knowing how to measure the counter space properly can go a long way. It can help figure out the cost of your renovation project. In this article, you will learn how to measure countertops correctly.
Important Considerations that Could Impact Your Countertop Measurements
To get the right type of countertop and the right price, you need to give some important details to your supplier. This information includes the surface, size, area in square feet, location of your appliances like dishwasher and stove, cutout size, and other unique factors that could impact your total estimate.
As mentioned, to get an accurate estimate of how much your countertop would cost, you need to calculate its total surface area, including the area when your cooktop and sink are. Why is this included? Because this portion will be cut out during its installation.
The best approach in measuring your countertops is to treat them in rectangular sections. A galley kitchen, the most common kitchen design, has two rectangular sections facing each other across the aisle. It is the easiest to measure as you take only the dimensional length and width and then convert the figure into the square foot.
The most challenging designs to measure are L-shaped and U-shaped countertops. However, it will be easy if you section them into smaller rectangular chunks. And it is dividing and conquering from there. The same technique can be applied to countertops with right-angle layouts as well.
However, you cannot use the same technique for countertops with corner sinks. This is a bit tricky because you have to create an imaginary extension across your sink area, and that wasted material is included in the cost.
Tools You Need for Accurate Countertop Measurements
Now that you understand how to measure your countertop, the next thing you should know is the tools you use. Some of these items are already in your supplies, and if they are not, they are inexpensive, so better buy some.
Tape measure: The best type of tape sure is the one that is retractable and with a steel blade. It is easy to read, even up to a fraction of an inch. Get a tape that reads in inches and breaks into foot increments. They are easy to calculate later.
Graph paper: You can still use bond paper, but it is convenient and more accurate to have graph paper. They have quarter-inch squares that are perfect with imperial measuring.
Pencil: Use a pencil instead of a pen because it is easier to erase when you make a mistake with your measurements.
Calculator: Unless you are a math genius, you need a calculator to multiply and divide your figures. There is no need for complicated calculators. A basic one will do.
Helper: You definitely need another set of hands and eyes to measure your countertops accurately. A helper will come in handy when you need someone to hold the tape and record the measurements.
Step By Step Procedure on Measuring Countertops
Step 1. Begin by making a rough drawing of your countertop layout/s. Your sketch will be important in measuring new countertops—it will serve as a blueprint, and you can add the details as you move along. Include in the drawing the doorways and the walls in the room.
Step 2. Break the counter spaces into rectangular blocks and label each. Keep the larger rectangles as it is and make a few breaks as possible.
Step 3. Mark where your sink and appliances are in this outline.
Step 4. Measure. Here you need to work on two main dimensions: the length (lateral run across the counter surface) and the width (the depth from the back of the wall to the front). If you have an island layout, the length is the longest while the width is the shortest. Don’t forget to include the sinks, cooktops, backsplashes, and faucets. The overhangs and eating bars should also be included.
Step 5. Transfer the measurements to your graph paper. You need to keep the label as it is to help you keep track of each zone when describing the layout of the countertop to your supplier. Convert the fractions into decimals and calculate the square footage.
Measuring Odd-Shaped Countertops
A simple rectangular-shaped countertop is easy to measure as the procedure remains the same. The challenge, however, is in odd-shaped countertops like wavy edges or curves. If you have this kind of countertop, divide it into rectangular sections. To get the surface area, multiply the length by the width.
Key Takeaways
This countertop measure will serve as the basis to get an estimate. We suggest leaving the measurements to the pros as they can recommend the best location for your overhangs and heights for the backsplashes. They will also provide you with unusual countertop projects that you find challenging to do. Some projects can be done DIY, but a countertop is a significant investment. You might as well let the pros do it.