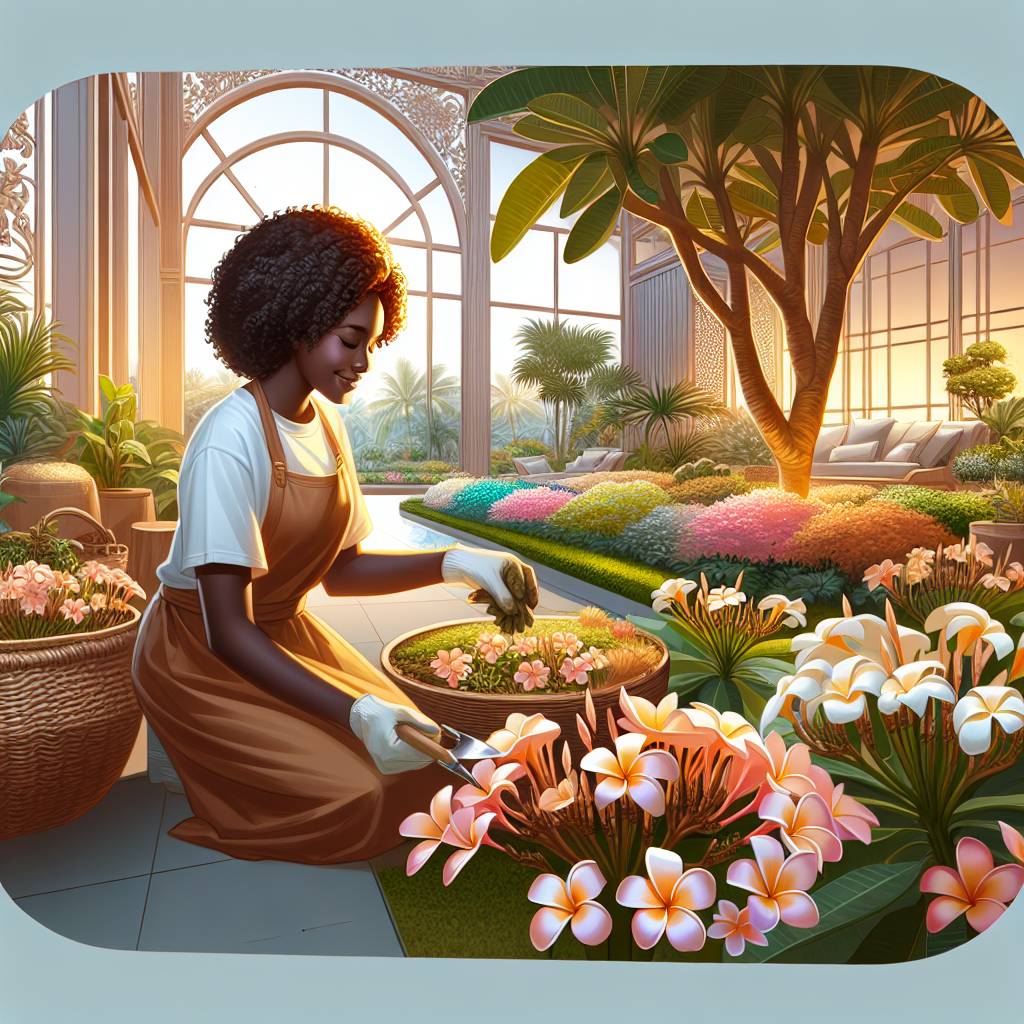
Plumeria plants, with their vibrant and fragrant flowers, are popular choices for Atherton’s luxury landscapes and gardens. Propagating these beautiful plants allows enthusiasts to expand their collection or share them with friends and family.
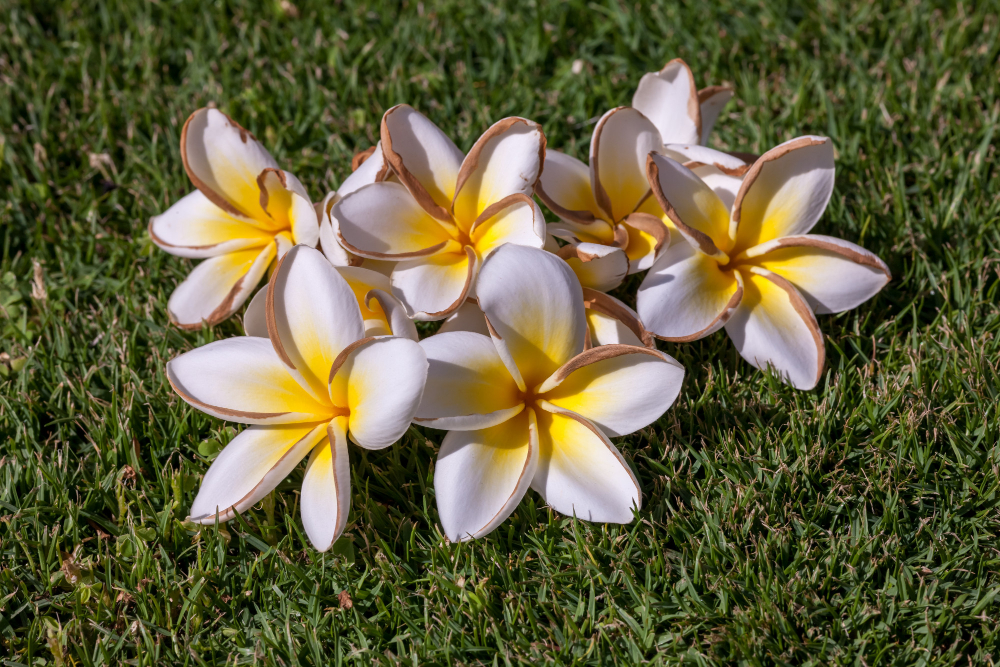
Plumeria, also known as frangipani, is native to tropical and subtropical regions of Central America, South America, and the Caribbean. Revered for its exotic beauty and intoxicating fragrance, plumeria holds cultural significance in various traditions and ceremonies.
Propgation Techniques for Plumeria Plants
Cutting
Tip Cuttings:
Tip cuttings are taken from the ends of branches and are commonly used for plumeria propagation.
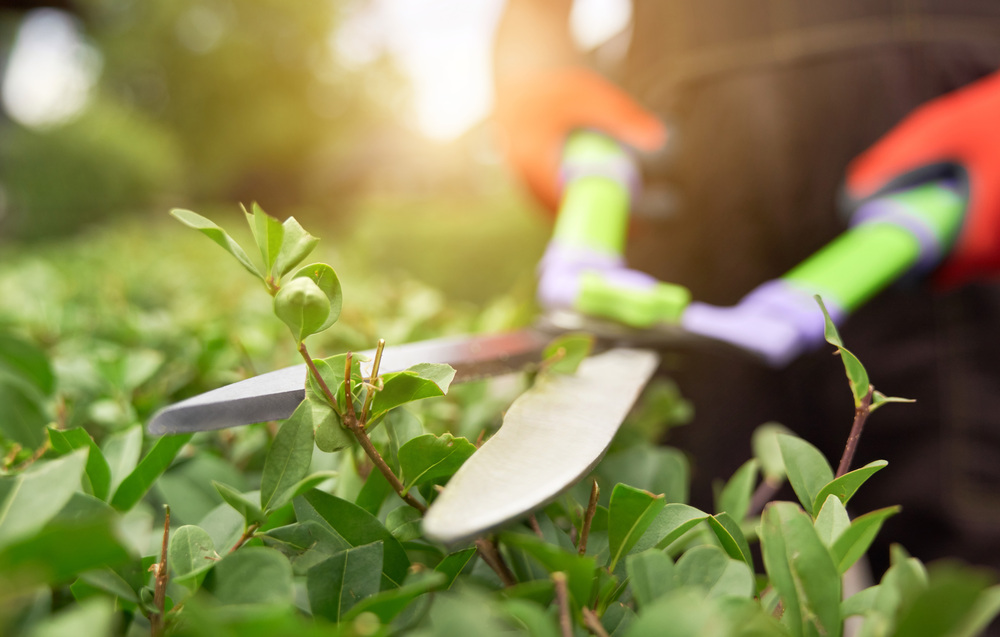
1. Selecting Healthy Branches: Choose a healthy branch with a length of about 12 to 18 inches. Look for branches that are free from pests, diseases, or damage.
2. Making the Cut: Using sharp, clean pruning shears, make a clean cut just below a leaf node (the point where a leaf is attached to the stem). This ensures a clean and precise cut, promoting healthy growth.
3. Preparing the Cutting: Remove any leaves or flowers from the lower part of the cutting, leaving a few leaves at the top. This helps reduce moisture loss and encourages root development.
4. Callusing: Allow the cutting to callus for a few days before planting. Place it in a warm, dry location to promote callusing, which helps prevent rot when the cutting is planted.
Branch Cuttings:
Branch cuttings are longer sections of stem that include multiple leaf nodes. This technique is suitable for larger plumeria plants.
1. Choosing Branches: Select a healthy branch with a length of about 18 to 24 inches. Ensure that the branch is free from any signs of disease or damage.
2. Cutting the Branch: Cut the branch into sections, ensuring that each section has at least two or three leaf nodes. Use sharp pruning shears to make clean cuts, and remove any leaves or flowers from the lower part of each section.
3. Callusing: Allow the cuttings to callus for a few days before planting. This step is crucial for promoting root development and preventing rot.
Propagation from Branch Segments:
This method involves using larger segments of plumeria branches, often used when pruning larger plants or during re-potting.
1. Selecting Segments: Cut a branch segment that is at least 12 inches long and has multiple leaf nodes. Trim the segment to include a clean, straight cut at the top and a slanted cut at the bottom.
2. Preparing the Segment: Remove leaves from the lower part of the branch segment to reduce moisture loss and encourage root growth.
3. Callusing: Allow the branch segment to callus before planting. This step is essential for preventing rot and ensuring successful propagation.
Rooted Cuttings:
If you have access to plumeria plants with an established root system, you can take cuttings with existing roots to speed up the establishment of new plants.
1. Obtaining Rooted Cuttings: Locate plumeria plants with healthy root systems and take cuttings with existing roots. Ensure that the cuttings are free from pests or diseases.
2. Planting Rooted Cuttings: Plant the rooted cuttings in well-draining potting mix and provide proper care, humidity, and warmth to encourage root development and growth.
Soil and Environment
Plumeria plants prefer well-draining soil with good aeration. A mix of potting soil, perlite, and coarse sand is ideal for propagation. Ensure that the planting containers have drainage holes to prevent waterlogging, which can lead to root rot. Place the cuttings in a warm, dry location with indirect sunlight to promote root development.
Watering and Humidity
While plumeria cuttings require regular watering to establish roots, it’s essential to avoid overwatering, which can cause rotting. Allow the soil to slightly dry between waterings to prevent waterlogged conditions. Maintaining moderate humidity levels can also aid in successful propagation, especially in drier climates.
Temperature and Light
Plumeria cuttings thrive in warm temperatures ranging from 70 to 90 degrees Fahrenheit. Protect the cuttings from cold drafts and extreme temperature fluctuations, as they can hinder root development. Indirect sunlight is ideal for promoting growth without risking sunburn or heat stress.
Fertilization
Once the plumeria cuttings have established roots, you can begin fertilizing them with a balanced, water-soluble fertilizer. Dilute the fertilizer according to the manufacturer’s instructions and apply it every few weeks during the growing season. Avoid over-fertilizing, as it can lead to nutrient imbalances and damage to the plants.
Companion Planting
Complement your plumeria plants with companion plants that share similar growing requirements and aesthetics. Consider pairing them with drought-tolerant succulents, ornamental grasses, or flowering perennials like lavender, salvia, and gazania. This creates a luxury landscape design while providing additional color and texture.
Patience and Care
Successful propagation of plumeria plants requires patience and attention to detail. Monitor the cuttings regularly for signs of growth and adjust care practices as needed. With proper care and nurturing, your plumeria cuttings will develop into healthy, thriving plants ready to adorn your landscape with their stunning flowers.
Flowering Season
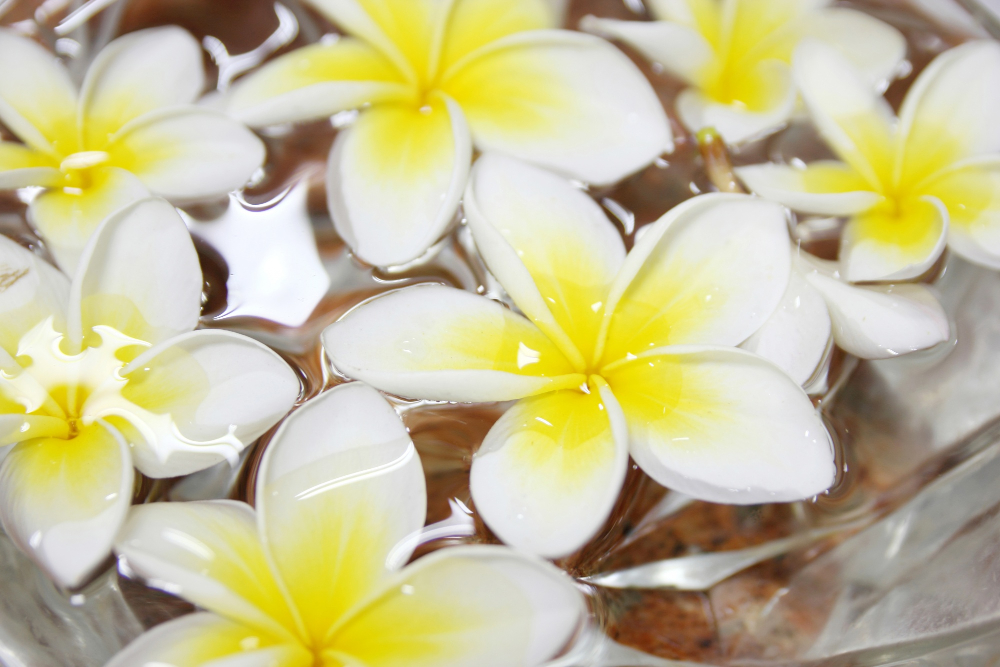
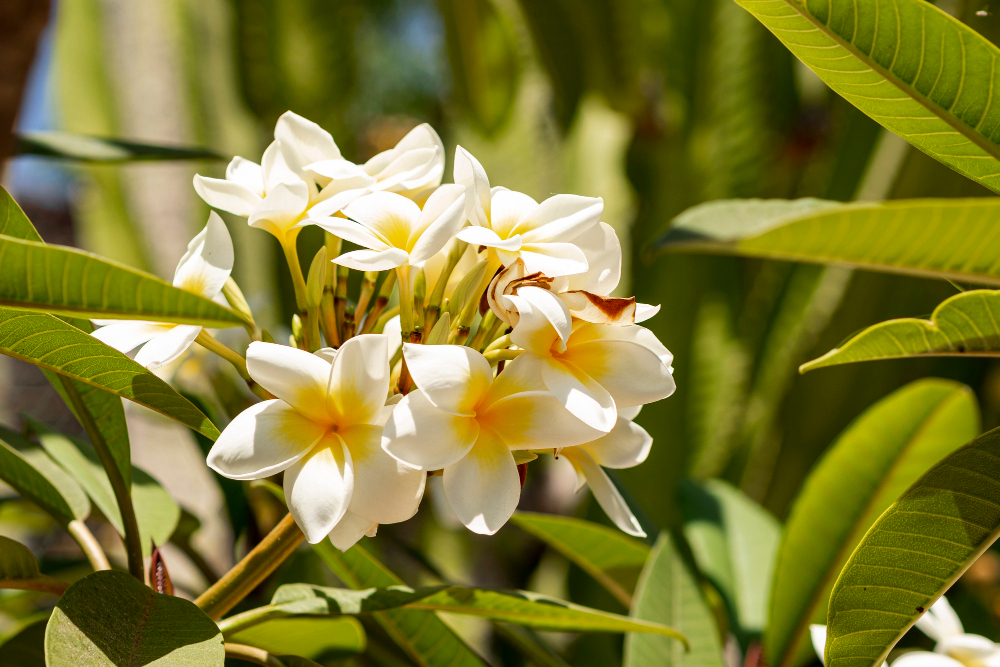
Plumeria plants typically bloom from late spring to early fall, producing clusters of fragrant flowers in an array of colors, including white, pink, yellow, red, and orange. The flowers feature waxy petals arranged in distinctive spiral patterns, attracting pollinators such as butterflies, bees, and hummingbirds. Some varieties exhibit color changes throughout the day, adding intrigue to their floral display.
Growth Habit and Size
Plumeria plants are small to medium-sized trees or shrubs that can reach heights of 15 to 25 feet in their native habitats. In cultivation, they are often pruned to maintain a more manageable size, making them suitable for containers or smaller landscapes. The branches grow in a symmetrical, branching pattern, with thick, succulent stems that store water for periods of drought.
Fragrance Profile
One of the most distinctive features of plumeria plants is their enchanting fragrance, which varies depending on the variety and environmental conditions. Some cultivars exude a sweet, floral scent reminiscent of jasmine or roses, while others emit a citrusy or spicy aroma. The fragrance intensifies during the evening hours, attracting nocturnal pollinators and delighting garden enthusiasts.
Propagating plumeria plants offers enthusiasts the opportunity to expand their collection and share the beauty of these stunning flowers with others. By following the techniques outlined in this guide and providing proper care and attention, you can enjoy a bountiful luxury landscaping in Atherton filled with flourishing plumeria plants. Experiment with different propagation methods and discover the joy of growing these beloved tropical beauties in your own backyard.