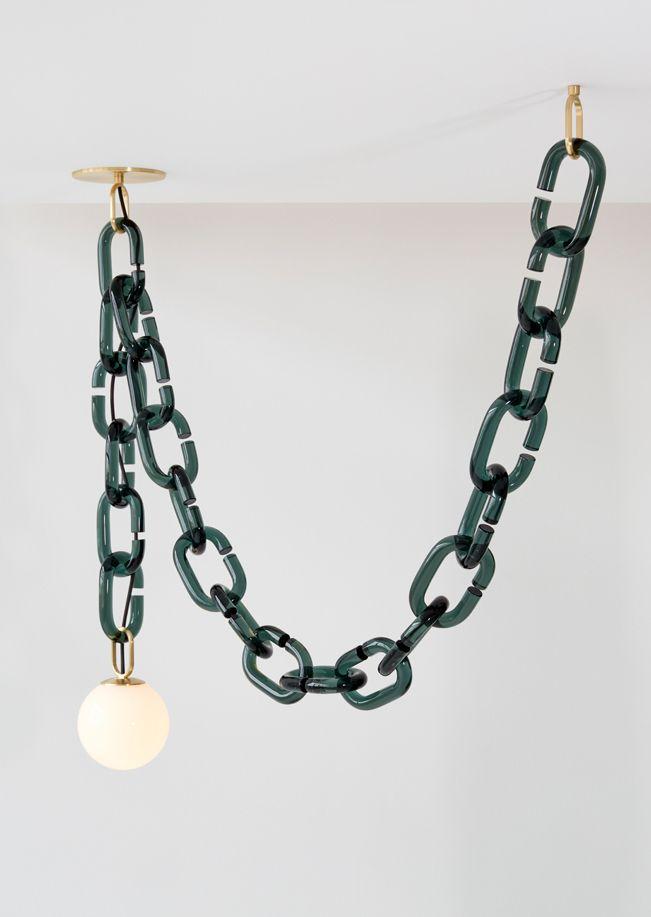
A chain-link fence is often the most functional part of a property – a pragmatic boundary that keeps things in place. Turned into a framework for light, however, it becomes something else: a lattice that catches and diffuses glow, an urban trellis where warmth and texture can grow. Chain-link lighting transforms hard lines into patterns of shadow and shine, softening edges and adding a layered sense of depth to gardens, balconies, alleyways and event spaces.
Decorating with lights threaded thru metal links is as much about composition as it is about bulbs. With a few thoughtful choices – around scale, color temperature, spacing and weatherproofing – you can shift a fence from anonymous infrastructure to a focal point that supports mood, safety and nighttime usability. Whether you aim for cozy suburban charm, industrial-chic drama, or subtle pathway illumination, chain-link lighting adapts to context and intent.This article will guide you through creative approaches and practical considerations: selecting the right fixtures and power sources, arranging lights for different effects, integrating greenery or fabric for contrast, and keeping installations safe and durable. Read on to learn how to make a fence do more than divide – to let it catch light and frame the night.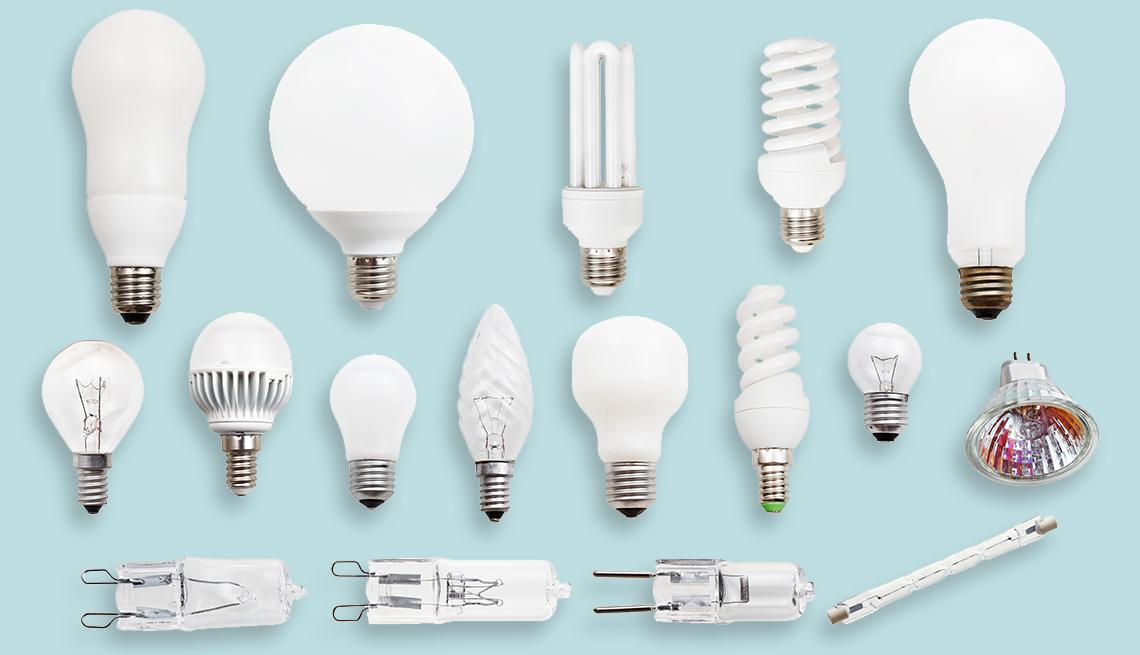
Selecting bulbs and fixtures for lasting outdoor sparkle
Think of your string lights as jewelry for the fence: you want pieces that flatter the space and survive the weather. Prioritize LED filament or globe bulbs for their long life, low heat and consistent color; aim for 2700-3000K to keep the glow warm and inviting. Check lumen ratings rather than watts-200-600 lumens per bulb covers most backyard moods-and buy bulbs with a CRI ≥ 80 for truer color.For outdoor resilience, choose fixtures and connectors rated IP65 or higher, rust-resistant finishes (stainless, marine-grade brass or powder-coated steel), and shatter-resistant glass or polycarbonate globes. If wiring is tricky, solar or battery-operated LEDs and smart, dimmable options let you control brightness and schedules without rewiring.
- Warm-white LED filament bulbs – long life, vintage look
- Frosted diffusers for even, soft sparkle
- Weatherproof sockets & swift-disconnect clips (IP65+)
- Rust-resistant fixtures and stainless mounting hardware
- Dimmers, smart plugs and surge protection for longevity
- GFCI protection and outdoor-rated extension cords
Mounting matters as much as the bulb: choose clips, S-hooks or tensioned cable systems that cradle the chain-link without pinching or chafing the cord. protect connections with silicone sealant boots and route cords to avoid standing water; simple maintenance-wiping lenses, rotating bulbs, and swapping a failed lamp-keeps the display bright for seasons.budget for bulbs with lifespans between 15,000-50,000 hours, keep a small stock of matching replacements, and use timers or smart controls to reduce run time and extend life. With durable fixtures, weatherproof connectors and a little seasonal TLC, your chain-link lighting will keep delivering that steady, lasting sparkle.
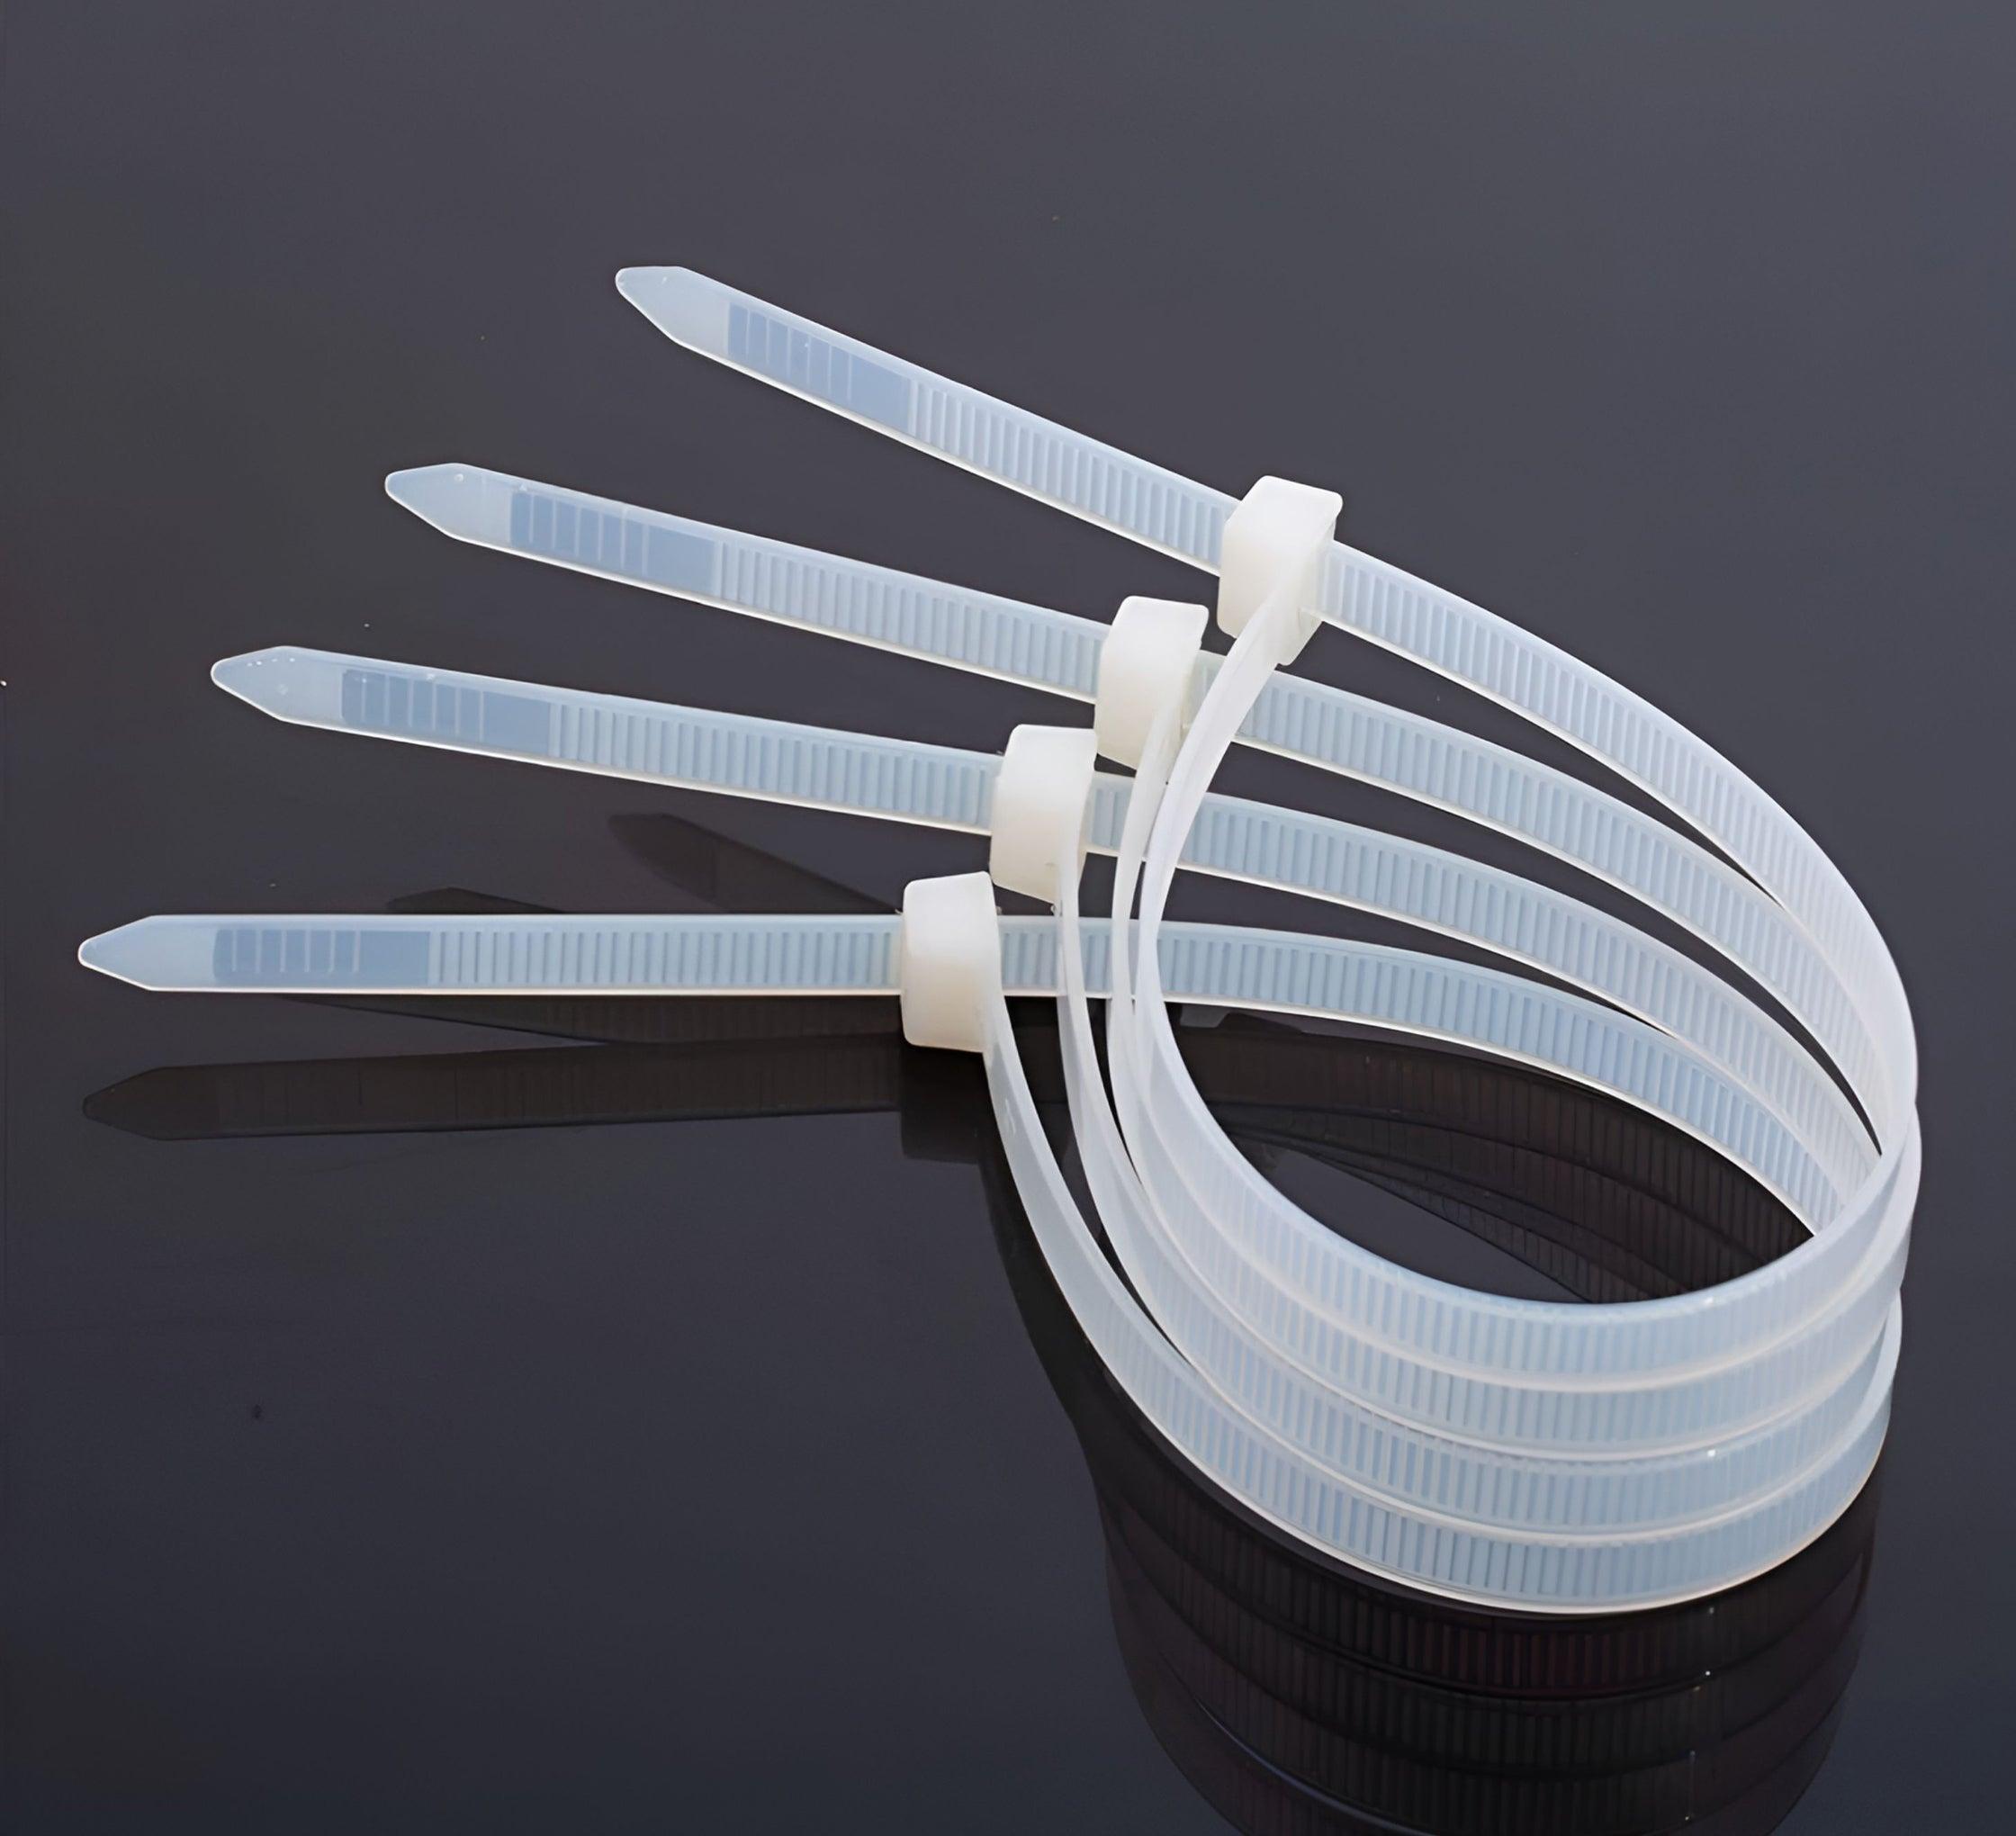
Plan your layout and attachment methods using zip ties S hooks and stainless steel clips
begin by sketching the route your lights will take and marking every anchor point - gates, posts, rafters and eaves – so you can visualize tension and sag before you climb a ladder. Measure twice,plan once: map outlet locations and run lengths,note wind exposure and the weight of bulbs or chains,and identify where you’ll want quick-release or permanent fixes. Strategic planning saves time and prevents unsightly bunching; consider short pilot runs or temporary clips to test spacing.
- Zip ties - inexpensive, fast, great for temporary or hidden fixes.
- S‑hooks – adjustable and easy to reposition without tools.
- Stainless clips - corrosion‑resistant and tidy for long‑term installations.
Mix attachment types for strength and versatility: use stainless clips where hardware will stay exposed to weather, zip ties where you need a discreet hold, and S‑hooks for sections that require frequent removal. Allow a little slack for thermal expansion and wind sway,and keep power connections accessible for maintenance. As you finalize the layout, run a quick checklist to ensure safety and longevity – don’t overtighten ties, verify load ratings, and choose UV‑stable materials for sunny spots.
- Spacing: evenly distribute supports every 18-36 inches depending on weight.
- Load: confirm anchors can handle combined tension and wind force.
- Durability: pick stainless or UV‑stabilized fasteners for outdoor use.
Power and protection considerations including GFCI outlets weatherproof cords and solar options
Think of your chain-link lights like tiny performers on a wet stage-give them proper wiring, a steady power source and a safe audience.Install outlets with built-in GFCI protection or mount a GFCI breaker on the circuit to cut power the moment moisture or a short is detected. Use only outdoor-rated, weatherproof cords and connectors-look for a wet-location UL rating-and create a drip loop at each connection so water runs away from plugs. Avoid running cords through sharp edges or under loose gravel, secure lines with UV-resistant cable ties or conduit, and test GFCIs monthly.Quick safety checklist:
- GFCI outlet: required near outdoor fixtures
- Weatherproof connections: use in-use covers and silicone sealant
- Correct gauge: match cord thickness to length and load
- Low-voltage LEDs: reduce current draw and heat
You can choose mains power, low-voltage transformers, or go off-grid with solar kits-each has creative advantages for a chain-link canvas. Mains with a GFCI is the simplest for long runs; low-voltage systems add safety and easier decoration because they tolerate closer bulb spacing; solar options free you from cords and make temporary displays effortless,especially when paired with compact battery packs.Consider smart timers or motion sensors to save energy and add ambience. Quick comparison:
| Power Type | Best for | Note |
|---|---|---|
| Mains + GFCI | Permanent displays | Reliable,needs conduit |
| Low-voltage | Dense LED strands | Safer,less power |
| Solar + battery | Temporary/remote | Cord-free,weather-dependent |
Follow simple habits-elevate plugs,use rated splitters,and keep spare fuses-and your chain-link installation will glow beautifully and safely through seasons.
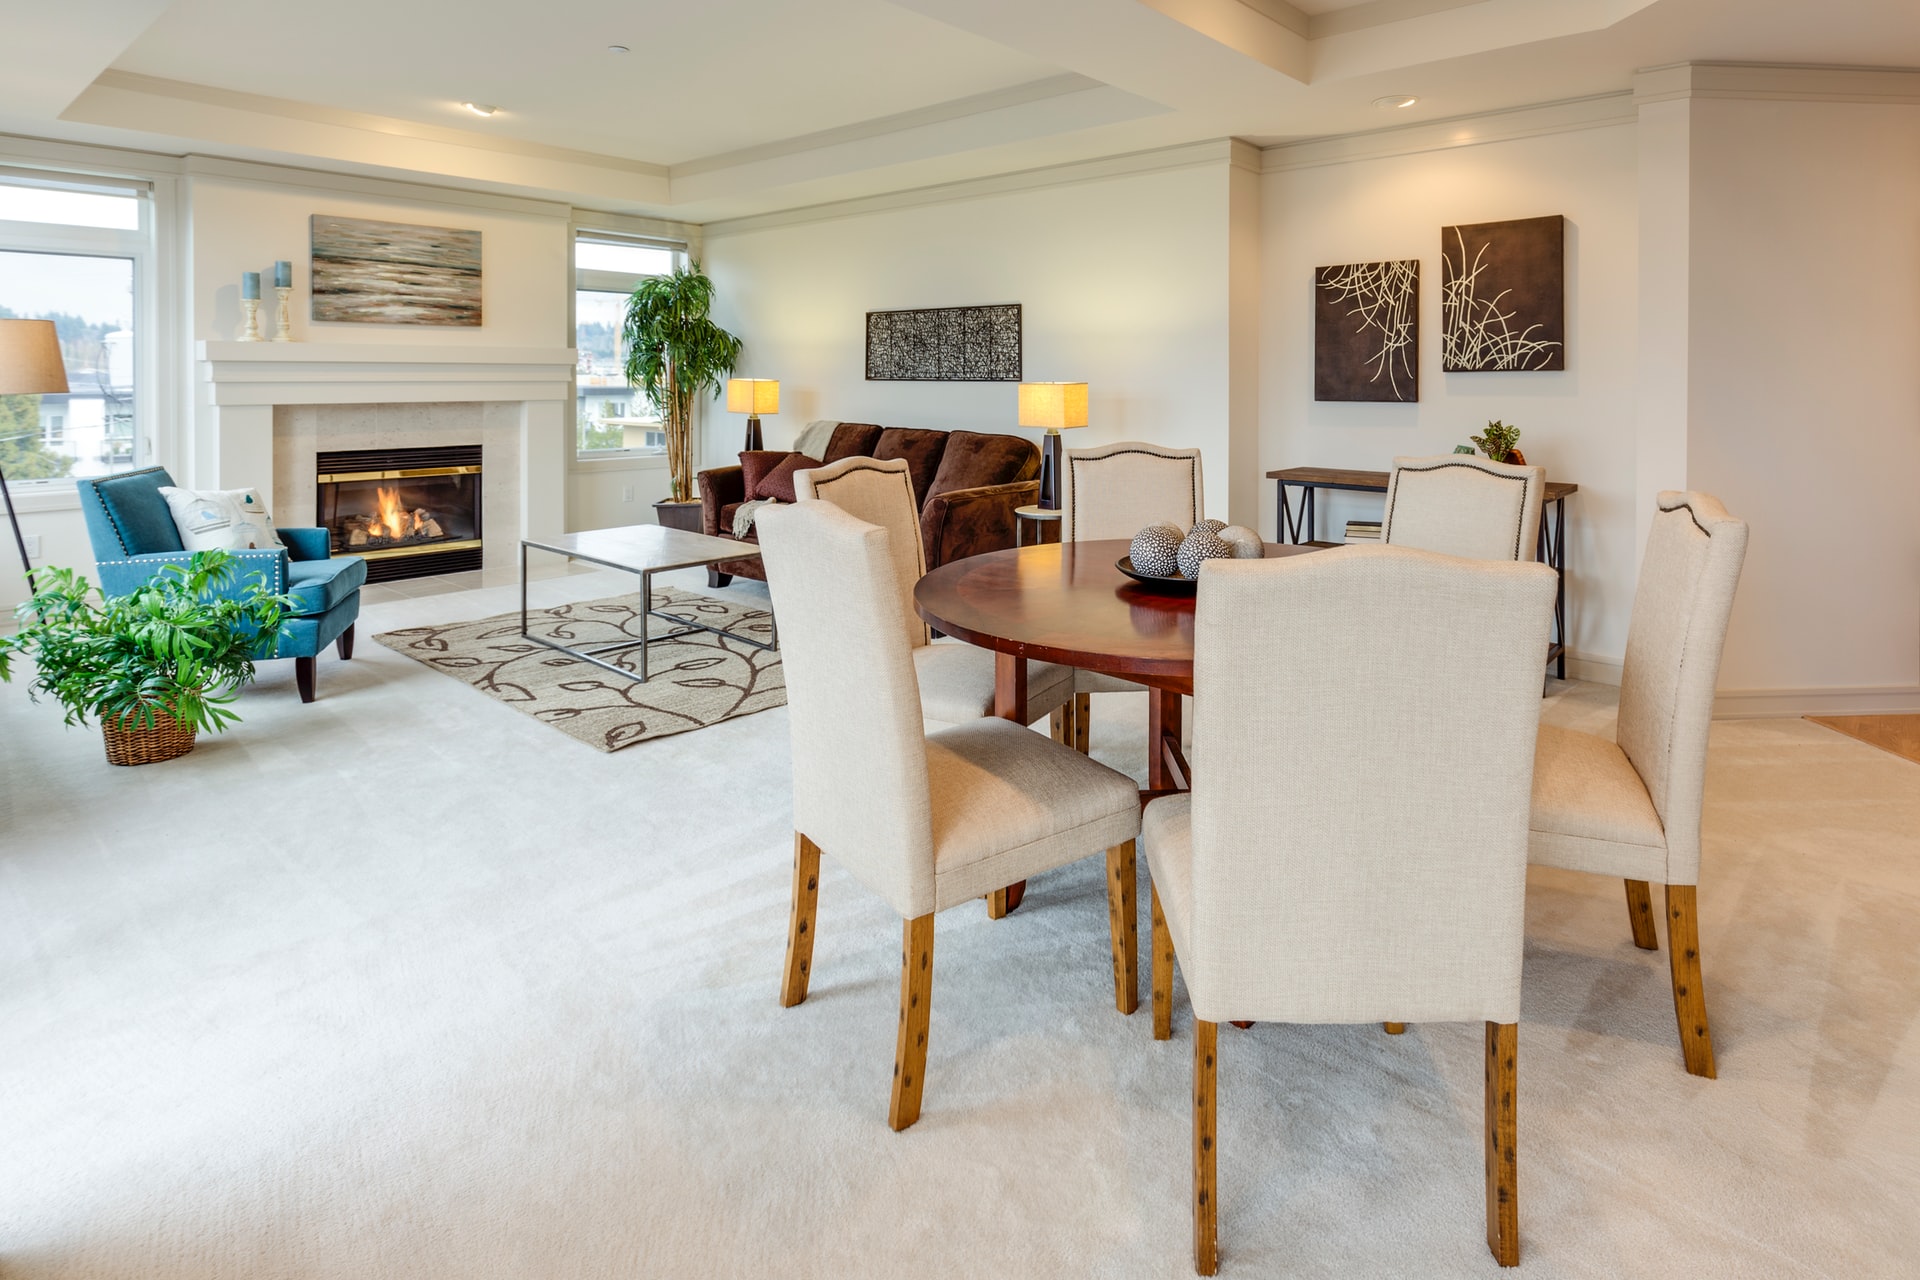
Styling ideas and layering with greenery furniture and other lights
Think of chain-link lighting as a flexible textile: it softens hard edges, weaves through foliage, and creates pockets of intimacy around seating. Use varying heights to build depth-drape strands low over a coffee table for a cozy glow, weave them vertically through a living wall to emphasize texture, or suspend them higher above a dining area to maintain sightlines. Combine warm white bulbs with leafy greens for an inviting, biophilic effect, and mix in reflective surfaces like glass tabletops or metallic planters to amplify sparkle without adding more wattage.
- Layer for zones: Pair overhead chains with floor lamps to create conversation and reading areas.
- Blend textures: Wrap lights around rattan or metal furniture to contrast organic and industrial vibes.
- Control the mood: Add a dimmer or smart bulbs to shift from bright task light to soft ambiance.
- Highlight focal points: Use uplights on large plants and let chain lights provide gentle backlight.
Small adjustments make big visual differences: lower a strand by 12-18 inches to delineate a seating cluster, or tuck a few bulbs into potted ferns to suggest hidden depth. When combining with other fixtures, think in layers-ambient chain lighting, targeted task lamps, and accent spots that wash a textured wall of greenery. For quick styling ideas, try these simple pairings below to match mood, furniture, and light without overcomplicating the scene.
| Setting | Furniture | Lighting Combo |
|---|---|---|
| Cozy nook | Small sofa + side table | Low-hung chain lights + floor lamp |
| Dinner terrace | Long table | Overhead chain + candle lanterns |
| Green wall focus | Bench seating | Vertical chains + soft uplights |
Care and seasonal updates to extend life and refresh the look
Keep your chain-link lighting looking and performing its best with a few simple habits: wipe strands down monthly to remove dust and pollen, inspect clips and wiring after storms, and swap out worn sockets or connectors before they fail. Small acts-like tucking excess cord behind the fence and applying a silicone electrical protector to exposed joins-prevent moisture damage and prolong life. For quick maintenance, follow these lightweight steps inside your routine:
- Clean bulbs with a microfiber cloth when cool
- Tighten loose fasteners and replace rusted clips
- Store spare bulbs and fuses in a labeled box
- Test lights on a timer to avoid overheating
Seasonal updates refresh the mood without a full redo: change bulb tones, add accents, or drape lights in new patterns.Below is a tiny seasonal cheat-sheet to inspire swaps that are fast but effective-pair colors with a simple styling touch to transform the fence from understated backdrop to focal feature.
| Season | Bulb Color | Styling Touch |
|---|---|---|
| Spring | Warm white | Fresh greens & potted herbs |
| summer | Soft amber | Bunting and lanterns |
| Autumn | Golden hues | Drape faux leaves |
| Winter | Cool white | Frosted bulbs & garland |
The Conclusion
Like a constellation threaded through metal, chain-link lighting can redraw the edges of a space-defining pathways, framing views, and turning ordinary surfaces into moments of surprise. It’s a tool as much about line and rhythm as it is about brightness: a repeating motif that can read industrial, playful, or unexpectedly refined depending on scale, spacing, and the materials you pair it with.
Keep the practicalities in mind as you experiment. Consider sightlines, layering, and dimming for different moods; choose weatherproof fixtures for outdoors; and pay attention to mounting and wiring for a clean, safe result. Small test runs help you find the right cadence before committing to a larger sweep.
Above all, use chain-link lighting to amplify what’s already working in your space-accentuate texture, guide movement, or carve out cozy corners. With a bit of patience and an eye for balance, those simple loops of light can become the framework for one of your most distinctive design moves.