Do you have a dark, damp basement that gets no use other than for storage? That is a lot of valuable space that could open up your home.
If you’re looking for more space, it’s time to clean the basement, get rid of junk, and finish it. When you’re putting your plan together, keep waterproofing in mind. It would be a shame if you finished your basement only to have it ruined by a flood or moisture in the air.
Steve Schulz at Dry Basement Solutions reviews your basement for potential problems with moisture and flooding. He says, “To keep your home dry and mold-free, you need to have your foundation properly waterproofed, ideally before damage happens.”
If you consult no one else when finishing your basement, definitely talk to a basement waterproofing expert. Any other problem is easier to fix after you’ve finished your basement, but waterproofing can be a big project.
Once you know your basement is safe to finish, you need to follow these steps.
6 Steps to Finish Your Basement
1. Check Your Wiring & Plumbing
Before you do anything, make sure you have the necessary wiring and plumbing for whatever you plan on doing in your basement. When it comes to plumbing, less is better.
In fact, if you don’t absolutely need water directed to the basement, avoid doing so. It will only cause moisture and humidity issues later.
If you want an entertainment center, you’ll need plenty of outlets for all your gadgets. A home office also needs plenty of access to electricity.
Both of these pieces will need to be up to code, which brings us to the next step.
2. Get Necessary Permits
The permits you need depend on where you live. Plumbing and electrical permits are the most common, but you should always check to see which ones are necessary.
If your house was built before 1990, you will also need to install egress windows to pass a fire safety inspection. This is necessary in case someone needs to escape from your basement during a fire.
3. Install Drywall, Waterproof & Soundproof
Once everything is up to code, you can install your walls. While you’re doing this, take steps to waterproof and soundproof your basement.
Install proper insulation in the walls and around pipes. This will cut down on condensation and humidity. If you live in an especially damp climate, it’s a good idea to put a layer of waterproof paint on the walls as well.
Don’t forget the ceiling, where soundproofing will work best. There are many ways to soundproof your ceiling, but installing carpet on the floor above is actually one of the best ways. If that’s not enough, there are plenty of products you can use for advanced soundproofing.
4. Paint the Walls & Ceiling
Now you’re ready to paint the walls. If you applied waterproofing paint, give it plenty of time to dry. Otherwise, the top coat of paint will not apply properly, and you could put gaps in your waterproofing.
Make sure you have plenty of light while painting. Paint can look different under different lighting. You’ll also need to be able to see any bubbles or lines that need to be fixed.
Once the walls are painted and dry, you can install any lighting fixtures you need and move on to the next step.
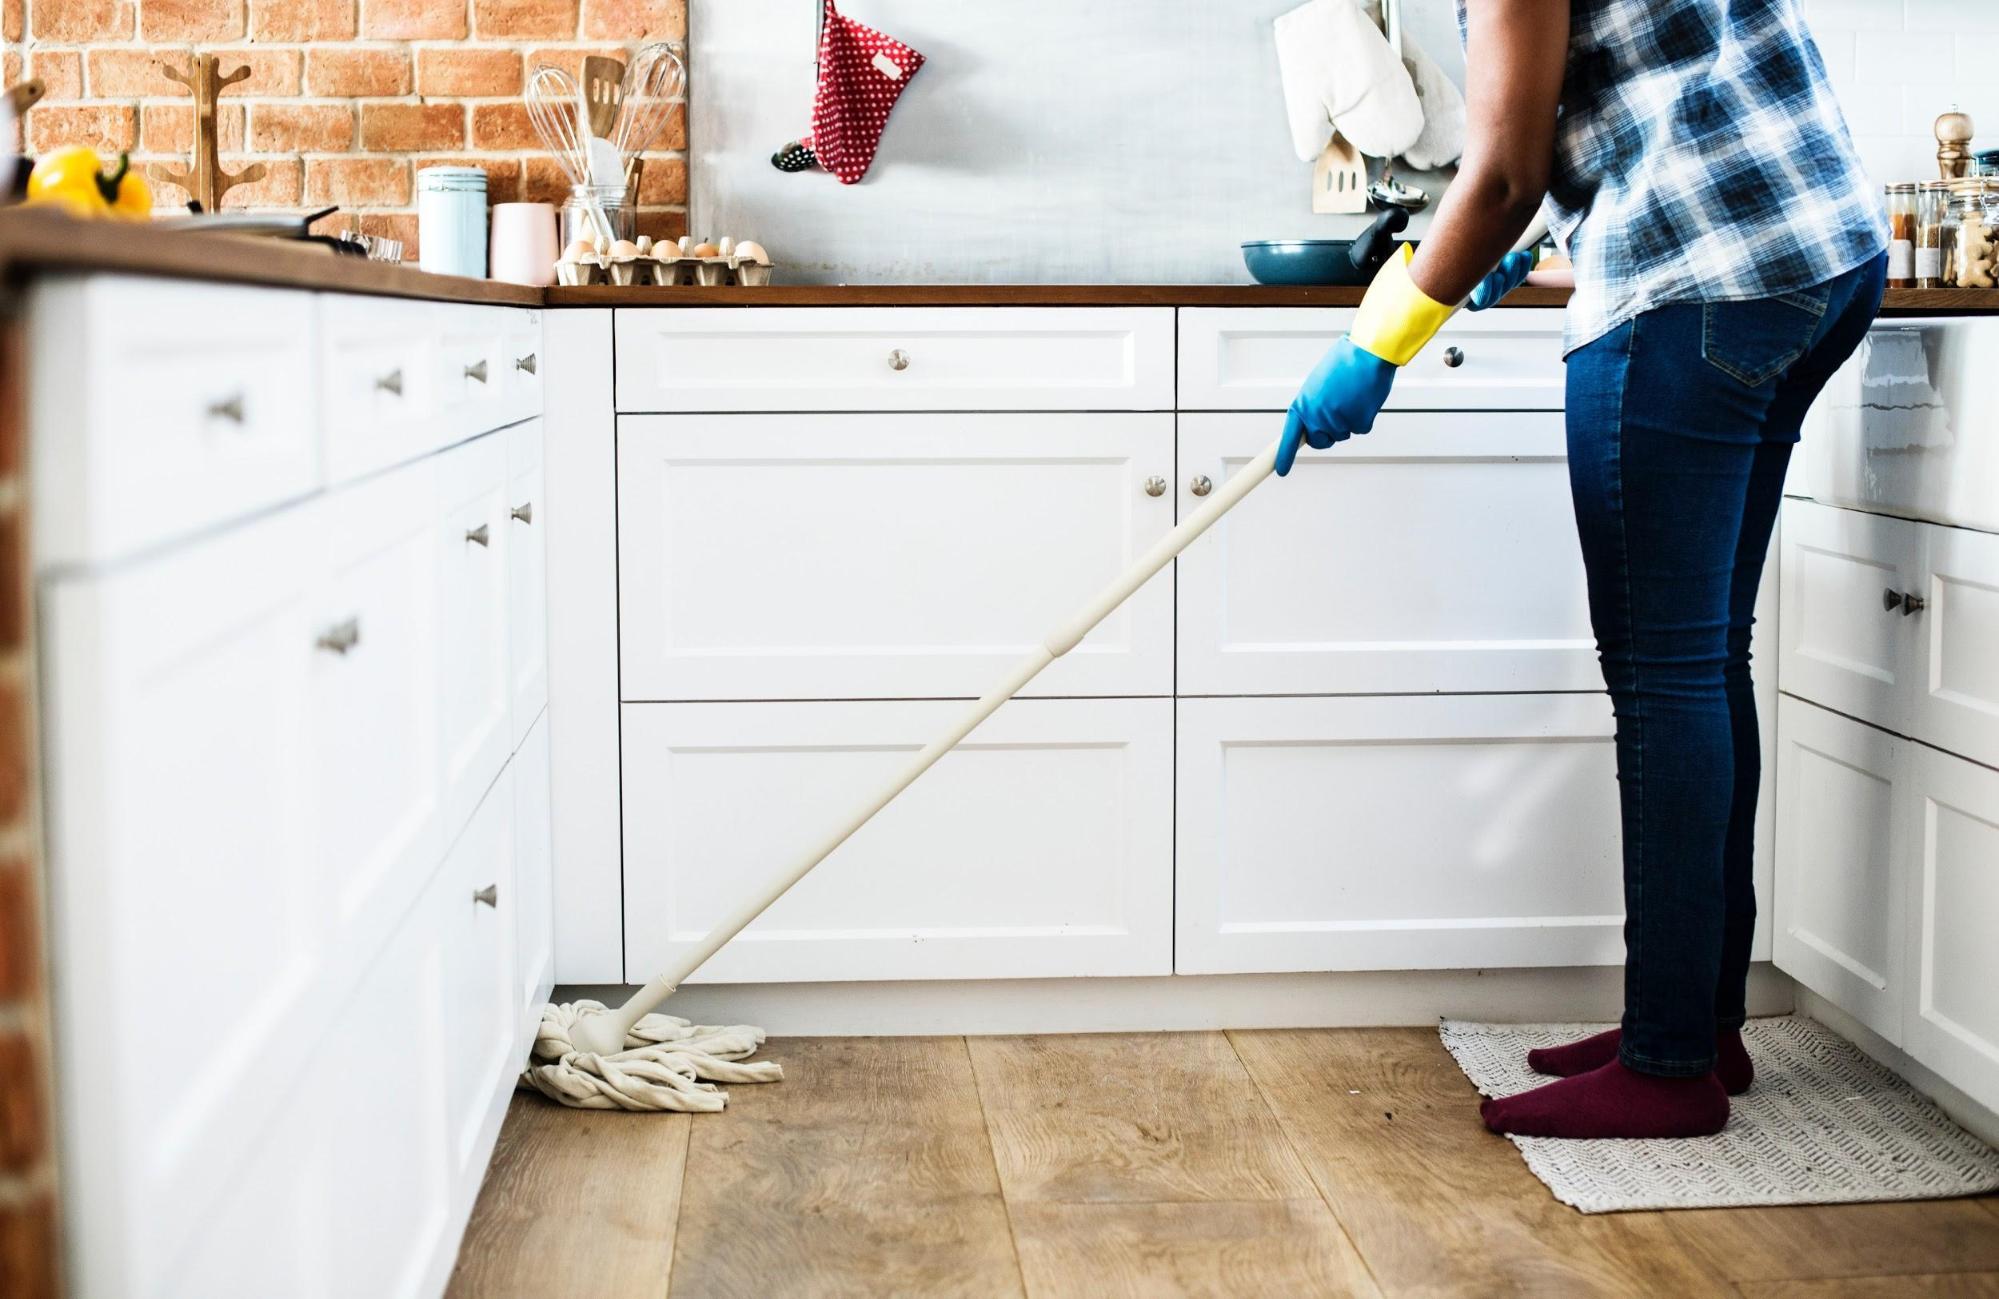
5. Choose Your Flooring
Your number one priority when choosing a floor for your basement should be choosing a material that is waterproof. You do not want wood floors or carpet in your basement. Even if you take every step to waterproof your basement, moisture can end up ruining them.
If you do end up with a damp basement, your floors can at least be cleaned easily if you choose laminate, vinyl, cork, or tile. Carpet is popular in basements because they are often used as play areas for children. Save yourself a headache when you have to replace your entire carpet and use throw rugs instead.
6. Furnish & Decorate
Congratulations! Your basement is technically finished. However, it’s now just an empty room. It’s time to customize it to your needs.
There are decorations to hang on the walls, pieces of furniture to place, and appliances and electronics to install. What are you using your basement for? Let us know in the comments below!
Jennifer Bell is a freelance writer, blogger, dog-enthusiast and avid beachgoer operating out of Southern New Jersey