For homeowners looking to improve their kitchen, the choice of countertops and backsplash are some of the things they focus on. To install the new options, you must first remove the existing ones. Removing the backsplash is among the to-do things during kitchen remodeling. Getting the job done without damaging the drywall is difficult for most to do on their own.
Seven Steps to Remove a Kitchen Tile Backsplash
Removing a kitchen tile backsplash is not as easy as ABC, but it can be done with the proper procedure. Here is a step-by-step guide on removing the backsplash without ruining the drywall.
Step 1: Gather the Right Tools and Equipment for the Job
Correct removal of the backsplash is all about technique and precision. Using the right tools makes the process easier and reduces your chances of harming yourself or ruining the drywall.
The right materials you will need for the job include:
- Construction grade Gloves
- Safety Glasses
- Hammer
- Knives – Utility and Putty
- Chisel
- Sander- electric or hand
- Sandpaper
- Drywall sanding pad and joint compound
- Vacuum and brush for cleaning after the process
These materials are readily available at the store. They increase the speed and precision when handling the job.
Step 2: Clear the Countertops and Cover Sinks
Items on the countertops can affect access to portions of the backsplash. It is advisable to take them off and clear the countertop entirely before beginning to remove the backsplash.
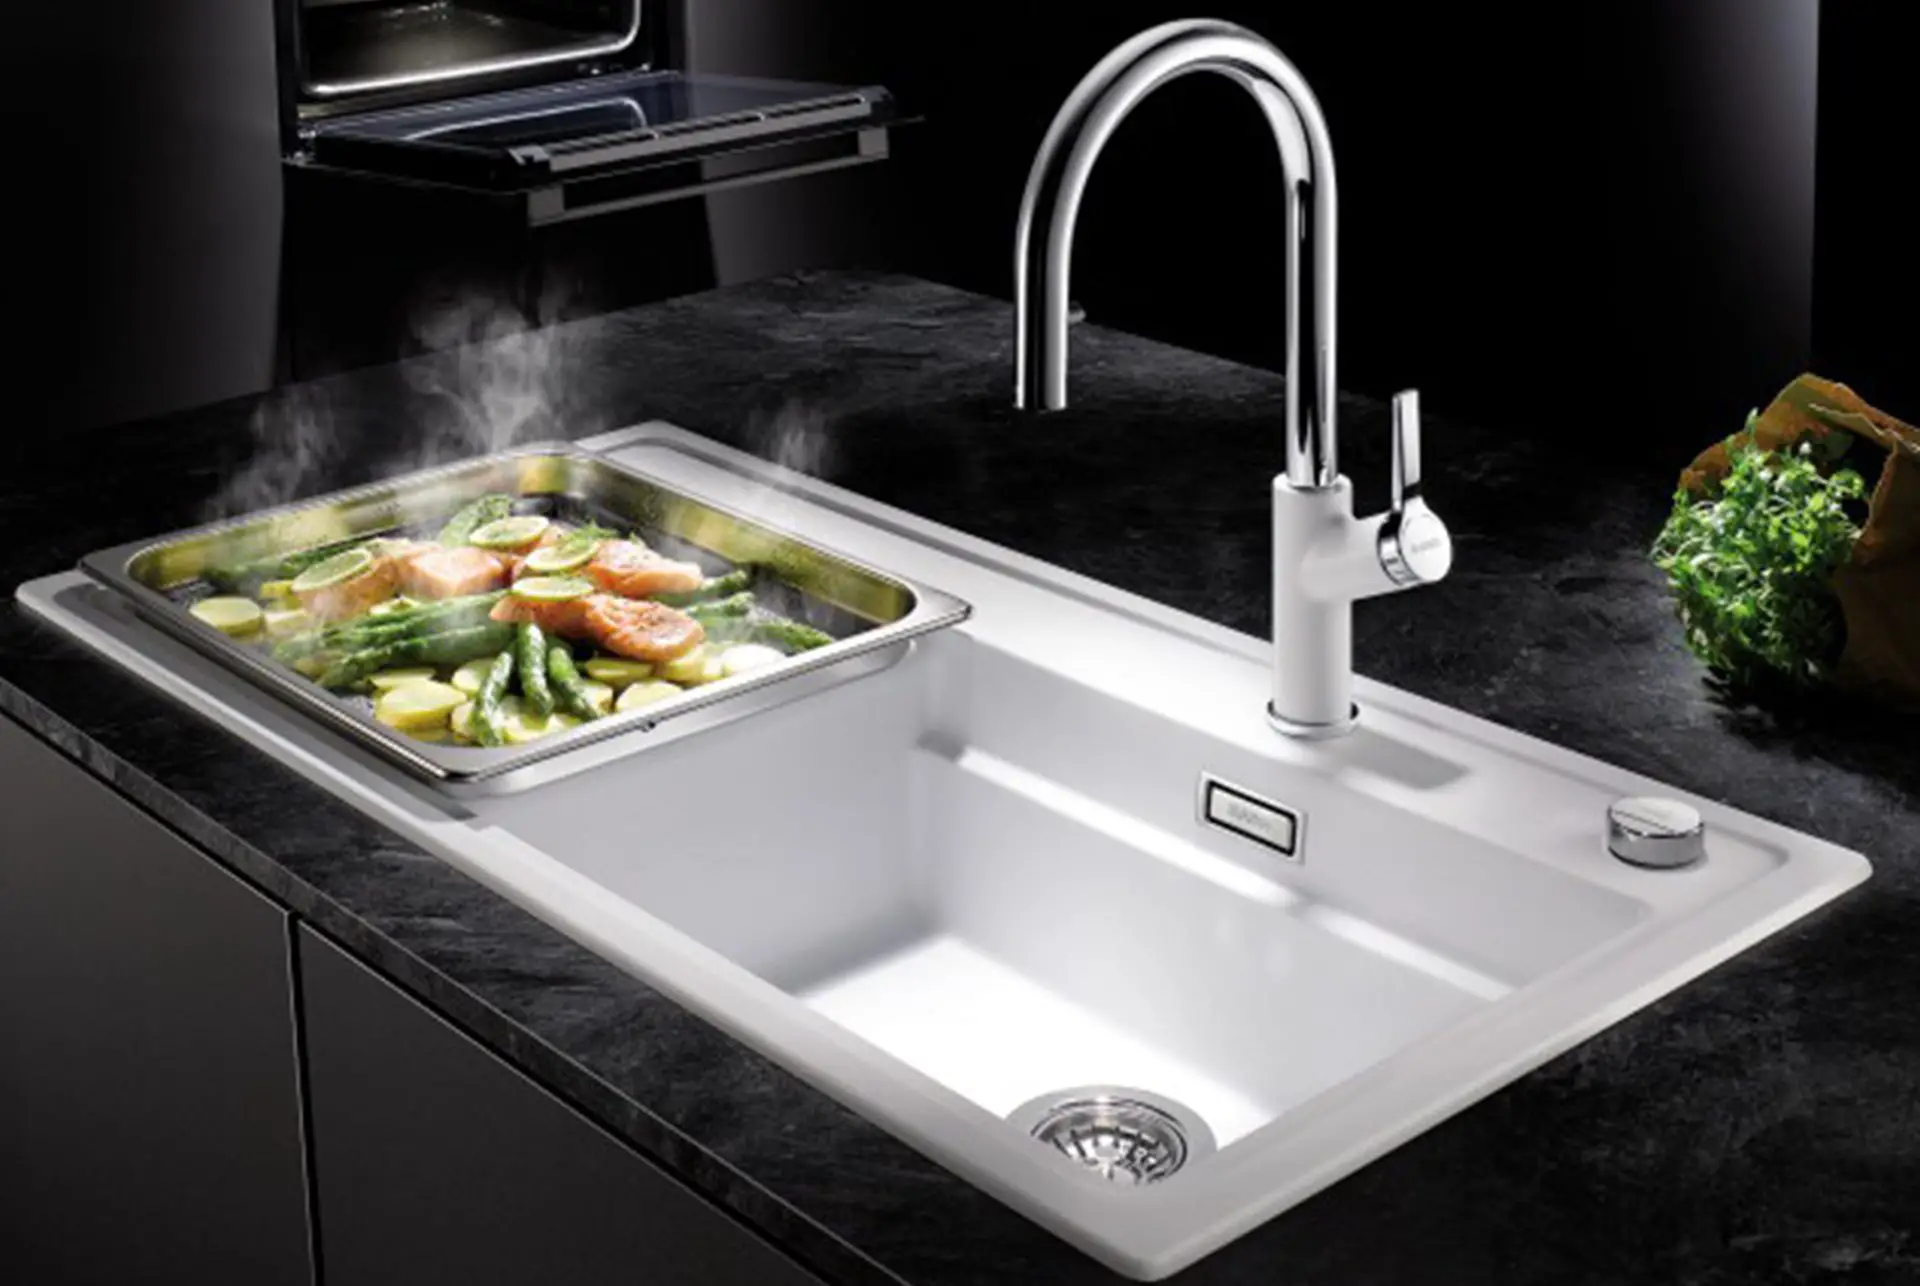
Any backsplash tile chippings might end up down the sink drain – a huge problem since they can cause blockage. The best solution is to cover the sinks completely until the project is over.
Step 3: Ensure the Backsplash Is Fully Exposed
Some items might still cover part of the tiles even after clearing the countertops. Outlet covers fit on the backsplash tiles, so they need to come off. If you have a microwave or cabinets installed on the backsplash, you will first need to take them down.
Ensuring the whole kitchen backsplash is exposed before removing the tiles helps to know the area you are dealing with. It means you can get the job done right once and for all.
Step 4: Carefully Chisel Off the Tiles
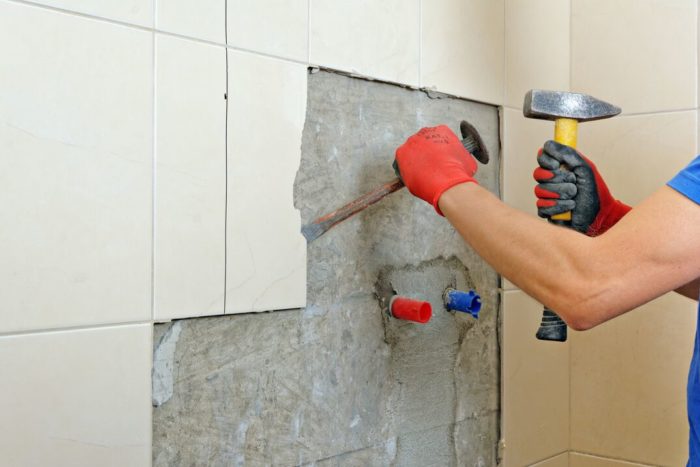
Focus on breaking through a single tile to expose the edges of the remaining backsplash tiles. Carefully hammer the chisel or putty knife behind the tiles to bring them off without ruining the drywall. Repeat the process on each tile throughout the backsplash for the best results.

Step 5: Remove the Adhesive Compound
Once the tiles come off, an adhesive compound will be left on the wall. For a successful kitchen remodeling project, the adhesive needs to come off.
The adhesive compound is either semi-soft or rock hard, depending on the material used. For the semi-soft compound, sandpaper is enough to get it off the drywall. Rock hard adhesive is thinset, which is removed using some elbow grease and a stiff putty knife.
Step 6: Fill Drywall Gouges and Sand the Wall
Chances are, the wall has gouges from the scraping action. Since the wall needs to be used again, it is best to get it ready for the next backsplash tiles. The gouges should be filled using a joint drywall compound and let it dry off before sanding the wall.
Step 7: Clean After the Process
After completing the whole process, the dust and chippings should not be left lying around as they can pose a safety hazard. Cleaning after the process is the ultimate solution to ensure safety and make remodeling planning easier.
Hire Kitchen Remodeling Experts for the Best Results
Removing the kitchen tile backsplash can be quite complicated due to the many steps. It is best to hire kitchen remodeling experts since they make the whole process easier and avoid costly mistakes. They also bring along the right tools, saving the dollars you would spend buying them. Contact an expert like Callier & Thompson to learn more about kitchen remodeling.


