Sometimes you just know that it’s time to renovate. Perhaps the bathroom was last updated more than a year ago. Thus, it feels terribly out of date. Or maybe you’ve never updated it all since the house was built.
A bathroom renovation can help bring it up to date while also boosting its aesthetic appeal and functionality. Perhaps it’s also what you need to make it more welcoming.
We’ve compiled a step-by-step guide to help you fix it. The best part is that you can complete the remodel within a week if you prepare well.
How Much Does a Remodel Cost?
If you’re curious about the cost, a bathroom renovation doesn’t have to be expensive. According to Angie’s List, the average remodel costs between $10,000 and $15,000. With labor costs taking up at least 20% of the cost.
However, you can bring down the costs significantly. For instance, a DIY eliminates the installation costs. You can also eliminate a few items to bring down the cost of materials to under $4,000.
Getting Started
Before you start the actual redesign, you need to get a few things in order, including assembling the tools and materials. Consider the following;
Settle on the new design
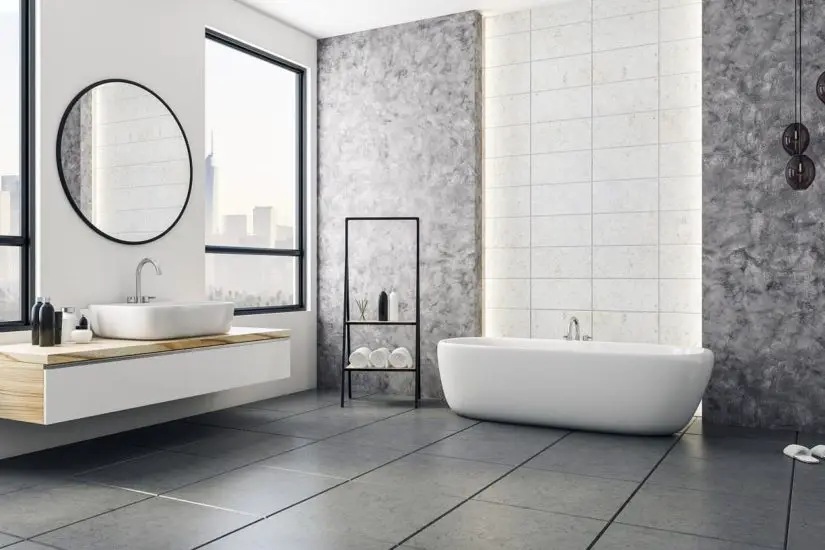
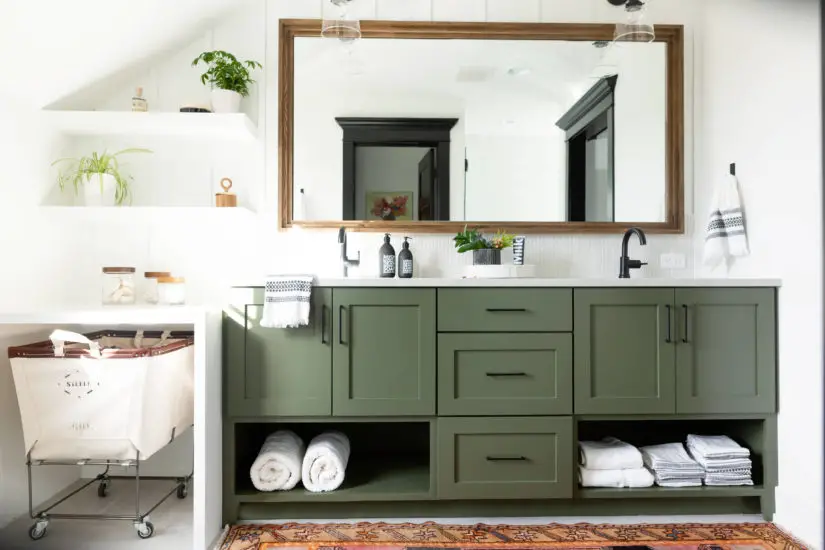
What do you want the new bathroom to look like? There are so many ways to remodel a bathroom. For instance, you can merely swap the vanity and call it a day. Or, you can consider a complete renovation. Which one have you settled on?
Remember that whichever the renovation approach, you’ll need to plan for the color scheme, new fixtures, storage spaces, and location of utilities.
Gather the tools and materials
You’ll need several tools, including a safety mask, gloves, caulking gun, silicone sealant, hammer, tape measure, spackle knife, spackle, stud finder, extension cord, chalk line, hacksaw, screwdriver, adjustable wrench, pry bar, and power drill. In addition, you may need a cordless drill and wet-dry shop vac.
Tackling the Actual Bathroom Remodel in Six Steps
Now you’re ready to begin the remodel. We’re assuming you’re interested in a major remodel. If you’re doing it yourself, we’d advise that you have someone to help out. With that covered, proceed as follows;
1. Remove or demolish the existing bathroom
This is where you remove the drywall and the fixtures you’ll be replacing. Begin by draining and removing the toilet to prevent any unpleasant spills. Then, if you’re changing the bathtub, remove it. After that, you need to remove the insulation from your walls. Use a saw to cut out the panels. Finally, remove the cabinets, vanities, mirrors, and any floor tiles. From there, you can remove everything else.
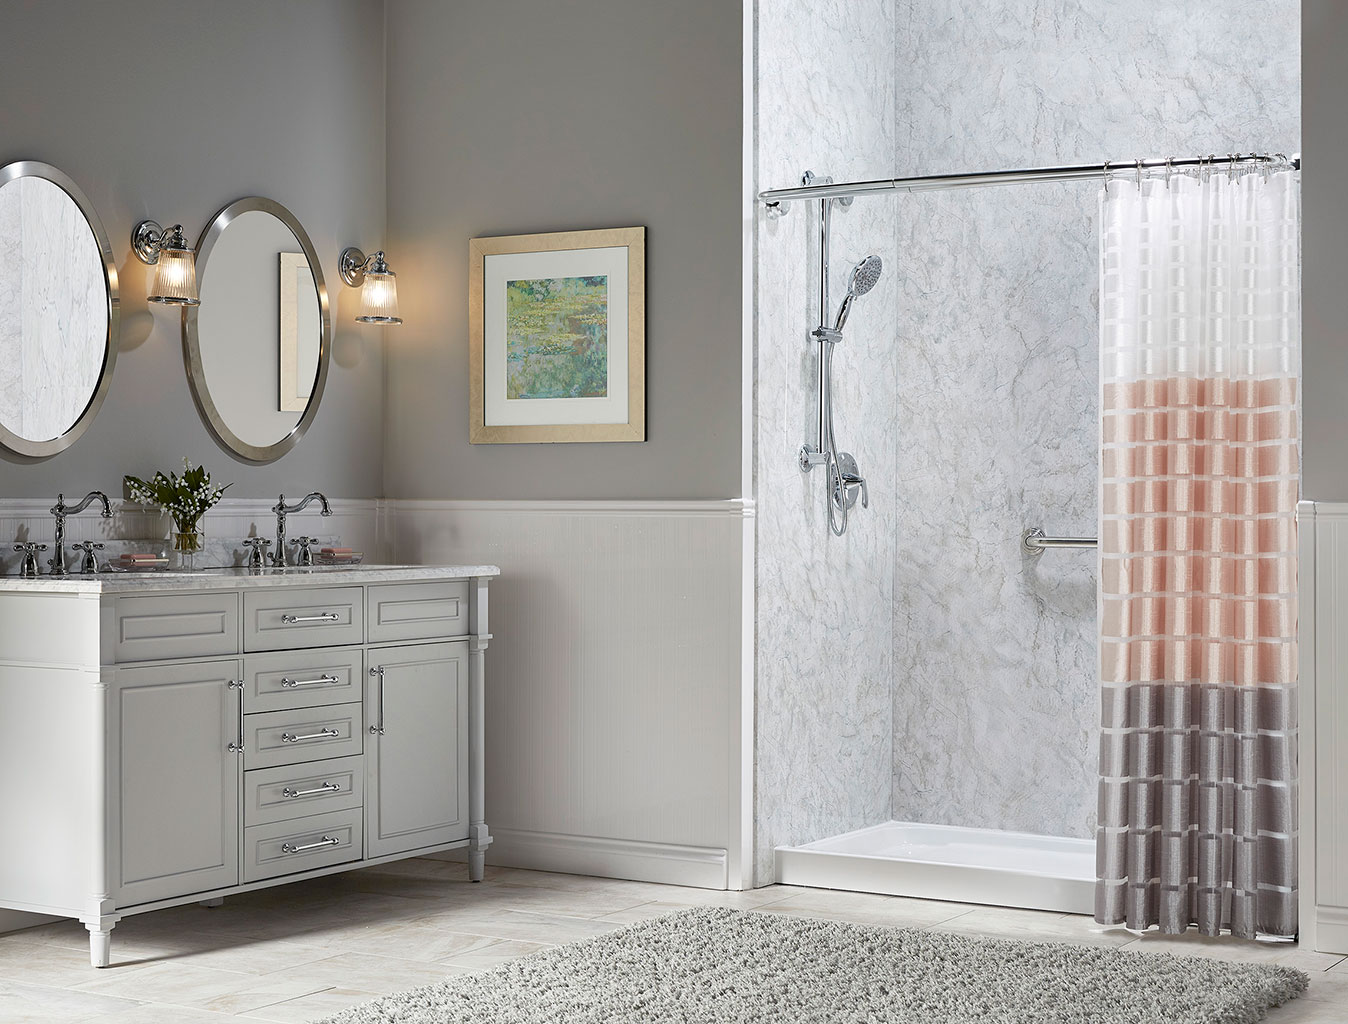
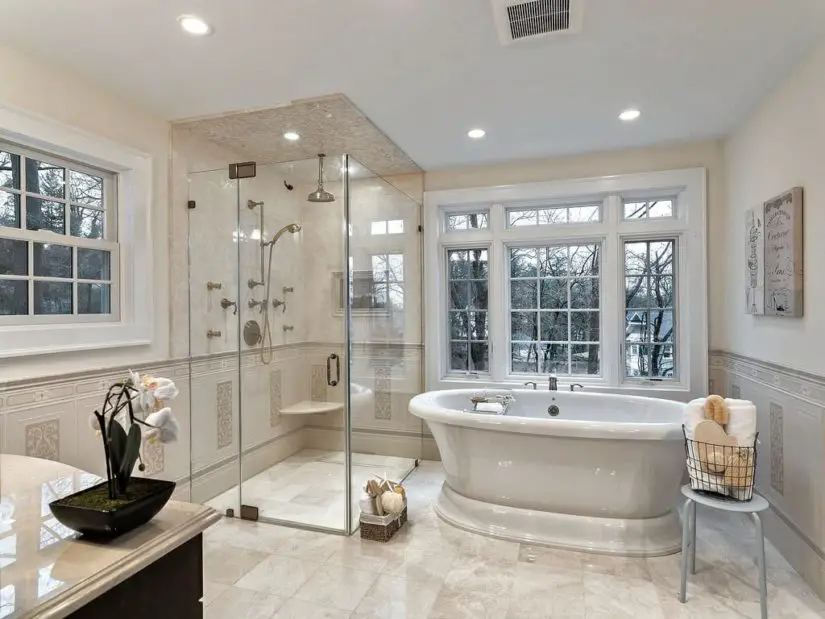
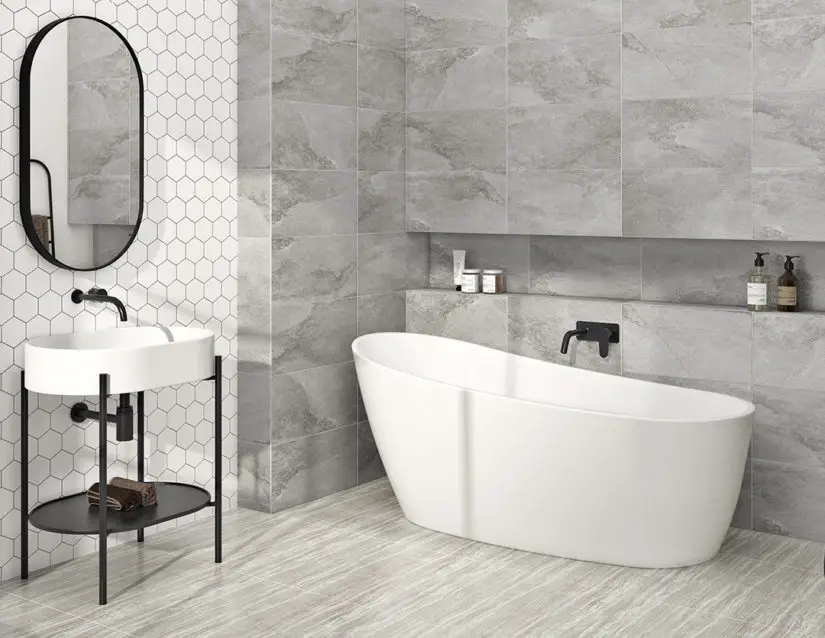
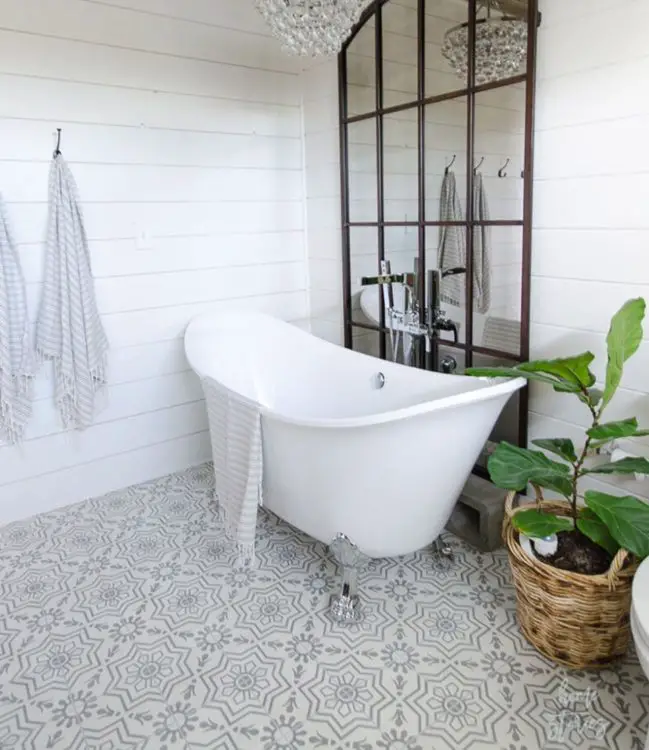
2. Install the new shower/tub
Hopefully, you’ve picked a stylish shower or tub that fits your décor. Typically, you can have a rectangular, square, or pentangle bathroom. Just remember that the base shape you choose will determine the bathroom layout. If you envision everything in the plan, it all comes together effortlessly. You can even have a shower and tub in the same bathroom.
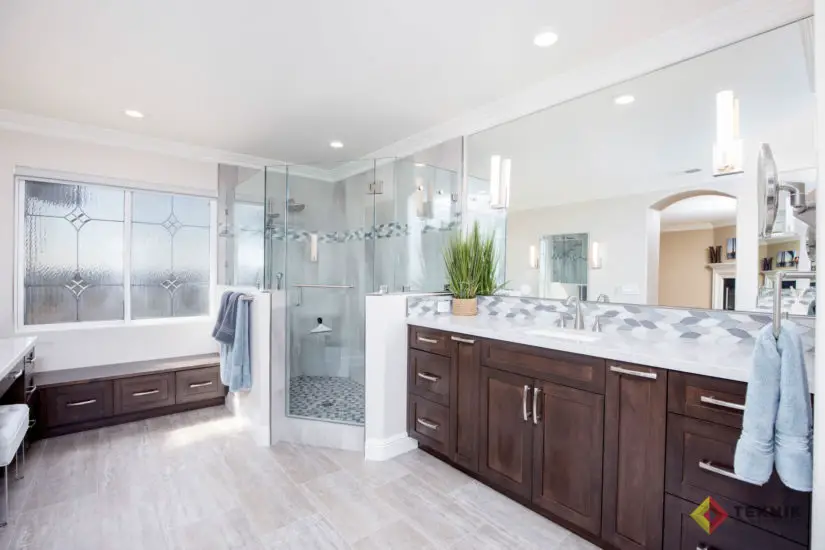
3. Install the new fixtures and features.
With the shower/tub out of the way, you can now configure the rest of the bathroom. One thing to keep in mind here is size. If the replacement fixtures or features are larger than the old ones, you may need to adjust the wiring. Consider calling an electrician if you’ve never handled electrical wiring before.
4. Install the new floor
Some people often reinstall the old tiles they removed from the floor. However, we’d discourage that if you’re aiming for a complete makeover. Floors have a massive impact on the outlook of the bathroom. Thus, if you desire a completely new look, you better bring in fresh new tiles. Use mason’s chalk line to mark reference lines to the wall to help you lay the tiles in a straight line.
5. Hang the new drywall, then paint
Unfortunately, this can be a long process as you have to cut the drywall to fit around the vanity and other bathroom features. However, everything starts to move smoothly once you start nailing. Use drywall mud and tape to fill any gaps and cover the seams. For the shower/tub wall, use a cement board instead of drywall. Then, cover the cement board with a waterproofing membrane and paint the entire drywall.
6. Furnish and finish the plumbing
It’s time to install a new vanity, cabinets, and everything else that you haven’t installed so far. Always begin with the vanity, including the sink and faucet. Then proceed to install the mirror followed by the cabinets. The trim around the shower or tub can come last. Once you’re done furnishing, reinstall the toilet.
Finishing up
Your bathroom renovation is pretty much complete. Now, you can add finishing touches to personalize the bathroom.