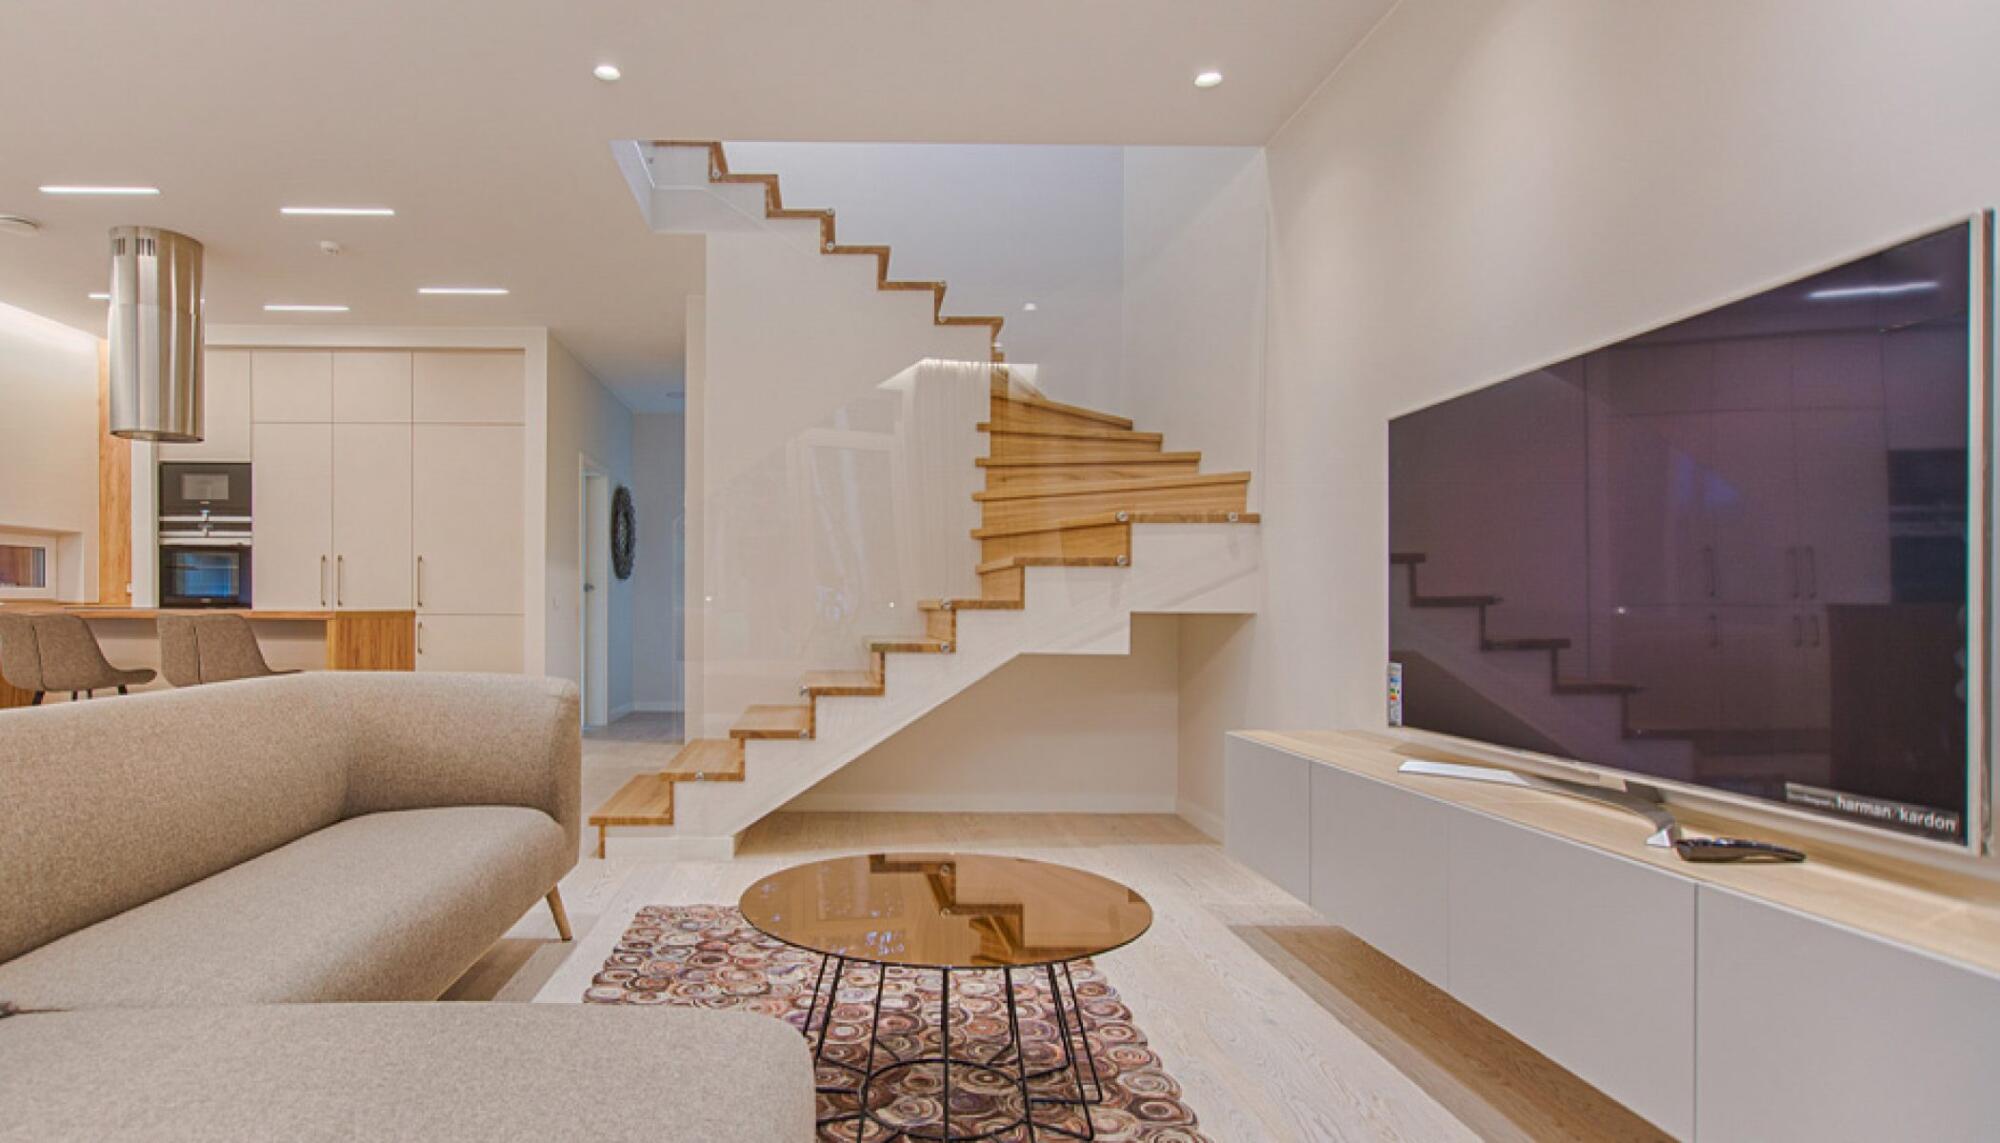
They say you only get one chance to make a first impression, so here is your chance to light up your home and create that impression, but not just the interiors, lightening up the exteriors of your home is equally important.
Apart from the excellent view of the front light, it also secures your home and wards off intruders, thieves or burglars. Your lights would brighten up dark places, so you and your guests can freely walk around without having to worry about tripping over steps, walkways or any other tripping hazards.
Now that you have a clue on the importance of the exterior lights, you may want to ask;
“How can you light the front Exterior of your home?”
We do not plan that you to create interest without giving you a guide, so we have compiled a few tips that can help you have the full handlings of your front light all by yourself.
How to install or replace the light bulb
If you have turned on the switch of your front exterior to know if your light bulb still works and it isn’t working, you may need a replacement. Before you install this replacement remember you are dealing with electricity, so the first thing to do is to prevent every possible risk of electrocution, you can do this by turning off the lamps, sockets and even the circuit breakers.
Most exterior lights are fitted high up the building, but with an extended light bulb changing pole or a ladder, you can get up there. Now you also have to know the size of the fitting and the kind of bulb that has been installed, whether it is an incandescent bulb, halogen bulb, fluorescent, or LED lights.
Most bulbs would have a glass or plastic cover, held over the bulb with 2-3 screws, so you have to unscrew them, then remove the light bulb and replace it with a new one. If the fitting is a screw cap, you can turn it gently in a clockwise direction. For other kinds of fittings like bayonet bulbs, slide the two pins through the bulb holder and twist slightly in a clockwise direction.
You should now test your bulb to see that it is working, remember you have turned off the circuit breaker and sockets, all you have to do is to turn it back on.
How to test your light bulb
Now that you know how to install a light bulb, so what happens if you have installed the bulb and it doesn’t work?
You may have to perform a test on your bulb to confirm that it works OK. A regular light bulb would have an inbuilt filament since the filaments are so tiny and difficult to see, you wouldn’t be able to confirm if they work without a test for continuity. Continuity would show that there can be a current flow without interruption.
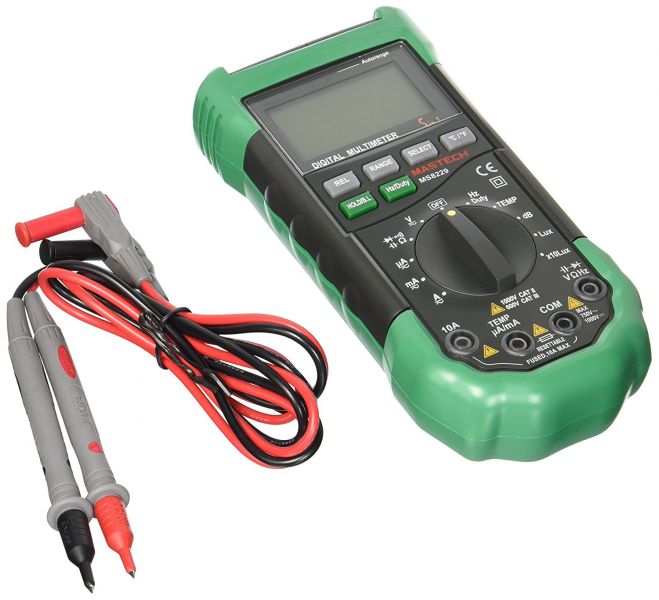
The only tool you need to carry out a continuity test is a multimeter. On the multimeter set the selector switch to measure ohms, then place a probe on the bottom of the light bulb, directly on the part that looks like a button, and the other probe by the side of the bulb.
If you have done this properly, the needle indicator in your multimeter should move all the way back to prove that there is continuity, and your bulb is working, but if it doesn’t, then your bulb is faulty and must be replaced. It is important we let you know that these test can’t be carried out on LED bulbs.
Light bulbs are fragile, so while disposing of them, you should not just toss them in a garbage can, they can shatter and harm someone. We recommend that you wrap the bulb in an old newspaper, or magazine before you dispose of them, or try to recycling if possible.
How to test your light bulb holder
If you are sure that your bulb works OK, and you are also convinced that the fault is not with your electrical source. You would have to eliminate the last piece of the puzzle by testing the bulb holder.
To perform this test, you would need to make sure your breakers and sockets are turned on; you would also have to use a multimeter. Turn the switch selector on the multimeter to measure AC voltage, most times it is marked as “VAC” on your device. If you are not using an auto range multimeter, set the range to a value close to, but higher than 120 VAC.
Place or hang your multimeter on a stable support, where you can take readings. Now your next focus should be on the inside of your bulb holder, so take out the probes and place one on the center bottom of the holder, where you can find a protruded brass. The second probe should be placed on the brass side of the holder where the bulbs screws into the holder. You should make sure both probes do not have any contact while they are connected to your bulb holder.
If you have done these correctly, your multimeter should have a reading of 120 Volts, which would prove that there is a complete circuit and there is no fault with your bulb holder and if the reading isn’t right, then you may have a wiring problem. You have to turn the breakers off and disassemble your sockets to check that your wires are connected rightly.
Conclusion
The appearance of the front exterior of your house enough reveals the kind of person you are to your guests and neighbors, so whether it is your new home, or you have been living in your house for some time, it is better to have a lighted up exterior.
Of course, the sun may do some justice and help you brighten up your house during daytime, but with just a few bulbs, you can make a lot of effect on the looks of your home regardless of the time or season.
It also wouldn’t matter where you live, lightening up the front exterior of your house would improve its appearance and give your home a different feeling.


