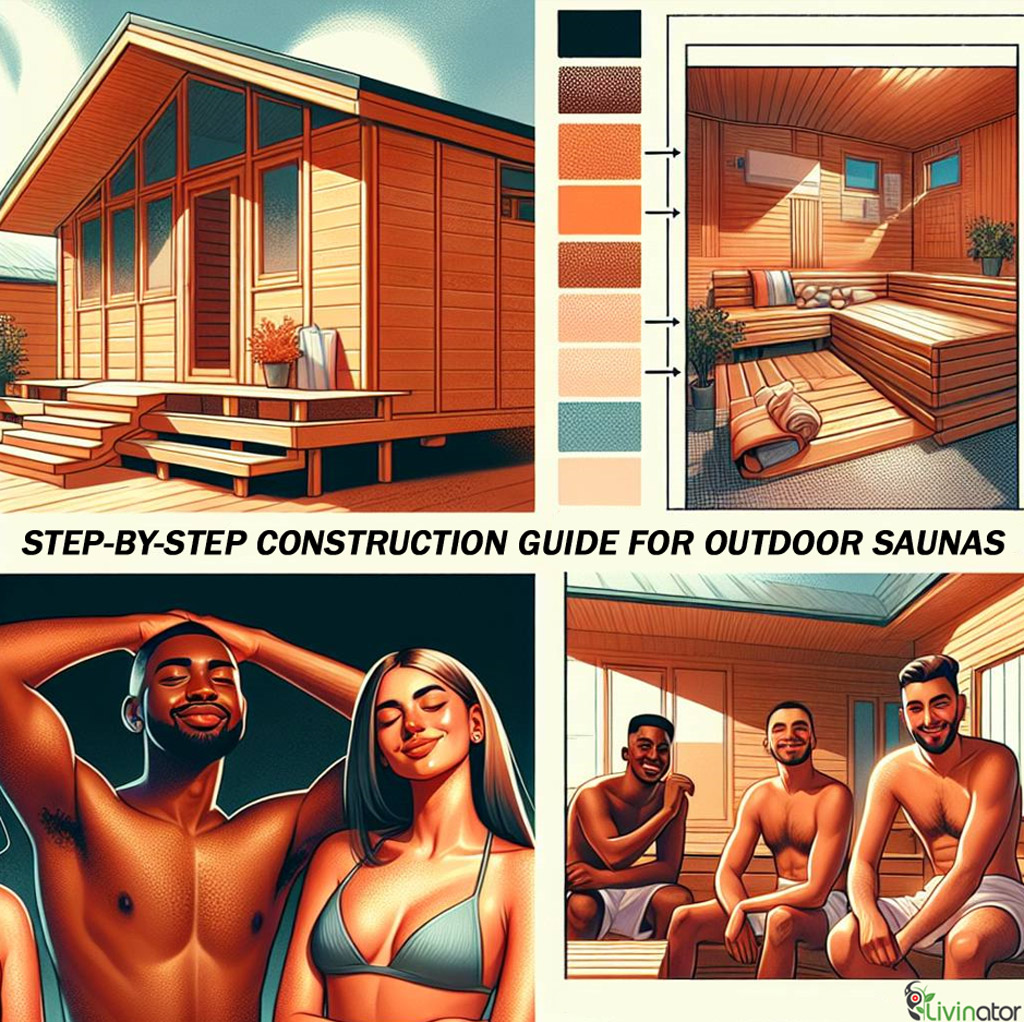
Ever dreamt of relaxing in your very own outdoor sauna? Curious about how to make that dream a reality? In this step-by-step construction guide for outdoor saunas, we’ll walk you through everything you need to know to create your personal oasis. From selecting the perfect location to assembling the materials and adding those finishing touches, we’ve got you covered. Get ready to elevate your relaxation game and add a touch of luxury to your backyard with our comprehensive instructions. So, are you prepared to dive into the world of outdoor sauna construction?
Key Takeaways
- Plan Carefully: Before starting the construction, create a detailed plan that includes the sauna layout, materials needed, panels, and any necessary permits.
- Quality Materials Matter: Use high-quality panels for durability and longevity, ensuring your outdoor sauna withstands various weather conditions.
- Sturdy Foundation is Key: Invest time and effort in building a solid foundation and frame to provide stability and support for your sauna structure.
- Attention to Detail: Focus on precise construction of walls, floors, exterior elements, roofing, and ceiling to ensure a well-built and weather-resistant sauna.
- Safety First: When dealing with electrical, water connections, wall, and ceiling, prioritize safety measures to prevent accidents and ensure proper functionality.
- Personalize Your Space: Tailor the interior design to your preferences for a comfortable and inviting sauna experience, considering lighting, seating, ventilation, ceiling, wall.
Planning Your Sauna
Location Selection
When planning your outdoor sauna, consider the proximity to water and electricity sources. Make sure the chosen location has proper drainage to avoid water accumulation. Think about privacy and accessibility for a more enjoyable experience.
For example, placing your sauna near a garden hose connection can simplify filling buckets for water usage inside the sauna. Ensuring the area is easily accessible from your house can enhance convenience during use.
Size and Design
Decide on the size of your sauna based on how many users it will accommodate comfortably. Opt for a design that blends well with your outdoor space’s aesthetics. Including windows in your design not only allows natural light but also aids in ventilation within the sauna.
Consider incorporating glass doors or windows facing scenic views if you have a picturesque backyard or countryside setting around your home. This can elevate the overall sauna experience by connecting users with nature while they relax in the warmth.
Legal Requirements
Before starting construction, research local building codes and permits necessary for building an outdoor structure like a sauna. Ensure compliance with setback regulations from property lines to avoid any legal issues down the line. Consulting professionals such as architects or contractors is vital to guarantee adherence to safety standards throughout construction.
Seeking guidance from experts ensures that all aspects of construction follow legal requirements, providing peace of mind during and after completion of the project.
Gathering Materials
Building Materials
When constructing an outdoor sauna, select durable materials that can withstand various weather conditions. For instance, consider using cedar or redwood due to their natural resistance to decay. These woods are ideal for outdoor structures as they can endure moisture and temperature changes effectively. Researching insulation options is crucial to maintain heat efficiency within the sauna. Proper insulation helps retain heat, ensuring a comfortable sauna experience.
- Choose durable materials
- Consider cedar or redwood
- Research insulation options
Heat Source Options
Exploring different heat source options like electric or wood-burning stoves is essential when building an outdoor sauna. Each option has its advantages and considerations such as cost, convenience, and environmental impact. Consulting with professionals can help determine which heat source aligns best with your preferences and needs for the sauna construction project.
- Explore electric or wood-burning stoves
- Consider cost and convenience factors
- Consult with professionals
Interior Finishes
Selecting suitable interior finishes for your outdoor sauna is vital to ensure longevity and comfort. Opt for materials that can withstand high temperatures and moisture levels commonly found in saunas. Choosing non-toxic finishes contributes to creating a healthy environment inside the sauna space. Enhance comfort by adding benches, backrests, and lighting fixtures that complement the overall design of the interior space.
Foundation and Frame
Foundation Setup
To begin the construction of your outdoor sauna, you need to establish a solid foundation. This step is crucial for ensuring the stability and longevity of your sauna structure. Prepare a level surface where the sauna will be placed, ensuring it is stable and firm. You can use concrete footings or piers to support the weight of the sauna, distributing it evenly across the ground.
Proper drainage around the foundation is essential to prevent water damage over time. By allowing water to flow away from the sauna’s base, you can avoid issues such as rotting wood or mold growth underneath. Ensuring good drainage also helps maintain the structural integrity of your outdoor sauna in various weather conditions.
Timber Frame Construction
Timber frame construction plays a significant role in both durability and aesthetics when building an outdoor sauna. Choosing high-quality timber beams and posts is essential for creating a sturdy structure that can withstand different environmental factors. Learn about various timber frame construction techniques commonly used in building saunas to ensure long-lasting results.
Industry standards recommend specific joinery methods for assembling timber frames effectively. Following these guidelines guarantees that your sauna frame is securely put together, providing stability and strength over time. Properly constructed timber frames not only enhance the structural integrity but also add charm and character to your outdoor space.
Constructing Walls and Floor
Wall Assembly
When constructing outdoor saunas, deciding on the wall assembly method is crucial. You can choose between stud framing or solid log construction. Insulate the walls to keep heat inside and enhance energy efficiency. Installing a vapor barrier is essential to prevent moisture buildup within the sauna.
To illustrate, stud framing involves using vertical wooden beams to create a framework for the walls. On the other hand, solid log construction uses whole logs stacked horizontally to form sturdy walls. Insulating these walls with fiberglass or mineral wool helps maintain a consistent temperature inside the sauna while reducing energy consumption.
- Pros: Stud framing offers flexibility in design, while solid log construction provides excellent insulation.
- Cons: Stud framing may require more maintenance compared to solid log construction due to potential air leaks.
Floor Construction
Creating a robust and insulated floor for your outdoor sauna is paramount as it needs to withstand heavy usage over time. Opt for materials like concrete, tile, or cedar that are durable and resistant to moisture damage caused by frequent use.
For instance, using concrete ensures longevity and easy maintenance of the sauna floor while providing stability under high foot traffic conditions. Alternatively, cedar flooring adds a touch of natural beauty while offering resistance against decay and insect infestations commonly found in humid environments.
- Start by laying down a sturdy foundation for your sauna’s floor using gravel or compacted sand.
- Install pressure-treated joists spaced evenly beneath the floor surface for structural support.
- Consider adding vents along the perimeter of the floor to allow proper airflow underneath and prevent moisture-related issues from arising.
Exterior Elevation and Roofing
Roof Design
When designing the roof for your outdoor sauna, it’s crucial to choose a style that complements the overall look of the structure. Opt for durable roofing materials such as metal or asphalt shingles to ensure longevity. Incorporating proper insulation into the roof is essential to maintain heat efficiency within the sauna, helping retain warmth during use.
Properly insulating the roof will prevent heat loss and contribute to energy efficiency. For example, using double-layered insulation can significantly improve heat retention in colder climates. Selecting light-colored roofing materials can help reflect sunlight, reducing heat absorption and keeping the interior cooler during hot weather.
Exterior Finishing
Selecting weather-resistant siding materials for the exterior of your sauna is vital to protect it from external elements like rain and snow. Consider options like cedar or redwood that are naturally resistant to decay and moisture damage. Enhance the appearance of your sauna by staining or painting the exterior with colors that complement its surroundings.
Installing adequate ventilation systems in your sauna is essential to prevent moisture buildup inside. Proper ventilation helps regulate humidity levels, preventing mold growth and ensuring a comfortable environment for users. Incorporate features like vented soffits or gable vents to promote air circulation within the sauna space.
Interior Design and Installation
Sauna Heater Installation
When setting up your outdoor sauna, it’s crucial to start with the sauna heater installation. Begin by choosing a heater that fits the size of your sauna space. Follow the manufacturer’s guidelines meticulously for a safe installation process. If you’re unsure about electrical connections, it might be wise to seek assistance from a professional electrician.
For safety reasons, make sure you select a door that is well-insulated and tightly sealed to retain heat effectively inside the sauna. Opt for a door that swings outward; this design ensures easy exit in case of emergencies. To enhance visibility and bring in natural light, consider installing a window within the door.
Door Installation
Incorporating aesthetic finishes into your outdoor sauna not only adds personality but also contributes to its overall ambiance. Consider adding personal touches like artwork or plants to create an inviting atmosphere inside the sauna. For enhanced relaxation, think about incorporating LED lighting which can provide both functional illumination and mood-setting effects.
To elevate the cozy feel of your outdoor sauna, opt for natural wood finishes throughout the interior space. Natural wood not only creates warmth but also exudes a rustic charm that complements the overall design of an outdoor setting beautifully.
Electrical and Water Connections
Electrical Setup
To ensure safety, it’s crucial to hire a licensed electrician for the electrical connections in your outdoor sauna. They will handle proper grounding and circuit protection, complying with local electrical codes. This step is vital to prevent accidents and ensure the smooth operation of your sauna.
It’s essential to install proper grounding for all electrical components in the sauna. Grounding helps protect against electric shocks by providing a path for electricity to flow harmlessly into the ground. Having circuit protection like GFCI (Ground Fault Circuit Interrupter) outlets can further enhance safety by quickly shutting off power in case of an electrical fault.
For compliance with local regulations, consulting with an electrician is key. They will ensure that all wiring, outlets, and fixtures meet the necessary standards set by your area’s building codes. By following these guidelines, you can enjoy your outdoor sauna knowing it has been safely installed.
Water Connection
Decide if you want running water inside your outdoor sauna for showers or other purposes before proceeding with plumbing installation. Planning this aspect ahead will help determine the layout and design of your space effectively based on its functionality requirements.
Consulting professionals about plumbing requirements is essential to guarantee that water connections are correctly integrated into your outdoor sauna setup. Proper drainage systems must be considered along with waterproof materials to prevent any water damage over time due to steam or moisture from regular use.
Consider incorporating a nearby water source when designing your outdoor sauna for added convenience during construction and future maintenance needs. Whether it’s connecting directly to existing plumbing lines or setting up a separate water supply specifically for the sauna, proximity plays a significant role in enhancing usability without compromising aesthetics.
Accessories and Usage Guidelines
Essential Accessories
Sauna rocks, buckets, ladles, and thermometers are crucial for a complete sauna experience. These accessories help regulate heat and humidity levels inside the sauna. Proper ventilation systems are necessary to ensure fresh air circulation within the sauna space. Without adequate ventilation, the air quality can deteriorate quickly, leading to discomfort during sauna sessions. Consider incorporating seating options like loungers or stools in your outdoor sauna setup to enhance relaxation and comfort while enjoying the sauna.
- Sauna rocks aid in creating steam when water is poured over them.
- Thermometers help monitor temperature levels inside the sauna accurately.
- Ladles are used to sprinkle water on hot stones for steam generation.
Installing an efficient ventilation system ensures proper air circulation within the sauna area.
Usage Guidelines
Safety practices and etiquette should be emphasized when using outdoor saunas. Users must be educated about these aspects before indulging in a session. Providing clear instructions on how to control temperature settings is essential for ensuring a safe and enjoyable experience in the sauna. It’s vital to communicate recommended session durations based on individual tolerance levels and health conditions. Emphasize the importance of staying hydrated before entering the sauna and replenishing fluids after each session.
- Safety guidelines include not staying too long inside a hot environment.
- Etiquette involves respecting other users’ privacy while in communal saunas.
Educating users about safety measures helps prevent accidents or injuries during their time in outdoor saunas.
Pre-Built Kits vs. DIY Approach
Pre-Built Sauna Kits
Pre-built sauna kits offer a convenient option for constructing outdoor saunas. These kits come with detailed instructions from the manufacturer, making assembly and installation easier. You can save time by using pre-built kits rather than starting from scratch.
Customizing your sauna is also possible with pre-built kits. You can choose specific design elements to match your preferences, creating a unique outdoor oasis tailored to your needs. These kits often include all the necessary components, ensuring you have everything required for construction.
Pros:
- Time-saving option
- Detailed manufacturer instructions
- Customizable design options
Cons:
- Limited flexibility compared to DIY approach
- Higher initial cost compared to sourcing materials individually
DIY Approach Considerations
Before embarking on a do-it-yourself (DIY) approach for building an outdoor sauna, assess your skills and experience level. Researching and gathering all the essential tools and materials beforehand is crucial for a successful construction process.
If you’re new to sauna construction or unsure about certain steps, don’t hesitate to seek guidance from professionals or experienced individuals in the field. Their insights and advice can help you avoid common pitfalls and ensure that your project progresses smoothly.
- Assess your skills and experience level.
- Research necessary tools and materials.
- Seek guidance if needed from professionals or experienced individuals.
You’ve now got the lowdown on building your dream outdoor sauna. From planning and gathering materials to nailing down the foundation, walls, and roof, you’re well on your way to a cozy retreat. Don’t forget the interior design flair and essential connections for a top-notch sauna experience. Whether you opt for a DIY adventure or a pre-built kit, the key is to enjoy the process and envision yourself relaxing in your sauna oasis.
So, grab those tools, channel your inner builder, and get started on creating your personal relaxation haven right in your backyard. Your sauna journey awaits!
Frequently Asked Questions
How important is planning before starting the construction of an outdoor sauna?
Planning is crucial as it sets the foundation for a successful project. Consider factors like space, materials needed, and any necessary permits to ensure a smooth construction process.
What are the advantages of using pre-built kits for constructing an outdoor sauna?
Pre-built kits offer convenience by providing all necessary materials in one package, saving time on gathering supplies individually. They also come with detailed instructions, making assembly easier even for beginners.
Is electrical wiring installation in an outdoor sauna difficult?
Electrical wiring installation requires attention to detail but can be manageable with basic knowledge or professional assistance. Ensure safety measures are followed and consult local regulations when connecting electricity to your outdoor sauna.
Can I customize the interior design of my outdoor sauna according to my preferences?
Yes, you can personalize the interior design based on your style and comfort preferences. From choosing wood types to adding accessories like benches or lighting fixtures, customization allows you to create a unique and inviting space within your outdoor sauna.
How do I determine whether a DIY approach or purchasing a pre-built kit is more suitable for me?
Consider your skill level, available time commitment, budget constraints, and desired level of customization when deciding between DIY construction or purchasing a pre-built kit. Evaluate these factors carefully to choose the option that best fits your needs and capabilities.