The materials you choose can make or break your experience. From luxurious cedar wood for that spa-like feel to budget-friendly options like pine, the contrast in materials impacts both aesthetics and functionality. Ensuring you have the right essentials such as a powerful heater, heat-resistant insulation, and sturdy benches is crucial for a successful sauna build. Whether you prioritize durability, affordability, or style, selecting the ideal materials tailored to your preferences is key. Get ready to transform your space into a relaxing oasis with these essential components for your DIY sauna endeavor.
Key Takeaways
- Understanding Sauna Types: Different sauna types require specific materials, so choose the right one based on your needs and available resources.
- Essential Materials: Gather all necessary materials before starting your DIY sauna project to ensure a smooth construction process.
- Choosing Location: Select a suitable location for your sauna based on factors like space availability, ventilation, and proximity to water and electricity sources.
- Construction Steps: Follow the construction steps carefully, referring back to the article’s detailed instructions to build your sauna correctly.
- Installation Guide: Use the provided installation guide to set up your DIY sauna efficiently and safely, ensuring proper functionality.
- Custom Features: Consider adding personalized features to your sauna for enhanced comfort and enjoyment, as discussed in the article.
- Usage and Maintenance: Learn how to use and maintain your sauna properly to prolong its lifespan and ensure a relaxing experience every time.
- When to Seek Help: Don’t hesitate to seek professional help if you encounter challenges beyond your expertise during the DIY sauna project.
Understanding Sauna Types
DIY Project
Embarking on a DIY sauna project is not only rewarding but also cost-effective. Building your own sauna from scratch allows you to tailor every aspect to suit your preferences perfectly. Imagine designing the layout, choosing the materials, and adding personalized touches.
For those who enjoy hands-on projects, constructing a sauna can be an exciting endeavor. By taking charge of the building process, you have full control over the quality of materials used and the overall design. Building a sauna yourself can result in significant savings compared to purchasing a pre-built one.
Pros:
- Customization according to personal needs.
- Cost-effective compared to buying.
- Satisfaction of completing a DIY project.
Portable Sauna
Opting for a portable sauna offers flexibility and convenience that traditional saunas may lack. These compact units are ideal for individuals with limited space or those who move frequently. Setting up a portable sauna is hassle-free and can be done indoors or outdoors depending on preference.
Portable saunas provide users with the luxury of enjoying spa-like relaxation wherever they go without being confined by location constraints. Whether it’s unwinding after work in your living room or basking in nature’s beauty outside, portable saunas offer versatility like no other.
Pros:
- Easy setup and transportability.
- Suitable for limited spaces.
- Usable both indoors and outdoors.
Custom Builds
When considering options for creating custom-built saunas, you open up endless possibilities for creativity and personalization. Tailoring every detail from size to design elements allows you to craft a unique sanctuary tailored precisely to your liking.
Imagine having complete control over features like seating arrangements, lighting ambiance, or even incorporating panoramic windows into your custom-built sauna design. The ability to bring your vision into reality ensures that every moment spent in your customized oasis is truly exceptional.
Pros:
- Design tailored specifically to preferences.
- Flexibility in selecting features.
- Opportunity for creative expression through unique elements.
Essential Materials
Wood Selection
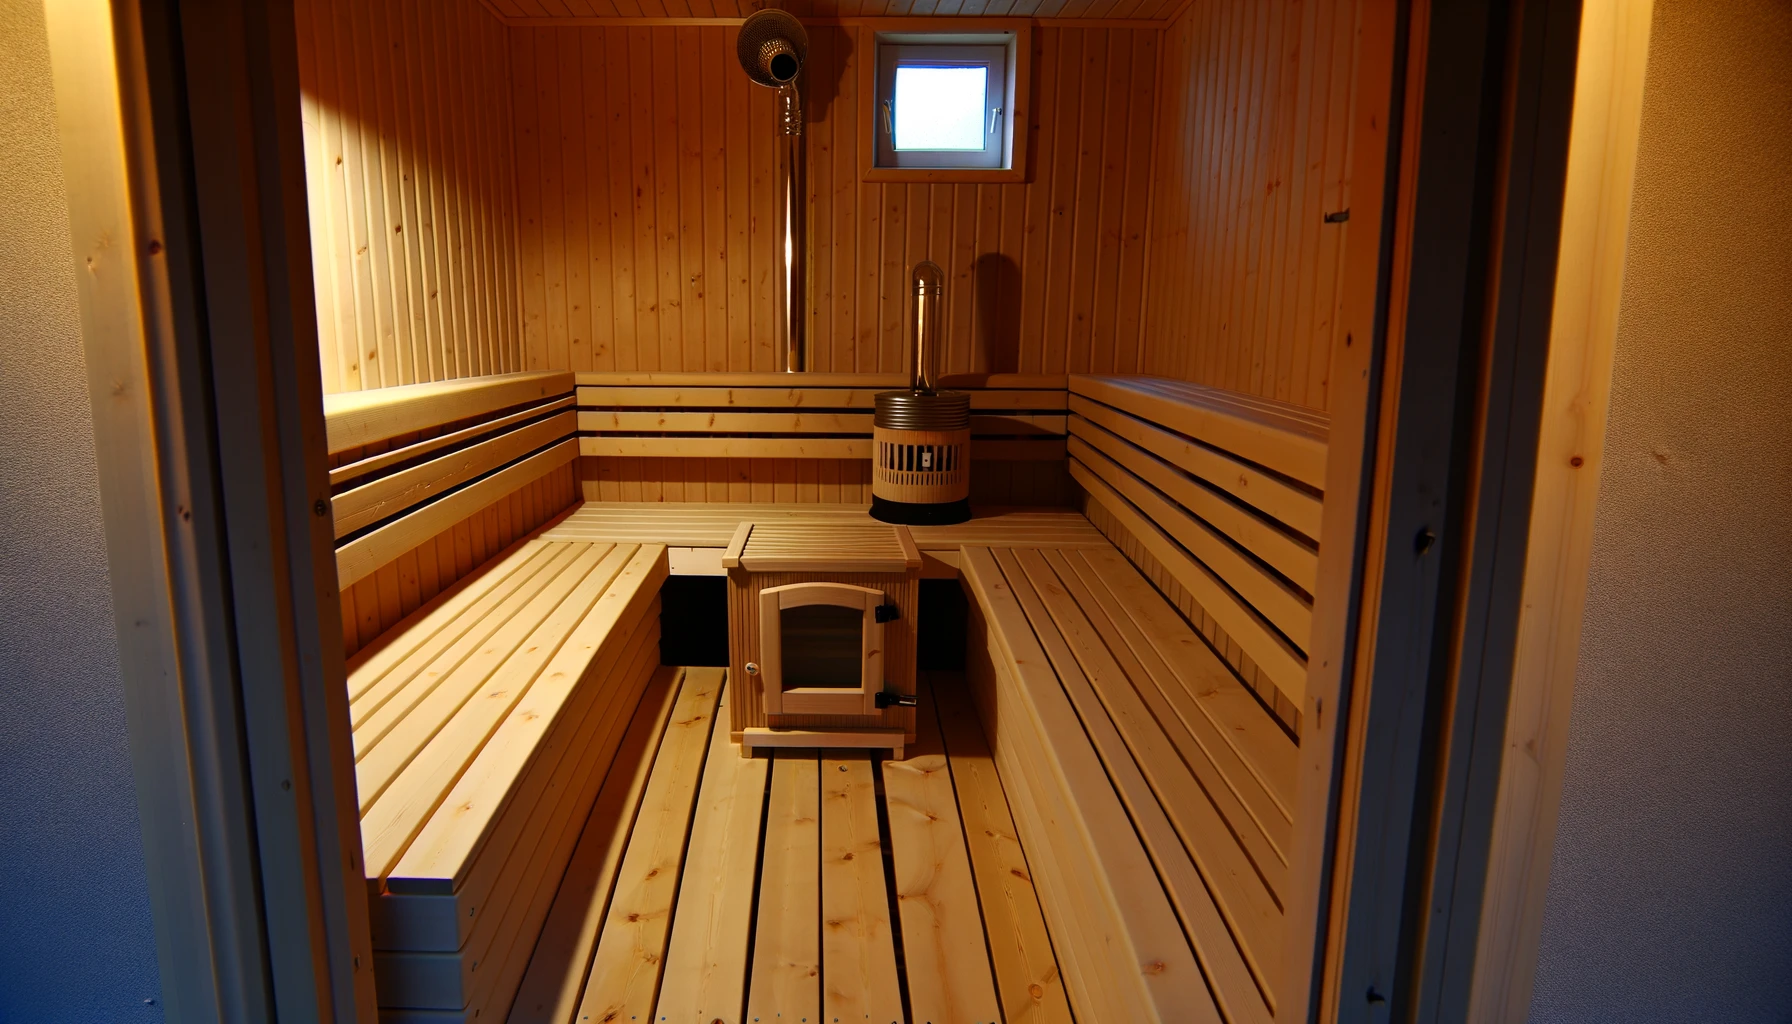
One of the crucial aspects is selecting the right wood. Opt for durable options like cedar or hemlock that naturally resist moisture and heat. Think about not only functionality but also the visual appeal and aroma different wood types can bring to your sauna.
Consider cedar, known for its aromatic properties, making it a popular choice for saunas. Hemlock is another excellent option due to its durability and resistance to warping in high humidity environments. These woods not only withstand heat and moisture but also add a pleasant scent to your sauna experience.
Heat Source
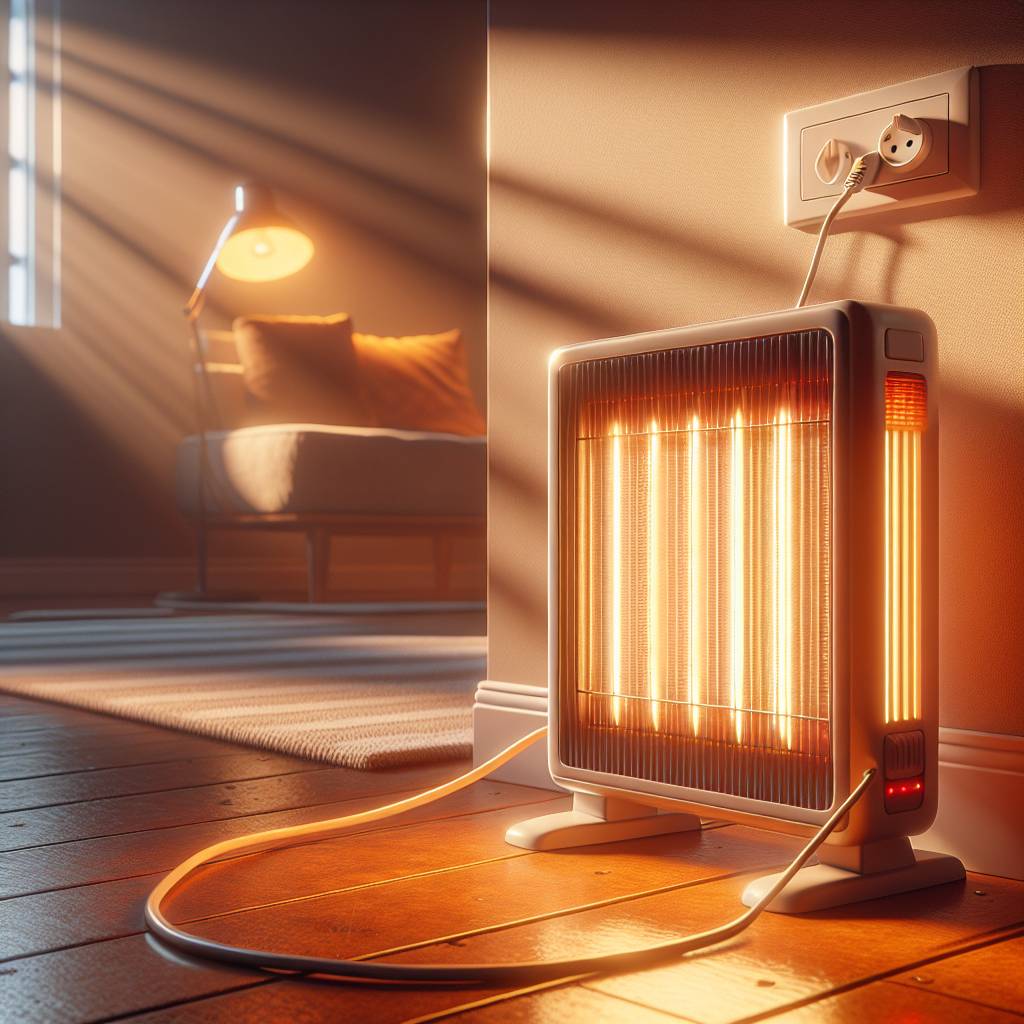
Heater Types
Choosing the appropriate heater type is essential when planning your DIY sauna project. Electric heaters are convenient with precise temperature control, ensuring a comfortable sauna experience every time you use it. On the other hand, if you prefer a more traditional approach, opt for wood-burning heaters that provide an authentic feel and enhance the rustic ambiance of your space.
When deciding between electric or wood-burning heaters, consider your preferences regarding maintenance, cost efficiency, and overall aesthetic appeal. Electric heaters offer hassle-free operation while wood-burning ones require regular maintenance but provide an unparalleled traditional touch.
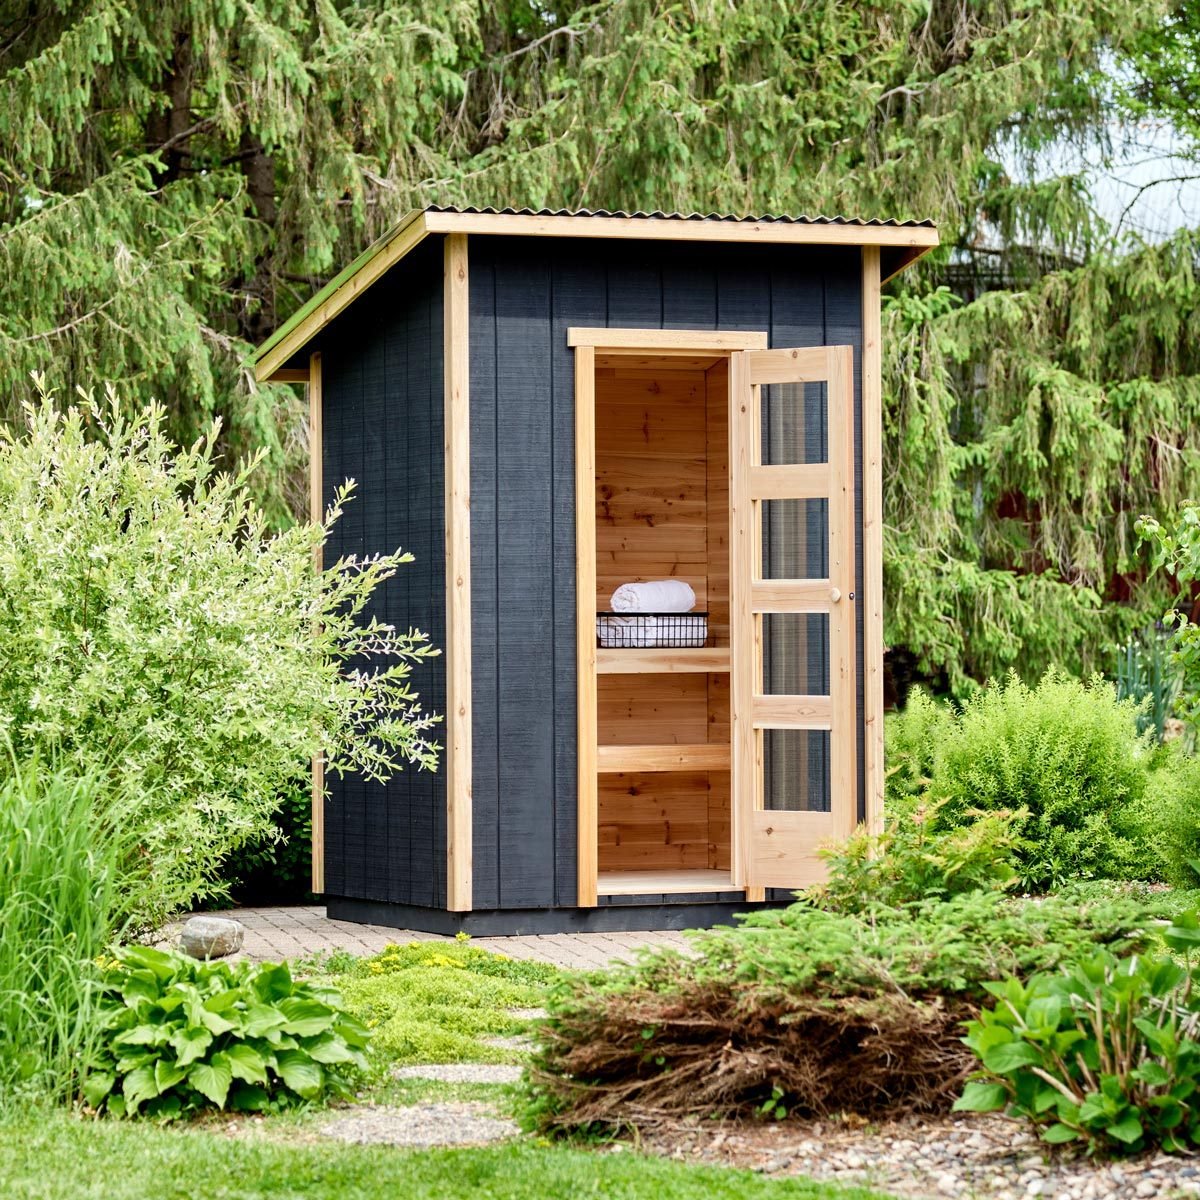
Choosing Location
When setting up a DIY sauna project, selecting the right location is crucial for a successful and enjoyable experience. For ideal spots, prioritize areas that offer good ventilation to ensure proper air circulation within the sauna. This promotes comfort and safety during sauna sessions.
Consider placing your sauna in a location with easy accessibility, allowing users to reach it conveniently. Privacy is also essential, so opt for spots where you can relax without disturbances. If possible, position the sauna near a bathroom or shower for quick access to facilities before and after using the sauna.
Determining the necessary space requirements is vital when planning your DIY sauna project. Depending on how many people will be using the sauna simultaneously, allocate enough room for comfortable seating and movement inside. Factor in any desired amenities like changing rooms or relaxation areas to enhance the overall experience of your homemade sauna setup.
Construction Steps
Wall Frame
When constructing a sauna, the first step is to build a sturdy wall frame. This involves using pressure-treated lumber or metal studs. Ensure proper spacing between studs for insulation and paneling. It’s crucial to follow building codes and regulations during this process. By creating a robust wall frame, you lay the foundation for the rest of your sauna construction.
A well-built wall frame provides structural integrity to your sauna and ensures safety. For example, if you opt for a wooden frame, using pressure-treated lumber helps prevent rotting due to exposure to moisture in the sauna environment. Following proper spacing guidelines allows for efficient insulation installation later on.
Electrical Components
The next essential step in your DIY sauna project is handling electrical components. Hiring a licensed electrician is crucial for this task as they have the expertise needed to ensure safety and compliance with local regulations. Installing appropriate wiring, outlets, and switches will power your sauna heater and lighting effectively.
Safety should always be the top priority. Incorrectly installed electrical components can pose serious risks such as fire hazards or electric shocks. By employing a professional electrician familiar with sauna installations, you guarantee that all components are correctly wired and meet necessary standards.
Installation Guide
Paneling
When setting up your DIY sauna, the materials needed for a DIY sauna project include tongue-and-groove paneling. This type of paneling ensures easy installation and gives your sauna a seamless appearance. It’s essential to choose wood paneling that matches the overall look you want for your sauna. To enhance durability and moisture resistance, apply a protective finish to the wood.
To create an aesthetically pleasing and functional space, consider using ceramic tiles or waterproof paint as wall coverings in areas exposed to high moisture levels. These materials are easy to clean and maintain in humid conditions, ensuring longevity for your sauna walls. By incorporating different colors or patterns into the design, you can customize the look of your sauna while maintaining practicality.
Wall Covering
Safety is paramount when building a personal sauna at home. Proper ventilation is crucial to ensure fresh air circulation within the enclosed space and prevent overheating during use. Using non-slip flooring materials helps minimize accidents that may occur in a humid environment like a sauna setting.Following safety guidelines is vital to reduce fire hazards associated with saunas.
Custom Features
Aesthetic Finishes
Personalizing your DIY sauna project with aesthetic finishes can elevate the overall look and feel of the space. Consider adding elements like decorative lighting, artwork, or plants to create a cozy and inviting atmosphere. Opt for lighting fixtures that emit a soft glow, enhancing relaxation during sauna sessions.
Incorporating natural elements such as stones or pebbles can bring a spa-like ambiance to your sauna. These additions not only contribute to the aesthetics but also help in creating a calming environment. Imagine stepping into your sauna adorned with warm lights and natural accents – it’s like having your personal oasis at home.
- Add decorative lighting for ambiance
- Include natural elements like stones for a spa-like feel
- Personalize with artwork and plants
Personalized Features
Adding personalized features to your DIY sauna allows you to tailor the space according to your preferences. Consider integrating built-in speakers for playing soothing music while you relax in the sauna. Bluetooth connectivity enables you to easily control audio settings from your phone, enhancing convenience.
For those who enjoy natural light, incorporating windows or skylights is an excellent way to brighten up the interior and create an open atmosphere inside the sauna. This feature not only adds functionality but also contributes to a sense of spaciousness within the confined space.
- Customize with built-in speakers and Bluetooth connectivity
- Enhance openness with windows or skylights
Usage and Maintenance
How to Use
When embarking on a DIY sauna project, it’s crucial to follow proper sauna etiquette. Start with short sessions at lower temperatures to allow your body to adjust gradually. As you get used to the heat, increase both session duration and temperature. Remember always to stay hydrated by drinking water before and after each session.
To ensure safe usage of your sauna, familiarize yourself with best practices. For example, avoid using oils or lotions that can damage the wood or create a fire hazard. Consider having a thermometer inside the sauna so you can monitor the temperature accurately during use.
Maintenance Tips
Regular maintenance is key for ensuring your DIY sauna remains in top condition. Clean and sanitize your sauna regularly to prevent bacteria or mold growth in the warm environment. Check for any signs of wear on insulation or vapor barriers; replacing them promptly will help maintain optimal heat efficiency.
Keep an eye on the heater and electrical components for any indications of damage or malfunctioning parts. This includes checking cords for fraying, ensuring proper ventilation around electrical elements, and scheduling routine inspections if needed.
When to Seek Help
Professional Assistance
If you find yourself uncertain about any part of the materials needed for a DIY sauna project, don’t hesitate to seek professional help. Consulting with an experienced contractor or sauna specialist can provide valuable advice and guidance. These experts can ensure that your sauna is constructed safely, meeting all necessary standards and regulations.
Hiring professionals for your DIY sauna project has its advantages. They bring expertise in building saunas, ensuring that the materials used are appropriate and the construction is done correctly. Professionals can offer insights on optimizing the layout and design of your sauna space.
Safety Checks
Regular safety checks are crucial when working with electrical components in a DIY sauna setup. Ensure that all electrical connections are secure and free from damage to prevent any hazards during use. It’s essential to test emergency shut-off switches periodically to guarantee they work effectively if needed.
When conducting safety checks on your DIY sauna, pay close attention to heaters and ventilation systems as well. Look out for any signs of wear or damage that could potentially compromise the safety of your sauna environment. By staying vigilant and addressing these issues promptly, you can maintain a safe and enjoyable sauna experience for yourself and others using it.
Final Remarks
You’ve now got the lowdown on DIY sauna building, from materials to maintenance. It’s time to roll up your sleeves and get that sweat session started in your very own home sauna. Remember, patience is key, just like in a sauna – slow and steady wins the race. So, grab those planks, nails, and a good dose of determination; it’s DIY time! Your sauna oasis awaits.
Frequently Asked Questions
What are the different types of saunas to consider for a DIY project?
You can choose from traditional saunas, infrared saunas, steam rooms, or even portable options. Each type offers unique benefits in terms of heat distribution and installation requirements.
Where can I find essential materials for building my own sauna?
You can easily source essential materials like cedar wood panels, sauna heaters, vapor barriers, and benches from local hardware stores or specialized online retailers. Ensure you have all the necessary components before starting your DIY sauna project.
How do I select the ideal location for setting up a DIY sauna?
When choosing a location for your homemade sauna, opt for a space with proper ventilation and access to electricity. Consider factors like proximity to water sources and ease of maintenance when finalizing the spot within your home or backyard.
What are some key construction steps involved in building a DIY sauna?
Constructing your own sauna involves steps such as framing the structure, installing insulation and vapor barriers, assembling benches and seating areas, adding lighting fixtures, and finally placing the heater. Following these steps meticulously ensures a successful DIY project.
How can I add custom features to personalize my DIY sauna experience?
To enhance your homemade sauna’s functionality and aesthetics, consider incorporating custom features like chromotherapy lighting systems, sound systems for relaxation music playlists, or adjustable temperature controls based on personal preferences. These additions elevate your at-home spa experience.