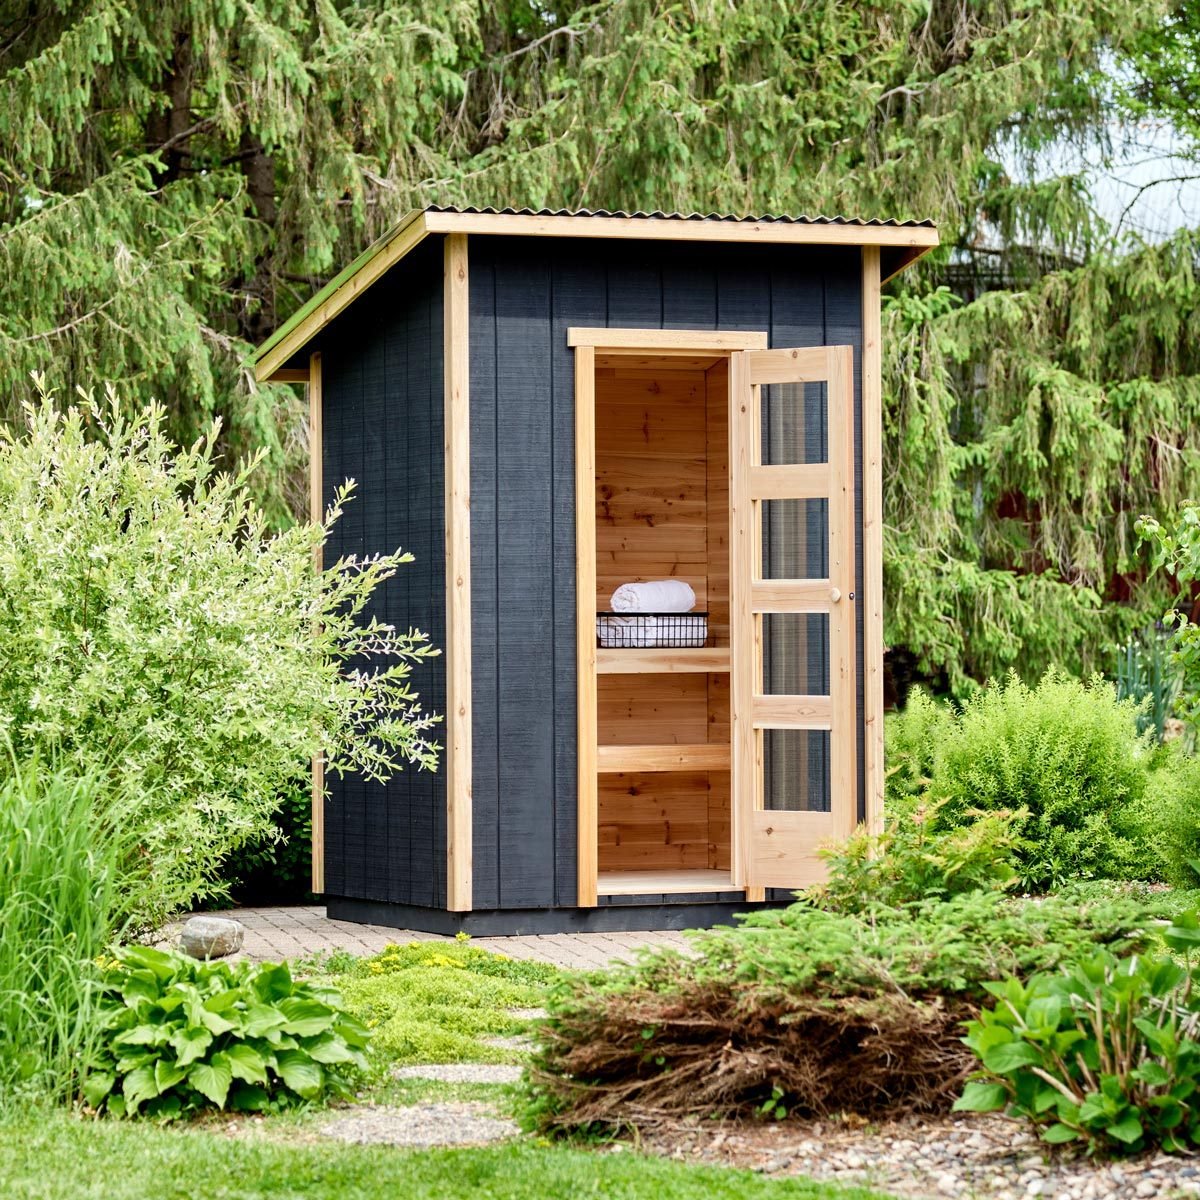
Transforming your sauna space is easier than you think. With our simple yet comprehensive guide, you’ll be well on your way to creating the perfect oasis for relaxation and rejuvenation. From selecting the right materials to putting everything together seamlessly, we’ve got you covered every step of the way.
Key Takeaways
- Plan Carefully: Before starting the DIY sauna door project, take time to plan the design, size, and materials needed for your sauna door.
- Attention to Detail: When constructing the sauna door, ensure precise measurements and sturdy construction to guarantee a well-fitted and durable final product.
- Window Wisdom: Incorporate windows thoughtfully for ventilation and aesthetics, following the recommended tips for proper installation.
- Preparation is Key: Adequately prepare the sauna space for door installation by clearing the area, checking for level surfaces, and gathering all necessary tools and materials.
- Installation Precision: Follow a step-by-step guide for installing the sauna door, ensuring a snug fit, proper sealing, and smooth operation.
- Final Flourish: Don’t overlook the finishing touches like handles, hinges, seals, and side pieces to complete the sauna door installation with finesse.
Planning Your DIY Sauna Door
Door Dimensions
To start your DIY sauna door project, accurately measure the height and width of your sauna entrance. Take into account the thickness of the cedar paneling when determining these dimensions. It’s crucial to ensure that the door measurements result in a snug fit for optimal heat retention within your sauna space.
When installing a sauna door, precision is key. A well-fitted door not only enhances the overall look but also plays a vital role in maintaining the desired temperature inside your sauna room.
Selecting Materials
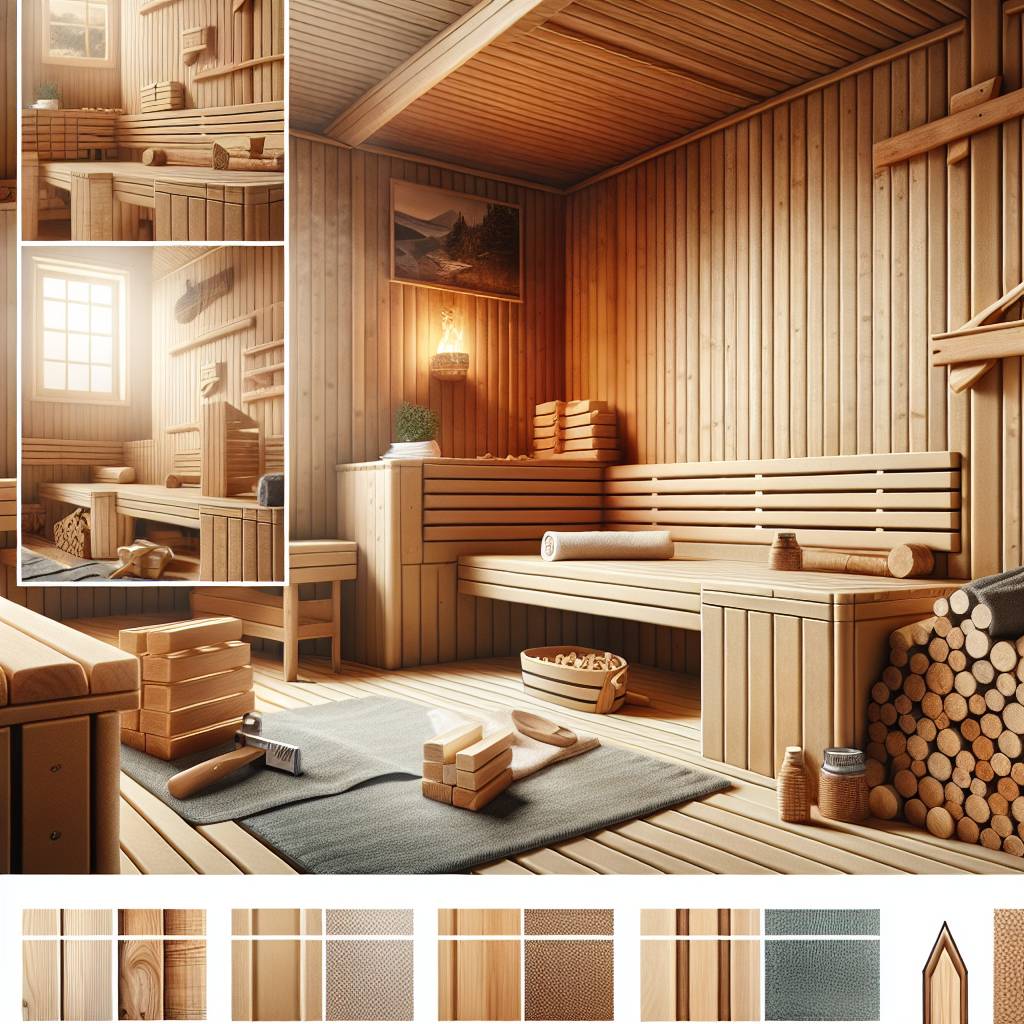
For your DIY sauna door, opt for high-quality cedar paneling known for its durability and resistance to moisture. Cedar not only adds a natural and aesthetically pleasing touch to your sauna but also stands up well against humidity and temperature changes commonly found in saunas. Properly sealing the cedar paneling will further protect it from these elements, ensuring longevity.
In addition to cedar paneling, choose a sturdy plywood core that can withstand high temperatures typical of saunas. The plywood core provides essential structural support and stability to your sauna door setup. Ensure that this component is free from any defects or warping before installation, as it will impact both functionality and aesthetics.
Hardware Choices
When selecting hardware for your DIY sauna door, consider stainless steel options due to their corrosion resistance properties suitable for sauna environments. Opting for durable and heat-resistant hardware guarantees longevity even under challenging conditions like those present in saunas. Choose hardware that complements the overall design aesthetic of your sauna space, creating a cohesive look throughout.
Constructing the Sauna Door
The process involves several key steps. To start, cutting the plywood core is crucial for the door’s structure. Using a circular saw or jigsaw, carefully cut the plywood according to your measurements. Make sure to measure accurately before cutting and smooth out any rough edges post-cutting for a polished look.
Next in line is installing cedar paneling on your sauna door. Begin by measuring and marking the cedar panels based on your door dimensions. Double-check these measurements to ensure precise panel placement. Remember to leave room between panels for expansion due to temperature changes that may occur within your sauna environment.
Moving on, securing these cedar panels onto the plywood core is essential for durability and aesthetics. Apply adhesive evenly on each cedar panel’s back before affixing them onto the core surface. Use clamps or weights to keep the panels in position while allowing time for adhesion drying properly. Any excess glue should be promptly wiped off with a damp cloth.
Pros:
- Cost-effective compared to purchasing pre-made doors
- Customizable design options tailored to personal preferences
Cons:
- Requires precision and attention to detail during construction
- Time-consuming process compared to ready-made alternatives
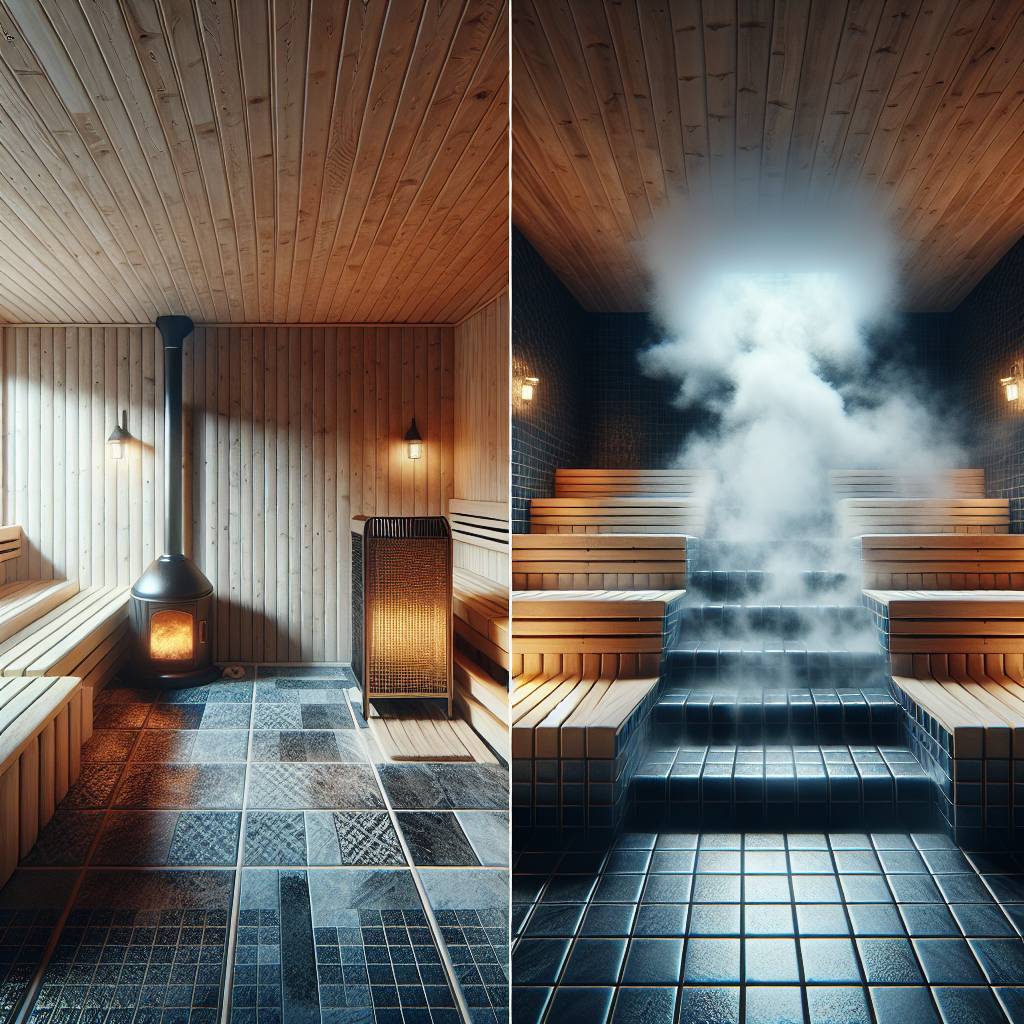
Window Installation Tips
Choosing the right windows is crucial. Opt for windows made of tempered glass for safety, as they are more durable and less likely to break into sharp pieces. Consider windows with double-pane insulation to ensure better heat retention within the sauna. When selecting window sizes, aim for ones that allow ample natural light to enter while maintaining privacy.
Cutting window openings requires precision and care in handling tools. Begin by marking the desired window locations on the cedar panels before cutting them out. Utilize a jigsaw or hole saw to cut along the marked lines accurately. After cutting, smooth out the edges of the openings using sandpaper or a router for a clean finish that complements your sauna’s aesthetic.
Sealing around windows is essential to maintain proper insulation and prevent heat loss during sauna sessions. Apply heat-resistant silicone sealant generously around the edges of each window opening to create an airtight seal that keeps warmth inside effectively. Make sure there are no gaps or cracks where heat could escape, ensuring optimal energy efficiency in your DIY sauna project.
To avoid moisture infiltration through the windows, it’s vital to secure a tight seal when applying silicone sealant around them. Any excess sealant should be promptly cleaned off using a damp cloth or scraper tool for a tidy appearance post-installation.
Preparing for Installation
Door Frame Measurements
When installing a sauna door, start by measuring the height and width of your sauna entrance. This step helps determine the appropriate size for the door frame. Remember to leave a small gap between the door frame and sauna walls to account for potential expansion due to heat. Opt for a sturdy material that can endure high temperatures and humidity, ensuring longevity.
Selecting the right dimensions is crucial when installing a sauna door. A well-fitted door frame not only enhances aesthetics but also ensures optimal functionality. For instance, if the frame is too small, it may lead to difficulties in opening and closing the door smoothly.
Hinge Placement
Proper hinge placement plays a vital role in ensuring stability when installing a sauna door. Position hinges evenly on both sides of the door frame to distribute weight effectively. Align hinges meticulously on both the door and frame to prevent any misalignment issues that could affect how well the door closes.
Using a level during installation is essential as it guarantees that your sauna door hangs straight and swings effortlessly. An unevenly hung or misaligned door can cause operational problems over time, such as difficulty in closing properly or gaps letting heat escape from inside.
Installing the Sauna Door
Attaching Hardware
When installing your diy sauna door, it’s crucial to pay attention to the hardware details. Start by selecting heavy-duty hinges that can support the weight of the door effectively. Opt for stainless steel hinges as they are highly durable and resistant to the humid conditions of a sauna. Remember to lubricate the hinges regularly to ensure smooth operation over time.
For handles, prioritize materials like stainless steel or wood that can withstand high temperatures in a sauna environment. Look for handles with ergonomic designs for comfortable use during every entry and exit from your sauna space. When installing handles, place them at a height that is convenient for all users to reach easily without straining.
Hanging the Door
To successfully hang your sauna door, enlist someone’s help in holding and aligning it while attaching it to the selected hinges securely. Check that once hung, the door swings freely without any obstructions such as rubbing against the frame or floor. If there are any issues with alignment or fit, make necessary adjustments promptly until you achieve proper functionality and alignment.
Finishing Touches
Sealing the Door
To ensure your DIY sauna door is properly sealed, apply heat-resistant gasket material along the edges. This creates an airtight seal that helps maintain the sauna’s temperature. Check for gaps or leaks by examining if light seeps through when it’s dark inside the sauna. Promptly replace any worn-out gaskets to preserve heat efficiency and prevent energy loss.
When sealing your sauna door, remember that a well-insulated entrance contributes to maintaining optimal temperatures within the sauna space. By addressing any gaps or leaks promptly, you can enhance the overall performance of your homemade sauna setup and ensure a comfortable experience every time you use it.
Aesthetic Enhancements
Consider elevating the visual appeal of your DIY sauna door with decorative elements like trim or carvings. These additions not only enhance aesthetics but also add a personalized touch to your project. To highlight the natural beauty of cedar paneling used in many saunas, consider applying a protective finish such as varnish or oil for added durability and visual impact.
Adding unique accents that reflect your style and taste can make your DIY sauna feel more inviting and personalized. Whether it’s incorporating intricate carvings inspired by nature or selecting hardware that complements other design elements in your home, these small details can elevate the overall look of your homemade sauna.
Common Installation Mistakes
Incorrect Measurements
When installing a DIY sauna door and window, ensuring accurate measurements is crucial. Double-checking all measurements before cutting any materials can prevent costly mistakes. Remember, it’s always better to measure twice and cut once to guarantee precise dimensions for a proper fit. If there are any errors in measurement, address them promptly to avoid delays during the installation process.
Inaccurate measurements can lead to issues such as gaps around the door or window, compromising the efficiency of your sauna. For instance, if the door is too small, heat loss may occur due to poor insulation. Rectifying measurement errors promptly not only ensures a snug fit but also contributes to the overall effectiveness of your sauna setup.
Poor Sealing Practices
Proper sealing plays a vital role in maintaining the functionality and energy efficiency of your DIY sauna installation. Neglecting adequate sealing measures can result in heat loss through gaps around doors and windows, reducing energy efficiency over time. Moisture infiltration due to inadequate seals can lead to mold growth and structural damage.
Regularly inspecting and maintaining seals is essential for preventing these issues from arising in your sauna space. By paying attention to seal integrity, you ensure optimal performance and longevity for your DIY sauna project.
Maintenance Tips
Regular Cleaning
To maintain your DIY sauna door and window installation, regular cleaning is essential. Use mild soap and water to clean the sauna door, ensuring you remove dirt and sweat residue. Harsh chemicals can harm the cedar paneling or hardware, so avoid them. After cleaning, make sure to wipe dry thoroughly to prevent moisture buildup.
Regularly inspecting the hardware of your sauna door and windows is crucial for their longevity. Check hinges, handles, and other components for any signs of wear or damage. If you notice loose screws or worn-out hardware during inspection, tighten them or replace as necessary. By properly maintaining the hardware of your sauna door and windows, you ensure smooth operation over time.
Closing Thoughts
You’ve now got the inside scoop on DIY sauna door and window installation. Remember, measure twice, cut once – precision is key! Don’t rush through the process; take your time to ensure a snug fit for that sauna oasis you’re creating. Avoid those common mistakes we discussed and give your sauna door and window the attention they deserve. Maintenance is crucial, so keep an eye out for any wear and tear to enjoy your sauna for years to come.
Now it’s time to roll up your sleeves and get cracking on that DIY project. With these tips in your toolbox, you’re all set to transform your space into a cozy retreat. Get those tools out, get creative, and make that sauna installation a success!
Frequently Asked Questions
How important is proper planning for DIY sauna door installation?
Proper planning is crucial as it sets the foundation for a successful project. Consider factors like size, material, and placement to ensure your sauna door fits perfectly and functions effectively.
What are common mistakes to avoid during sauna door installation?
Avoid rushing the process, neglecting measurements, using poor-quality materials, improper sealing techniques, and overlooking safety precautions. Double-check each step meticulously to prevent costly errors down the line.
Should I prioritize window installation in my sauna construction project?
While windows can enhance aesthetics and ventilation in your sauna space, they are not essential. If you opt for windows, choose high-quality ones suitable for saunas to prevent heat loss and maintain a comfortable environment inside.
How do I ensure proper maintenance of my newly installed sauna door?
Regularly inspect hinges, seals, and handles for wear or damage. Clean the door with mild soap and water as needed to prolong its lifespan. Simple upkeep practices will keep your DIY sauna door looking great and functioning smoothly over time.
Can I customize my DIY sauna door design according to personal preferences?
Absolutely! Personalizing your sauna door allows you to match it with your style or existing decor. From choosing different wood finishes to adding unique handles or glass panels – get creative with your design while ensuring functionality remains a top priority.