Did you know that spending just 20 minutes in a sauna can burn as many calories as going for a brisk walk? Imagine having your own oasis of relaxation right in your backyard, where you can unwind and rejuvenate anytime you want. Building a DIY sauna is easier than you might think, and it doesn’t have to break the bank. In this guide, we will walk you through the simple steps to build your own personal retreat without needing fancy tools or expert skills. From selecting the right location to putting together the materials, get ready to transform your outdoor space into a cozy haven for ultimate relaxation.
Key Takeaways
- Plan Carefully: Before starting, create a detailed plan for your DIY sauna to ensure a smooth construction process.
- Invest in Good Groundwork: Properly prepare the ground where you’ll place your sauna to ensure stability and longevity of the structure.
- Follow Building Steps: Adhere to the step-by-step guide for constructing the sauna to avoid mistakes and ensure a safe end result.
- Design a Comfortable Interior: Focus on creating a cozy and functional interior space within your sauna for a relaxing experience.
- Enhance the Exterior: Finish the outside of your sauna with weather-resistant materials for durability and an appealing look in your backyard.
- Choose the Right Heat Source: Select a suitable heat source based on your preferences and budget, ensuring optimal sauna temperatures.
Planning Your Sauna
Location Selection
When deciding where to build your DIY sauna, think about proximity for easy access. Ensure the area has good drainage to prevent water buildup. Opt for a spot that offers privacy to create a serene sauna experience.
For example, placing your sauna close to the house makes it convenient for quick retreats during cold weather. Ensuring proper drainage prevents any water-related issues in and around the sauna area.
Size Considerations
If you’re aiming for a cozy setup, tailor the size of your sauna to comfortably fit two people. Install benches that provide individual space and comfort. Adding adjustable temperature controls allows each person to set their preferred heat level.
By optimizing space for two individuals, you build an intimate setting perfect for sharing relaxing moments with a friend or family member in your backyard oasis.
Design Elements
Personalize your DIY sauna by incorporating elements that reflect your style and blend seamlessly with your backyard aesthetic to build. Integrate windows or skylights to invite natural light and ventilation into the space. Consider adding personal artwork or decorations for a unique touch that enhances relaxation.
Customizing design elements adds character and charm to your backyard retreat while ensuring it complements the overall look of your outdoor space beautifully.
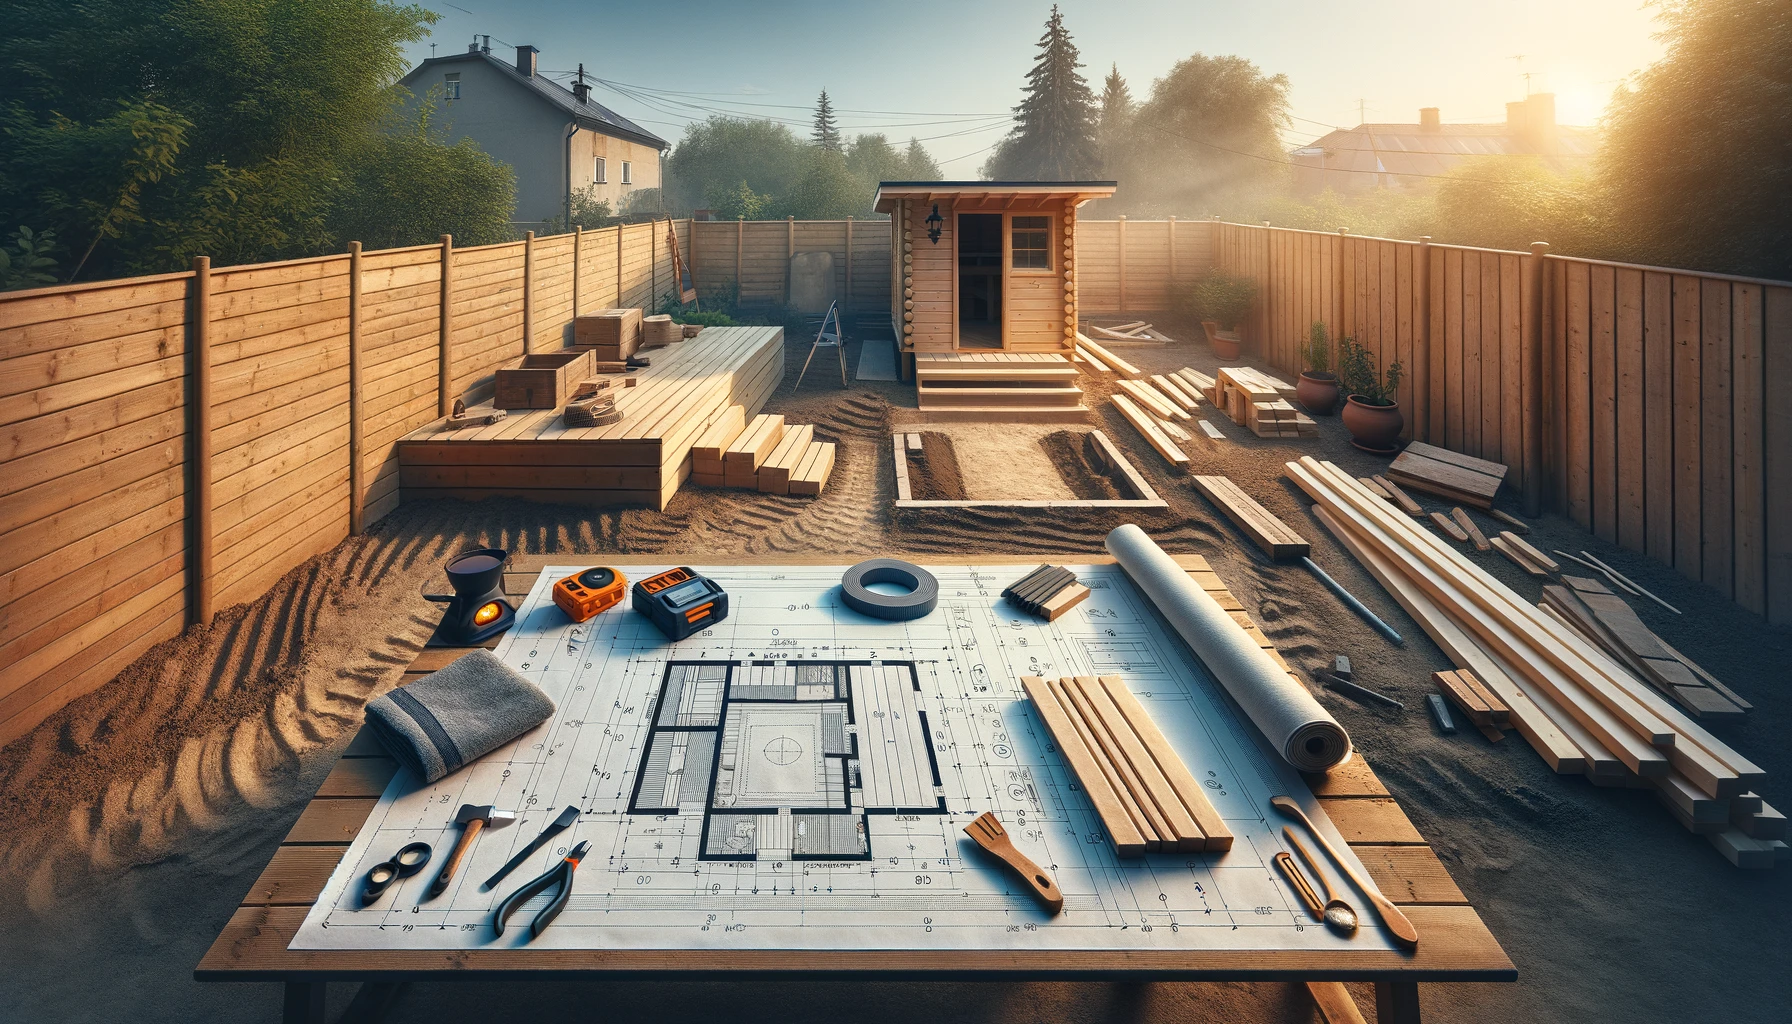
Groundwork Preparation
The groundwork preparation is crucial. Before diving into construction, gather essential tools like a circular saw, drill, and level. Stock up on supplies such as screws, nails, and insulation materials to ensure you have everything needed for the project.
Investing in safety equipment like goggles and gloves is essential to protect yourself during the construction process. Once you have all your tools and supplies ready, it’s time to move on to constructing the floor base. Start by leveling the ground where your sauna will stand before building the floor base using pressure-treated lumber.
To prevent moisture damage over time, utilizing pressure-treated lumber is key for ensuring the longevity of your sauna structure. Install vapor barriers beneath the floor base to protect against humidity that could potentially seep through from the ground below.
When setting up your DIY sauna’s foundation, remember that proper groundwork preparation sets a solid base for successful construction later on. By taking care of these initial steps diligently with attention to detail and precision, you are laying down a strong foundation for your backyard sauna project.
Building the Structure
Framing Walls
When building a DIY sauna in your backyard, framing the walls is crucial. Follow precise measurements to ensure accuracy. Securely anchor the walls for stability and durability over time. Remember to leave space for door and window installations to complete the structure.
- Precise measurements are essential.
- Secure anchoring ensures stability.
- Space for doors and windows must be accounted for.
Roof Installation
For an efficient water runoff, opt for a sloped roof design when constructing your sauna. Choose roofing materials resistant to weather elements like rain or snow. Proper insulation between the ceiling and roof helps maintain heat inside.
- Sloped roofs aid in water drainage.
- Resistant roofing materials are vital.
- Insulation preserves heat within the sauna structure.
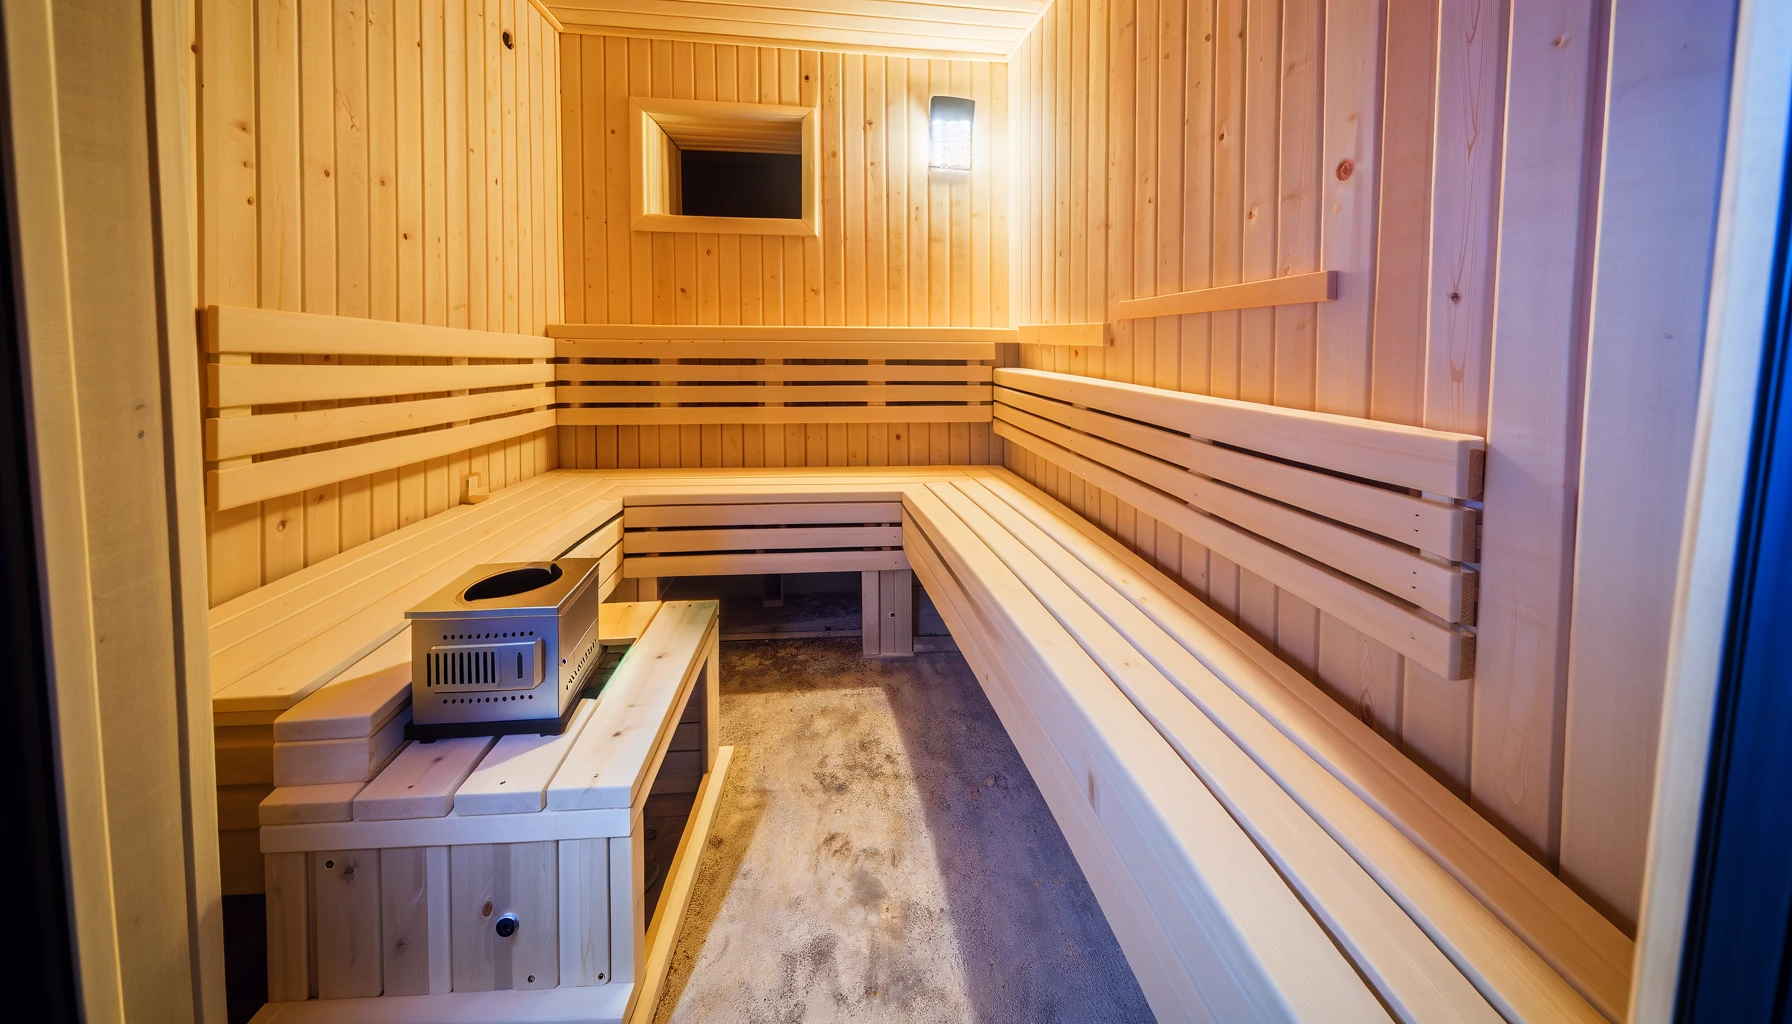
Interior Setup
Installing Benches
To create a cozy atmosphere in your DIY sauna, start by building sturdy benches using moisture-resistant wood. These benches should provide enough space for comfortable seating while allowing room to stretch out. For added comfort, think about incorporating backrests or cushions on the benches to enhance the relaxation experience.
When setting up the benches, keep in mind that spacing is crucial for a pleasant sauna session. You want to ensure that there is enough room between the benches so that individuals can sit comfortably without feeling cramped. Adequate spacing also promotes air circulation within the sauna, contributing to a more enjoyable and relaxing environment.
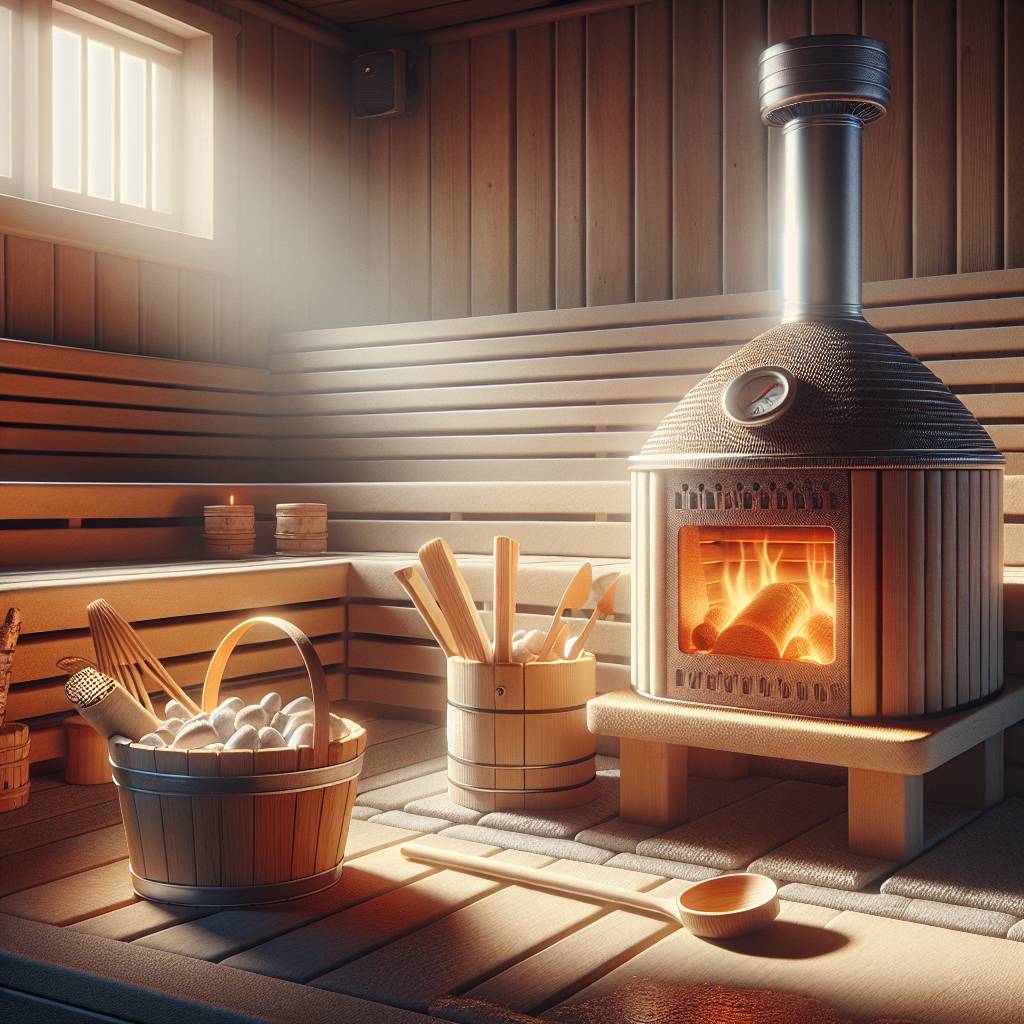
Stove Installation
Selecting an appropriate sauna stove is essential for achieving your desired heat levels during each session. When installing the stove, it’s vital to carefully follow the manufacturer’s instructions step by step to guarantee safe and efficient operation. Proper ventilation must be installed to maintain air quality and safety inside the sauna while ensuring adequate heat distribution throughout.
The installation of a suitable stove ensures that you can enjoy consistent heat levels tailored to your preferences each time you use your DIY sauna. By selecting a stove with an optimal heat output capacity, you can create an environment that promotes relaxation and well-being within your home spa setup.
Door Fitting
Choosing the right door for your DIY sauna plays a significant role in maintaining heat retention and creating a comfortable interior environment. Opt for a well-insulated and heat-resistant door designed specifically for saunas to prevent unnecessary heat loss during sessions.
When fitting the door, pay attention to ensuring it has a tight seal when closed properly; this helps retain heat effectively within the space. To enhance visibility inside the sauna while maintaining insulation properties, consider adding a window in the door, providing both functionality and aesthetic appeal.
Exterior Finishing
To enhance the look of your DIY sauna in the backyard, consider using the Shou Sugi Ban technique. This traditional Japanese method involves charring wood to create a distinct and visually appealing finish. By utilizing a blowtorch or propane torch, you can evenly char the surface of the wood, giving it a unique aesthetic.
Once you have charred the wood to your desired level, it is essential to seal it with an oil-based finish for protection against weather elements. The sealant not only preserves the charred appearance but also helps in maintaining the integrity of the wood over time. This step ensures that your sauna’s exterior remains durable and resistant to outdoor conditions.
Incorporating the Shou Sugi Ban technique into your DIY sauna project adds a touch of elegance and sophistication to your backyard space. The charred wood finish creates a striking contrast against greenery or other outdoor elements, making your sauna stand out as a focal point in your yard.
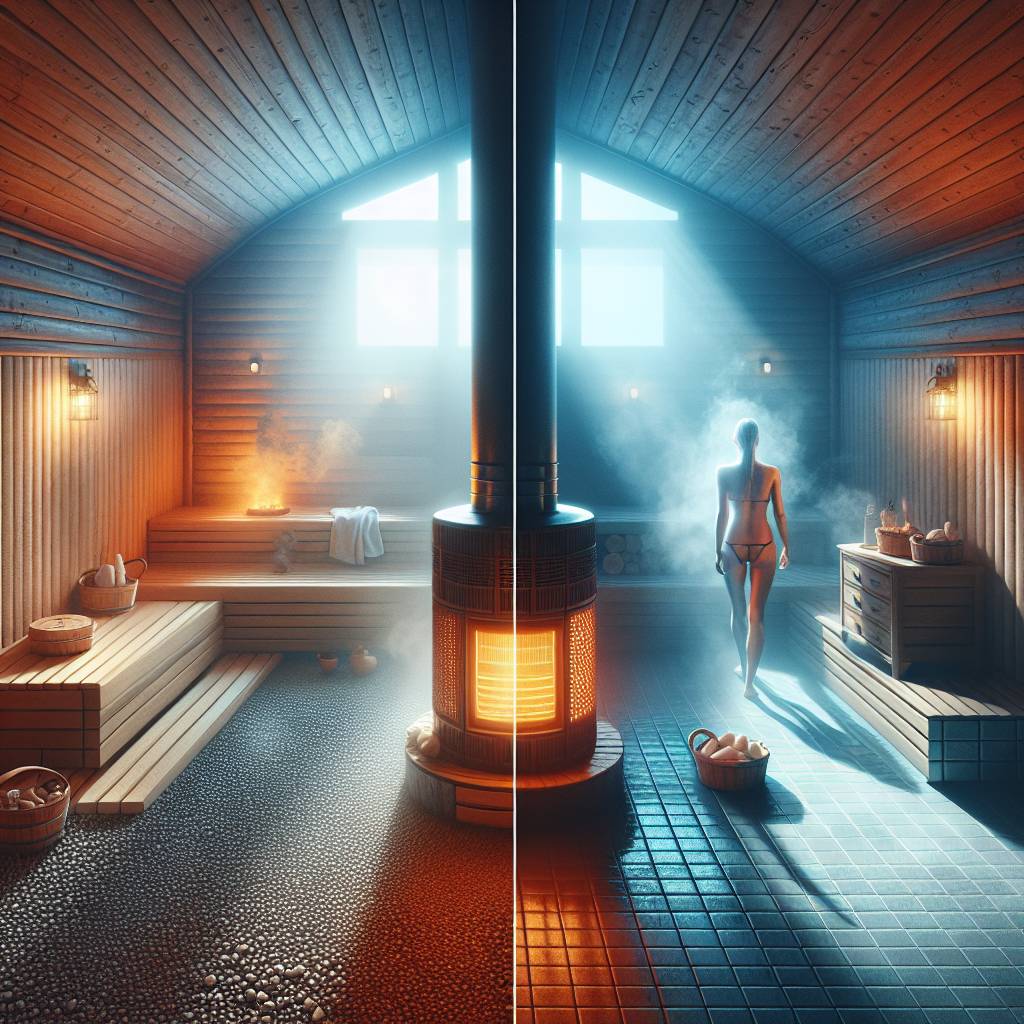
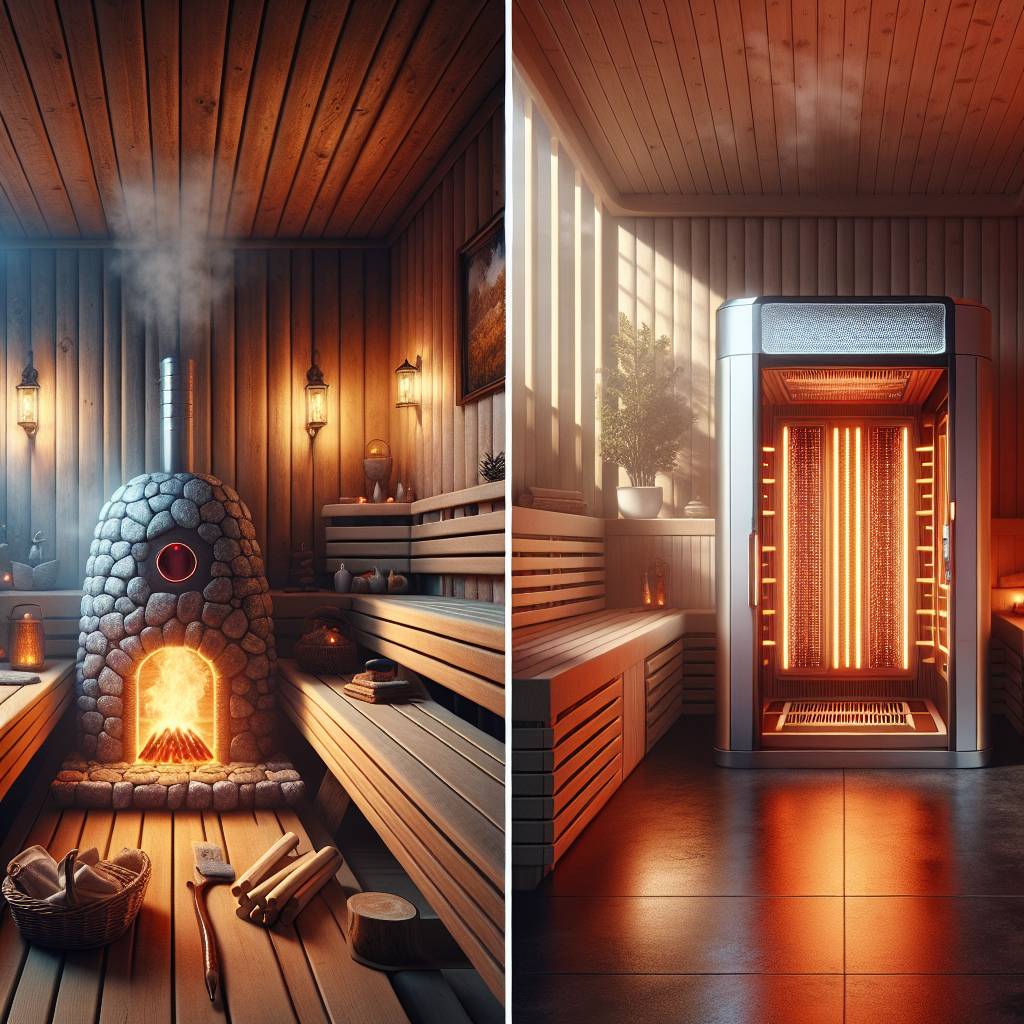
Heat Source Options
Selecting the right heat source is crucial. Researching reputable suppliers for quality materials is essential. Consider purchasing from local suppliers to support your community and reduce transportation costs.
Reading customer reviews can provide valuable insights into the performance and durability of different heat sources. Comparing prices will help you find an option that fits your budget while ensuring high quality for your DIY sauna project.
Safety and Maintenance
Guard Rails Installation
When building a DIY sauna in your backyard, safety should be a top priority. Install guard rails around elevated areas to prevent accidents. Consider using materials like stainless steel or tempered glass for durability. Ensure that the height of the guard rails complies with safety regulations to provide adequate protection.
To maintain a safe sauna environment, regular checks are essential. Perform routine inspections to identify any maintenance needs promptly. Check for signs of water damage, mold growth, or pests regularly to address issues before they escalate. Monitor temperature and humidity levels consistently to ensure optimal sauna conditions for comfort and safety.
Regular Checks
Regular maintenance is crucial for the longevity and efficiency of your DIY sauna in the backyard. By conducting frequent inspections, you can detect potential issues early on and prevent costly repairs down the line. Keeping an eye out for water damage not only helps maintain structural integrity but also ensures a healthy environment free from mold or mildew.
Monitoring temperature and humidity levels is key to creating a comfortable sauna experience while safeguarding against potential hazards such as overheating or excessive moisture accumulation. By staying vigilant about these factors, you can enjoy your backyard sauna safely without compromising on health or well-being.
Enjoying Your Sauna
Health Benefits
Saunas, like the sauna world, offer numerous health benefits. They can help you relax and reduce stress levels significantly. Regular sauna sessions can also improve your cardiovascular health by increasing circulation and lowering blood pressure. Furthermore, sweating in saunas aids in detoxifying the body by eliminating harmful toxins through your skin pores.
When you build a DIY sauna in your backyard, you’re not just creating a place to relax; you’re investing in your overall well-being. Imagine coming home after a long day at work and stepping into your personal oasis of calmness. By incorporating regular sauna use into your routine, you can experience these health benefits firsthand.
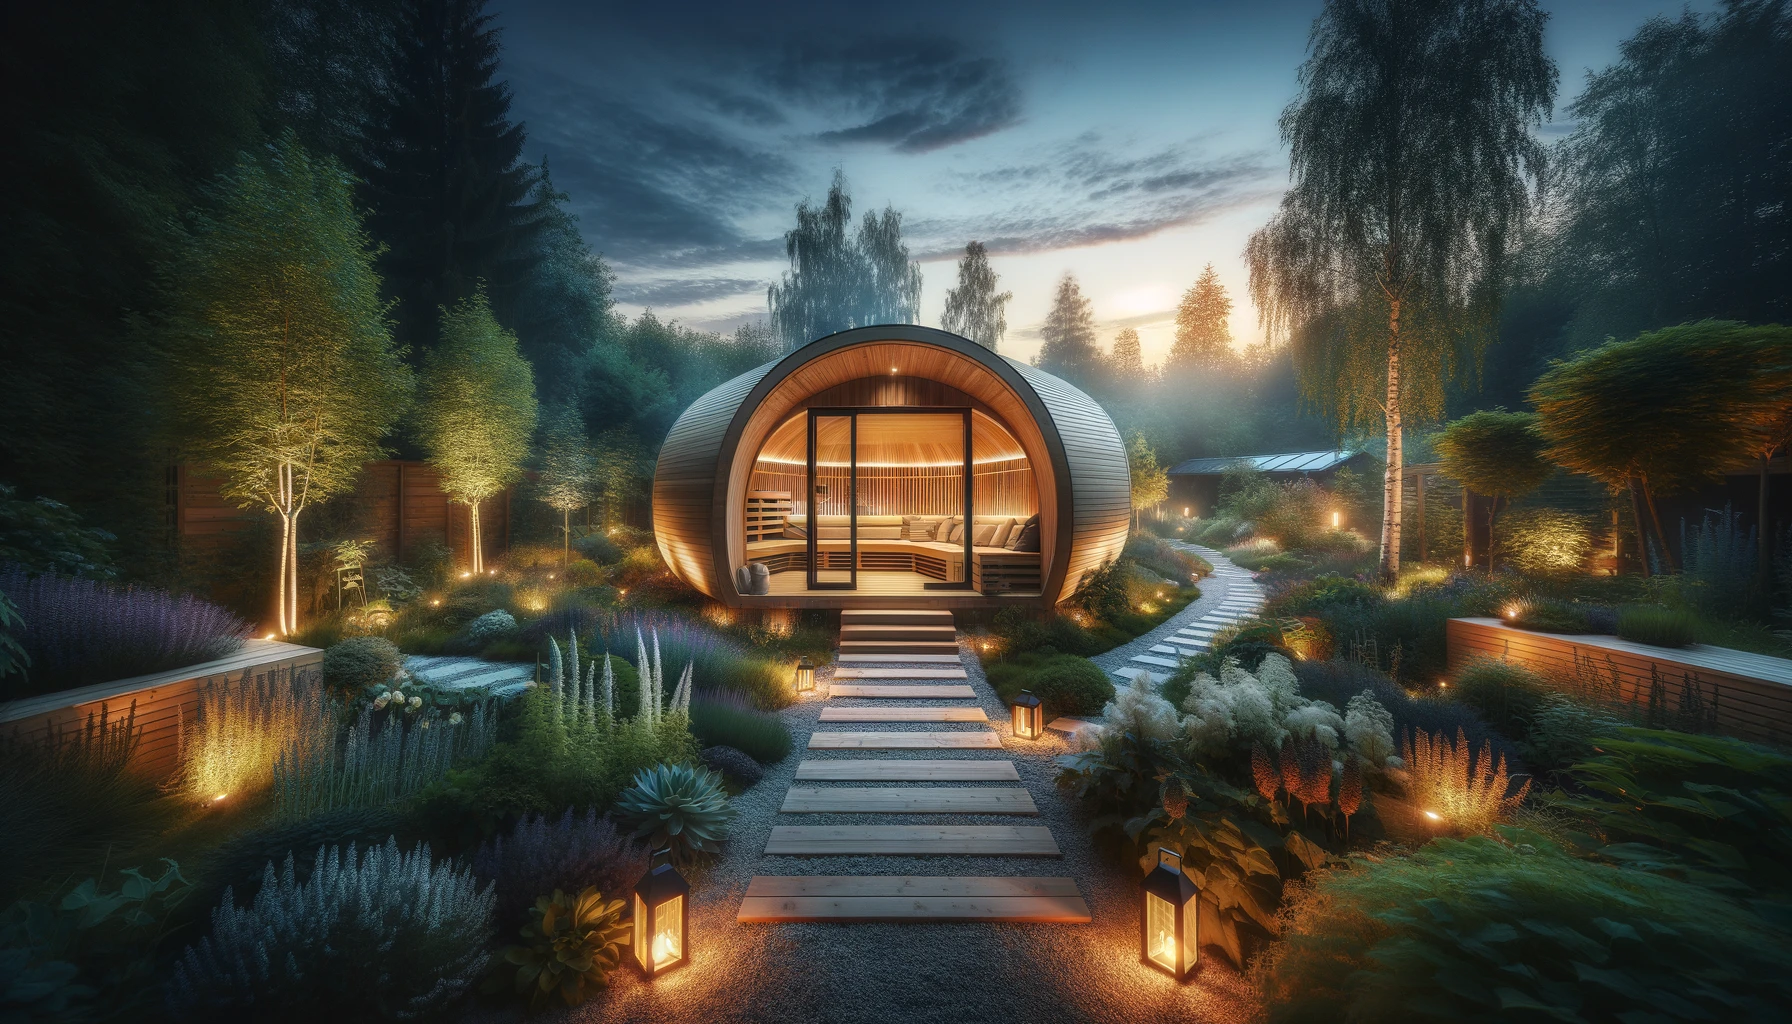
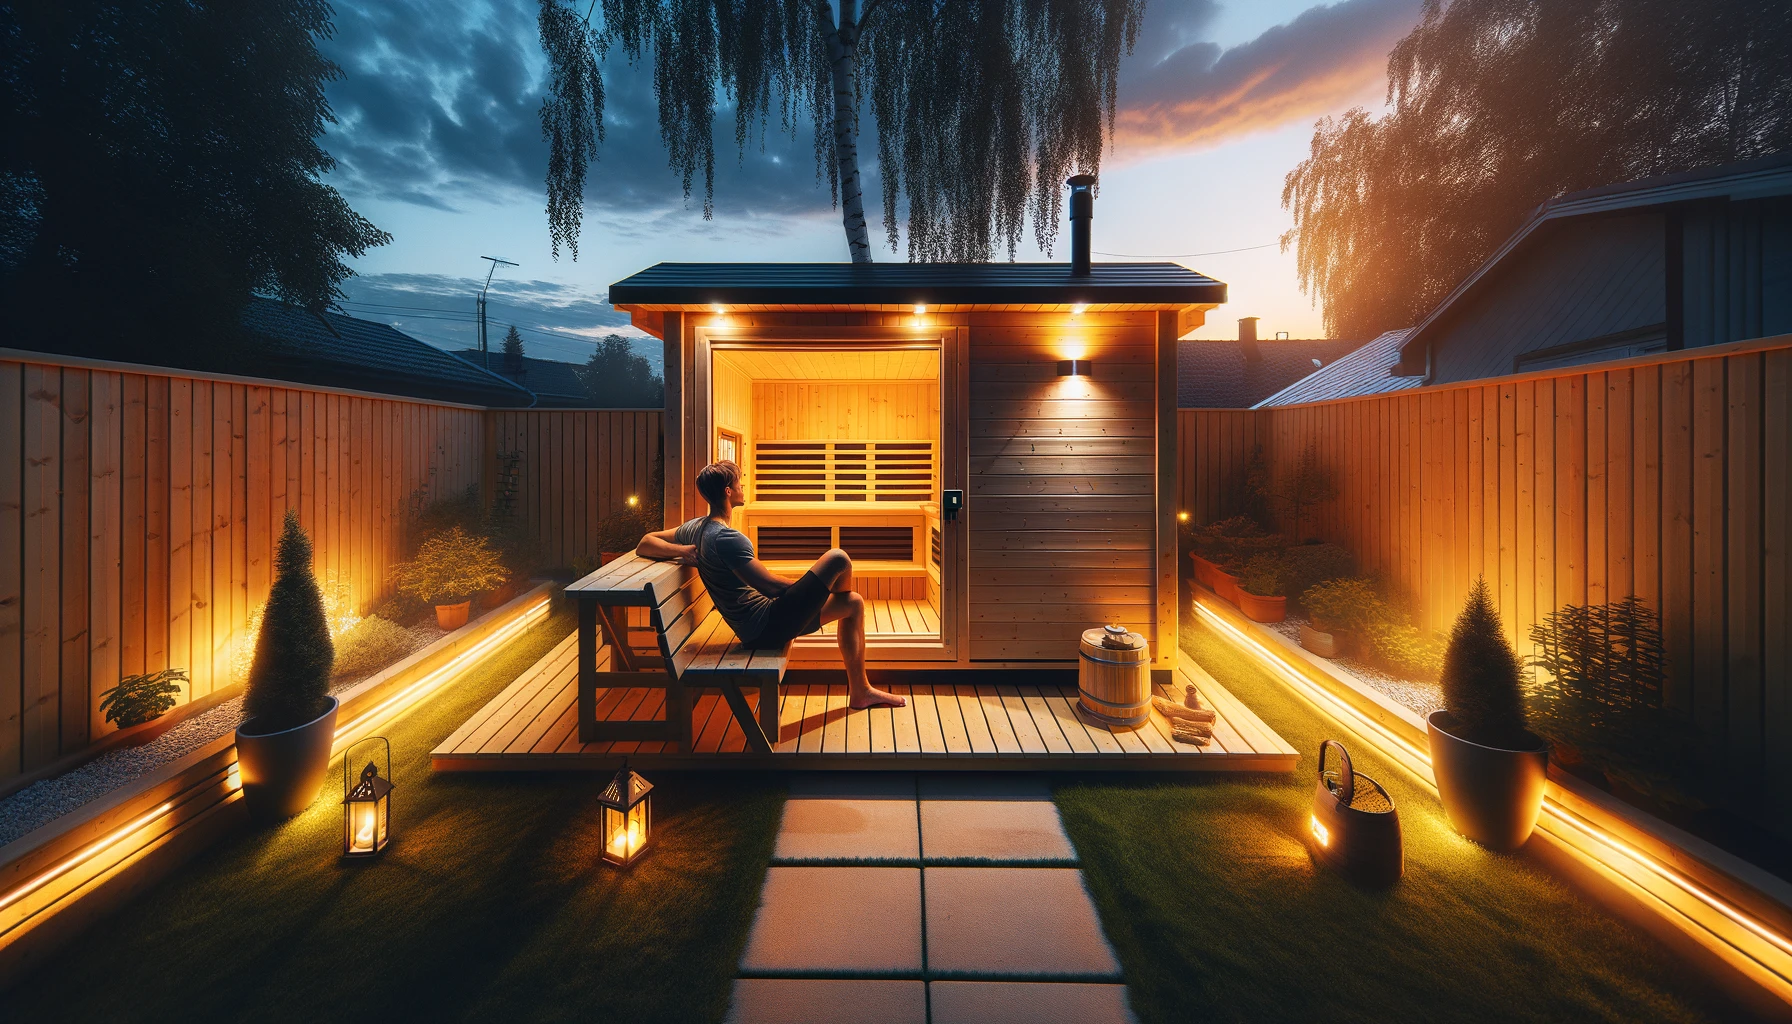
After-Work Escape
After a hectic day at work, nothing beats unwinding in the soothing heat of a sauna right in your backyard. Picture yourself surrounded by soft lighting and listening to calming music as all the stress from the day melts away. The tranquil atmosphere created within your DIY sauna provides the perfect setting for relaxation and rejuvenation.
With each session spent in your backyard sauna, you have an opportunity to escape from the pressures of daily life and focus on self-care instead. As muscle tension fades away under the gentle warmth of the sauna, you’ll find yourself feeling refreshed both mentally and physically.
Cost Estimation and Savings
Total Cost Projection
When considering how to build a DIY sauna in your backyard, it’s crucial to calculate the total cost accurately. Estimate the expenses for materials, tools, and supplies upfront. Factor in additional costs like permits or professional help if necessary. Planning your budget meticulously will prevent overspending during construction.
To ensure you stay within budget when building a DIY sauna, make a list of all required items such as wood, insulation, heaters, benches, and accessories. Research prices at different stores or online suppliers to get the best deals on quality products while staying cost-effective. By calculating costs beforehand and sticking to your budget plan, you can avoid unexpected financial surprises during the project.
DIY Savings
One significant advantage of learning how to build a DIY sauna is the potential savings compared to purchasing a pre-made one. While prefab saunas come with convenience, constructing your own allows you to save money while enjoying the process of creating something unique for yourself. Investing in high-quality materials may seem pricier initially but ensures durability and longevity for your homemade sauna.
You’re now equipped with the knowledge to turn your backyard into a personal oasis with a DIY sauna. From planning and groundwork to building and maintenance, you’ve got it all covered. Remember, safety first! Regular upkeep will ensure your sauna remains a relaxing retreat for years to come. Now, go ahead and enjoy the fruits of your labor – sweat it out in style!
Frequently Asked Questions
How important is planning when building a DIY sauna?
Planning is crucial as it helps you visualize the end result, consider necessary permits, and ensure all components fit together seamlessly. It’s like creating a blueprint before constructing a house – essential for a successful project.
What are some common safety measures to keep in mind while enjoying a sauna?
Always follow manufacturer guidelines, limit session duration, stay hydrated, avoid alcohol consumption before or during sauna use, and have proper ventilation. Safety first – just like wearing a seatbelt before driving!
Can I customize the interior of my DIY sauna based on personal preferences?
Absolutely! From choosing different wood types for benches to adding unique lighting features or even incorporating music systems – the interior design options are endless. Make it your cozy sanctuary tailored to your tastes.
Are there eco-friendly heat source options available for DIY saunas?
Yes! Consider using electric heaters with energy-saving features or wood-burning stoves that utilize sustainable fuel sources. Opting for eco-friendly heat sources not only reduces environmental impact but also adds charm to your backyard oasis.
How can I estimate the cost of building a DIY sauna and potentially save money?
Calculate expenses by factoring in materials, tools needed, labor costs if hiring help, and any additional features desired. To save money, consider repurposing materials where possible or opting for simpler designs without compromising quality and functionality.