Constructing a sauna involves more than just assembling wood and stones. To successfully build your own sauna, you need the right tools and skills in your toolbox. Understanding the historical context of saunas can provide valuable insights into their construction techniques. By delving into the traditional methods used by various cultures over time, you can enhance your knowledge base for building a sauna that combines authenticity with modern functionality and proper ventilation.
Key Takeaways
- Plan meticulously: Before starting the sauna construction, ensure thorough planning to streamline the process and avoid costly mistakes.
- Invest in essential tools: Acquire the necessary tools like a level, saw, drill, and hammer to facilitate a smooth construction process.
- Hone key skills: Develop skills such as carpentry, plumbing, and electrical work to ensure a successful sauna build.
- Choose materials wisely: Select high-quality, durable materials suitable for sauna construction to guarantee longevity and safety.
- Focus on a solid foundation: Construct a stable foundation to support the weight of the sauna and prevent structural issues in the future.
- Consider heating options: Explore various heating choices like electric, wood-burning, or infrared heaters based on your preferences and needs.
Planning Your Sauna
Location Selection
When planning your sauna, consider the proximity to a water source for easy access during construction. Ensure good ventilation by choosing a location that allows proper airflow in the sauna. Privacy, noise levels, and advertisement are crucial factors to think about when selecting where to build your sauna.
It’s important to remember that the location of your sauna can impact its overall functionality and comfort. For example, placing it near a water source makes it convenient for tasks like filling buckets or cooling off after a steam session. Selecting an area with good ventilation ensures fresh air circulation within the sauna space, contributing to a more pleasant experience.
Size and Layout
Determining the size of your sauna is essential; it should be based on both available space, personal needs, and step. Carefully planning the layout will help optimize space usage and create a comfortable environment inside the sauna. When considering additional features like windows or seating areas, make sure they complement the overall layout of the space.
The layout of your sauna plays a significant role in how functional and enjoyable it will be once completed. For instance, incorporating separate changing areas can enhance privacy while ensuring convenience during use. Moreover, thoughtful planning regarding window placement can maximize natural light intake without compromising privacy within the sauna room.
DIY vs Kit
Before embarking on building your own sauna project, assess your skills and experience level first. This evaluation will help you decide between constructing a custom-made sauna from scratch or using a pre-made kit for added convenience. DIY saunas offer greater customization options tailored to personal preferences, whereas kits provide simplicity if time constraints are an issue.
Deciding whether to go DIY or opt for a kit depends on various factors such as budget limitations and desired involvement in every step of the construction process.
Essential Tools for Construction
Measuring Tools
When constructing a sauna, accurate measurements are crucial. A tape measure helps ensure components fit perfectly. For precise leveling of walls and floors, consider using a laser level. Achieve exact angles by utilizing an angle finder when cutting materials.
To make sure lumber and plywood pieces fit correctly, a circular saw is essential during sauna construction. For intricate cuts like vents or windows, opt for a jigsaw. When installing trim or framing that requires angled cuts, having a miter saw can be very useful.
Cutting Tools
For fastening screws or drilling pilot holes efficiently, use a cordless drill with the right bits. Speed up installation by employing a nail gun to attach boards or trim quickly. Secure pieces together firmly while working by utilizing clamps to hold them in place.
Key Skills Required
Carpentry Basics
To begin sauna construction, mastering basic carpentry skills is crucial. This includes learning how to measure, cut, and join wood pieces effectively. Understanding various joint types like butt joints, miter joints, and lap joints is essential for sturdy sauna structures. Familiarizing yourself with tools such as chisels, planes, and routers will enable you to tackle more advanced carpentry tasks in sauna building.
Having a solid foundation in electrical knowledge is paramount. You need to comprehend the basics of electrical wiring and safety measures when installing lighting or heaters in the sauna. Learning about different electrical cables, outlets, and switches used in saunas is vital for a safe setup. For complex electrical work adhering to local regulations, consulting a licensed electrician is recommended.
Plumbing Basics
Another key skill needed for sauna construction involves understanding plumbing fundamentals if water supply or drainage systems are part of your sauna design. Becoming familiar with pipe materials like PVC or copper pipes, various fittings such as elbows or tees, and valves commonly used in saunas will aid in successful plumbing installations within the sauna structure. While handling basic plumbing tasks can be manageable on your own; however; engaging a professional plumber for intricate setups ensures proper functionality of the system.
Selecting Materials
Timber Frame
Building a sauna requires the right materials to ensure durability and functionality. Understanding timber framing principles is crucial for providing structural support. Different types of lumber like cedar or hemlock are suitable for sauna construction due to their natural resistance to moisture and heat. To secure the timber frame, consider using specialized connectors such as timber screws or brackets for a sturdy assembly that can withstand high temperatures.
When insulating the sauna walls, explore various options like fiberglass, mineral wool, or foam board. It’s essential to understand the R-value system to gauge how effective each insulation type is in retaining heat within the sauna space. Factors like moisture resistance and fire safety should be considered when selecting insulation materials to ensure a safe and efficient sauna environment.
Insulation Types
Proper installation of a vapor barrier plays a vital role in preventing moisture buildup inside the sauna walls. By learning about different vapor barrier materials such as polyethylene sheets or foil-faced insulation, you can choose the most suitable option based on your specific needs and preferences. Ensuring that the vapor barrier is correctly installed will help maintain a dry and comfortable atmosphere within your sauna.
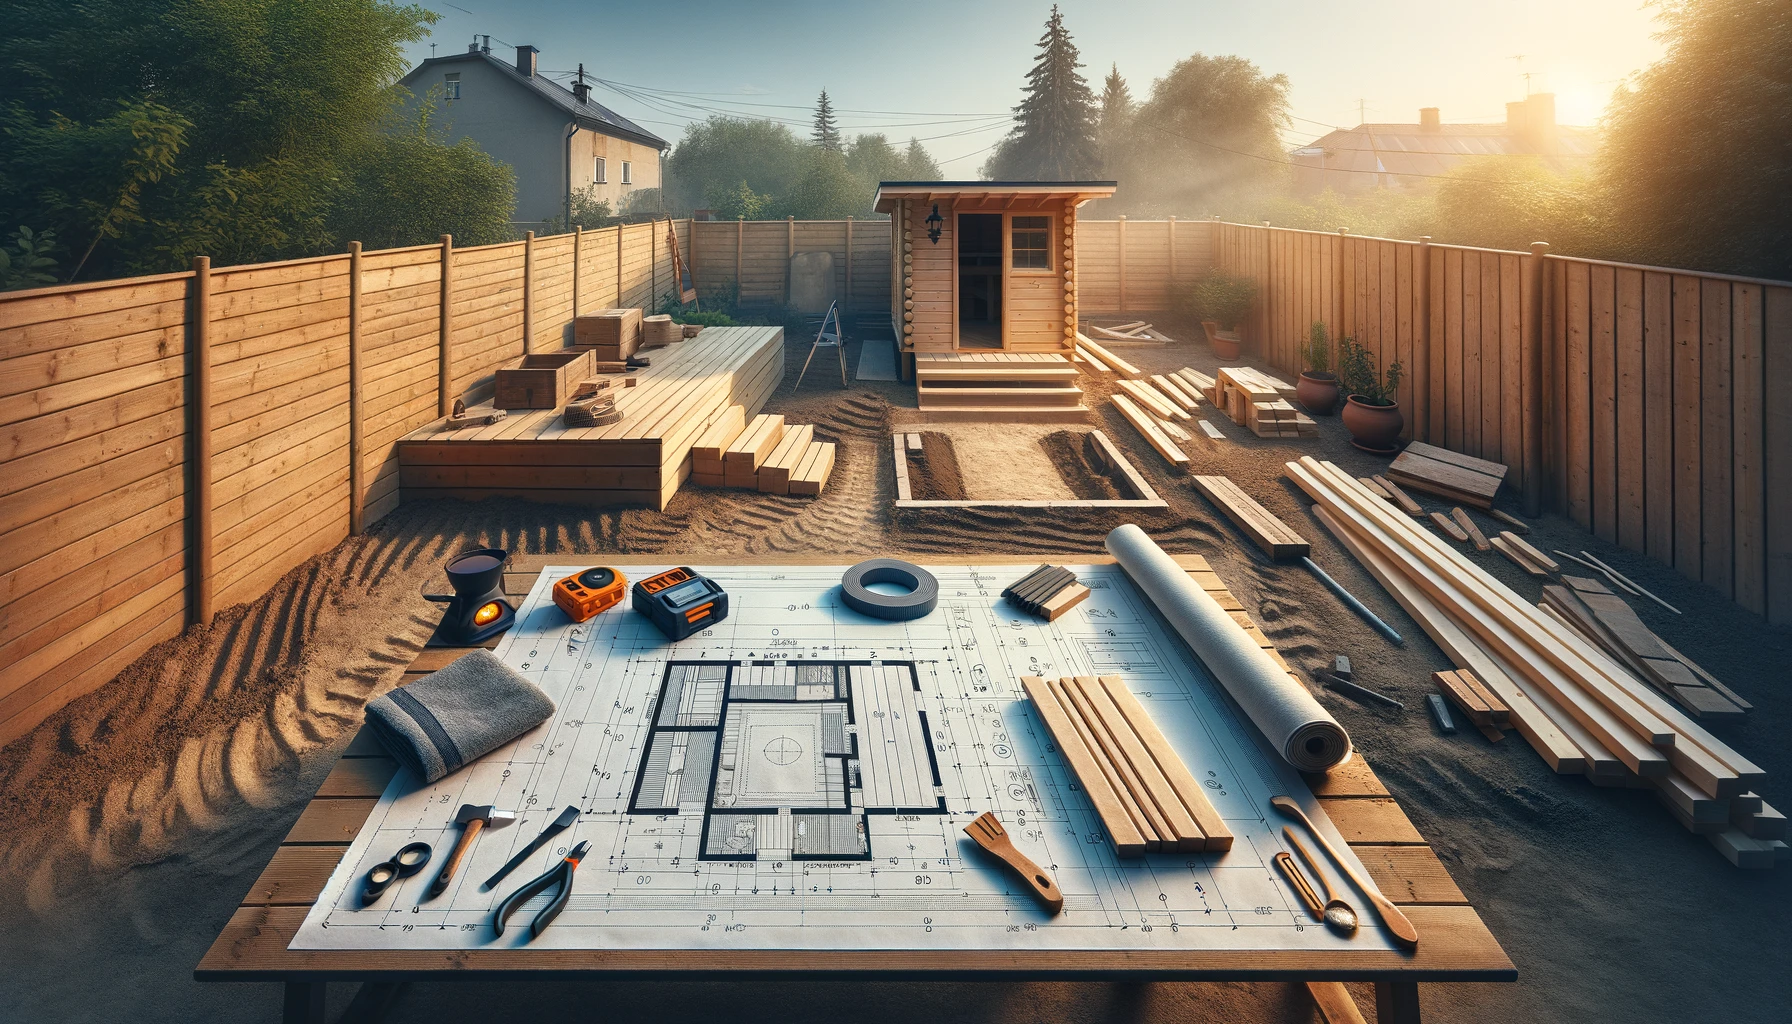
Constructing the Foundation

Foundation Basics
When building a sauna, it’s crucial to start with a strong foundation. Determine which type of foundation suits your needs and complies with local regulations. Consider options like concrete slabs, gravel pads, or pier foundations based on soil stability and frost depth. The foundation must support the weight of the sauna structure and endure environmental conditions.
Factors such as drainage requirements are essential when planning your sauna’s foundation. Ensure proper water management by choosing appropriate materials that can withstand moisture exposure. By understanding soil composition and drainage patterns in your area, you can select an ideal foundation type that minimizes potential risks over time.
- Concrete slabs provide durability but may require more labor.
- Gravel pads offer cost-effectiveness but might need frequent maintenance.
- Pier foundations suit uneven terrains but could be challenging to install in certain locations.
Drainage Solutions
Preventing water accumulation around the sauna is vital for its longevity. Explore various drainage solutions like French drains or gutter systems to divert excess water away from the structure effectively. Properly graded surroundings help direct water flow away from the foundation, reducing the risk of moisture-related damage.
To address potential flooding issues, consider installing a sump pump near your sauna if it’s located in a flood-prone area. This additional measure ensures rapid removal of excess water during heavy rainfall or flooding events, safeguarding your sauna against structural harm caused by standing water.
- Ensure proper grading around the sauna for efficient water diversion.
- Evaluate different drainage solutions before selecting one that best fits your site.
- Consult with professionals if unsure about which foundation type suits your specific location requirements.
Building the Structure
Wall Assembly
When constructing a sauna, you need to decide on the wall assembly method. Stud framing and panelized systems are common options. Stud framing involves building walls using vertical wooden beams, while panelized systems use pre-built panels for faster installation. Air sealing is crucial to prevent heat loss, and proper insulation placement ensures energy efficiency.
Consider incorporating additional features like windows or vents during the wall assembly process. Windows can provide natural light and ventilation, enhancing the sauna experience. Vents help regulate temperature and humidity levels inside the sauna, creating a comfortable environment for users.
Installing the Door
Installing a sauna door requires attention to detail for a tight seal and smooth operation. Opting for a pre-hung sauna door simplifies installation and offers better insulation properties compared to retrofitting a regular door into place.
To enhance functionality, focus on weatherstripping around the door frame to prevent heat loss and ensure an efficient seal when closed tightly. Properly installed hinges contribute to smooth opening and closing of the door without any issues.
Roofing Techniques
Choosing suitable roofing materials such as cedar shingles or metal roofing panels is essential for durability in saunas due to high temperatures and moisture exposure. Understanding roof pitch calculations helps determine optimal water drainage off the roof surface.
Adding insulation under the roof prevents heat loss through ceilings during sauna sessions by maintaining consistent temperatures inside while reducing energy costs over time.
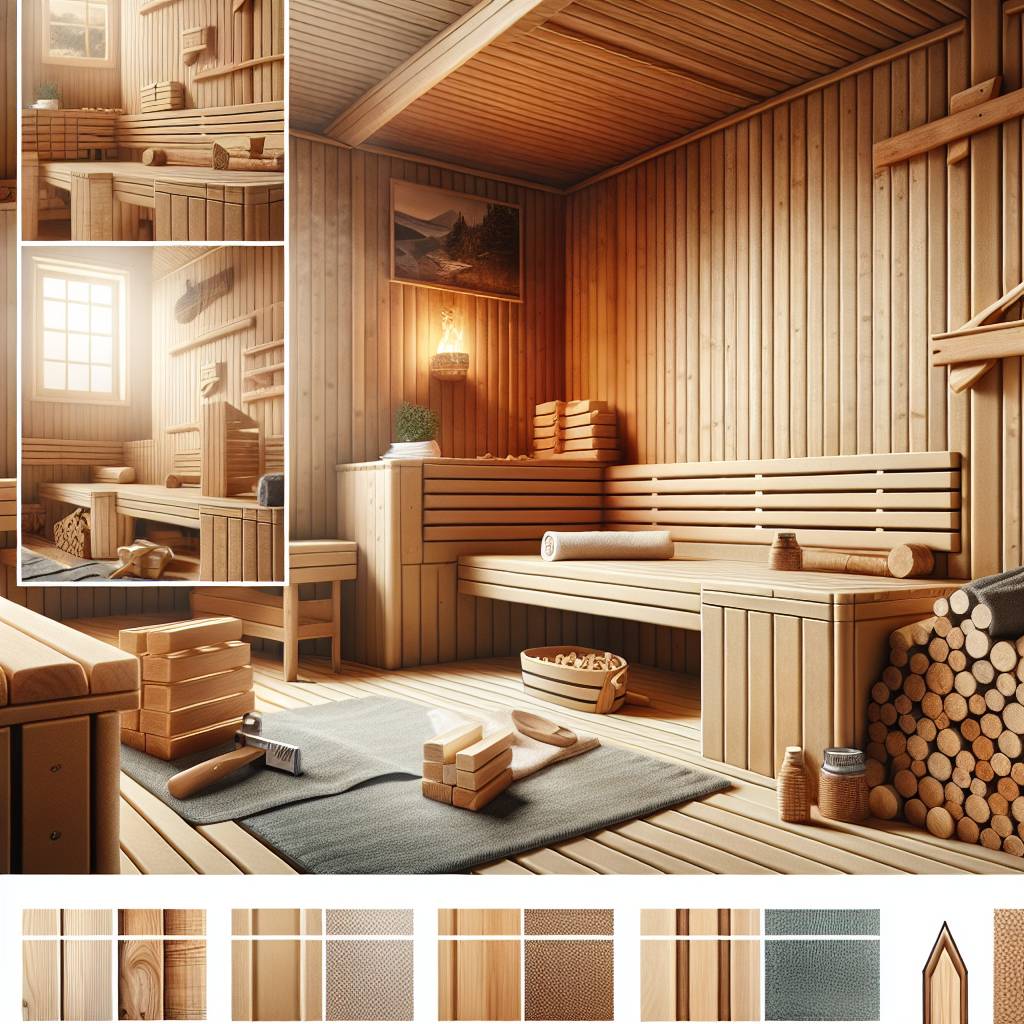
Interior Features
Focusing on the interior features like benches and stove mounting is crucial. Sturdy benches are essential for providing comfortable seating in the sauna while withstanding high temperatures. Safety regulations must be followed when mounting a stove, ensuring proper clearances from combustible materials to prevent any accidents.
Consider using heat-resistant materials such as ceramic tiles or stone slabs for bench surfaces. These materials not only withstand high temperatures but also add an aesthetic appeal to your sauna. When planning and constructing benches, ensure they are securely installed to guarantee durability and safety during sauna sessions.
Ventilation plays a vital role in maintaining air quality and preventing excessive humidity inside the sauna. Understanding the importance of ventilation helps create a comfortable environment for users. Explore different ventilation options like passive vents, exhaust fans, or adjustable air vents to find the most suitable choice for your sauna project.
Incorporating operable windows or skylights can offer natural ventilation while enhancing the overall ambiance of the space. Natural light streaming through windows or skylights can create a more inviting atmosphere in the sauna. By combining artificial and natural ventilation methods, you can achieve optimal air circulation within your sauna space.
Sauna Heating Options
Heat Source Types
Understanding different heat sources is crucial. Electric heaters are convenient and easy to control, while wood-burning stoves offer a traditional sauna experience. Infrared panels provide efficient heating but can be costly upfront.
Considering the pros and cons of each heat source is essential. Electric heaters are efficient and low maintenance but might increase electricity bills. Wood-burning stoves create an authentic sauna ambiance but require more maintenance and proper ventilation. Infrared panels offer quick heating with minimal upkeep but come at a higher initial cost.
Heater Installation
For successful heater installation, knowing the specific requirements for each type is vital. Electric heaters need proper electrical wiring to ensure safe operation, while wood-burning stoves must comply with venting regulations for indoor air quality. Following manufacturer guidelines guarantees a secure installation process.
Understanding local regulations regarding heater installations is crucial for compliance with safety standards in your area. Consulting professionals when unsure about installation procedures ensures that your sauna heater operates efficiently and safely.
Finishing Touches
Interior Elevation
To complete your sauna construction, focus on the interior elevation. Plan the layout carefully, considering bench height, headroom, and overall comfort for users. Explore wall finishes like cedar paneling or tiles to enhance aesthetics and ensure easy maintenance. Incorporate additional features such as towel hooks, lighting fixtures, or audio systems to elevate the interior design.
Waterproofing the sauna’s interior is crucial to prevent moisture damage and mold growth. Understand the significance of this step in maintaining a durable sauna structure. Consider using sealants, waterproof membranes, or specialized paints designed for sauna use to ensure effective waterproofing. Pay close attention to areas prone to water exposure like shower spaces or near steam outlets when applying waterproofing products.
Closing Thoughts
You’ve now got the lowdown on sauna construction essentials. From planning and tools to skills and materials, you’re all set to embark on this steamy journey. Remember, the key to a successful sauna build lies in meticulous planning, honing those construction skills, and selecting top-notch materials.
So, what are you waiting for? Roll up your sleeves, grab those tools, and get cracking on your dream sauna project. With the right know-how and a sprinkle of creativity, you’ll soon be unwinding in your custom-built oasis. Happy building!
Frequently Asked Questions
What are the key skills required for sauna construction?
To build a sauna, you need basic carpentry skills like measuring, cutting, and assembling wood. Knowledge of electrical work for heating options and plumbing for water supply may be necessary.
What tools are essential for constructing a sauna?
You will need tools like a saw, hammer, level, drill/driver, tape measure, square ruler, and safety gear such as gloves and goggles. These tools will help you cut wood accurately and assemble the sauna structure safely.
How do I select the right materials for building a sauna?
Choose durable and heat-resistant materials like cedar or redwood that can withstand high temperatures in saunas. Opt for quality insulation to retain heat efficiently inside the sauna while ensuring proper ventilation to maintain air circulation.
Can I build a sauna foundation on my own?
Yes! Constructing a solid foundation involves leveling the ground properly with gravel or concrete pads to support your sauna’s weight. By following detailed instructions or seeking professional advice if needed, you can lay down a stable foundation independently.
What are some popular interior features to consider when building a sauna?
When designing your sauna’s interior features include benches made from moisture-resistant wood like cedar or hemlock; install lighting fixtures that emit soft light conducive to relaxation; incorporate shelves for storage convenience; add temperature & humidity gauges for monitoring comfort levels during use.