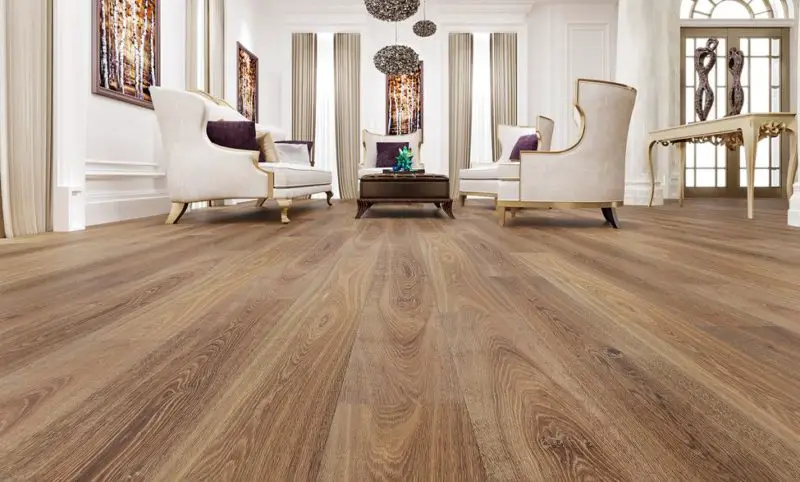
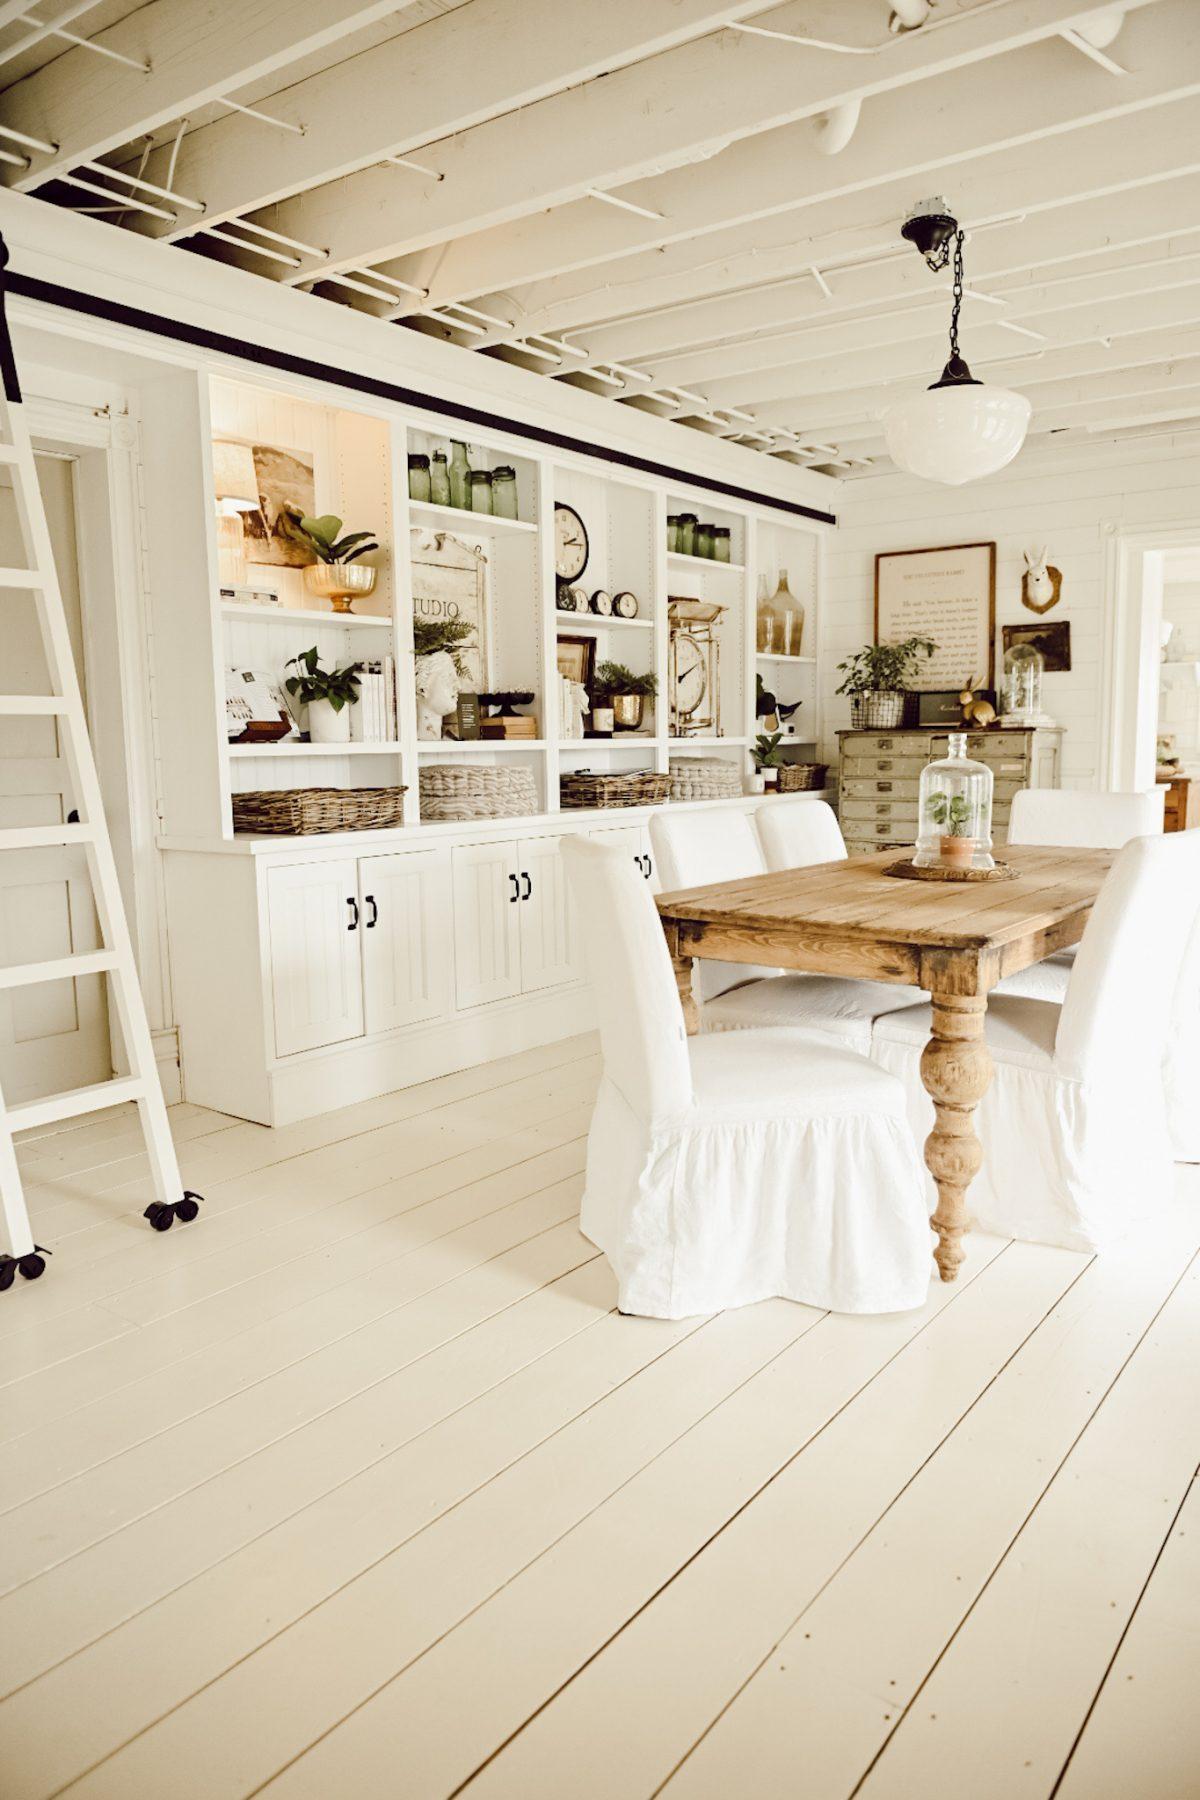
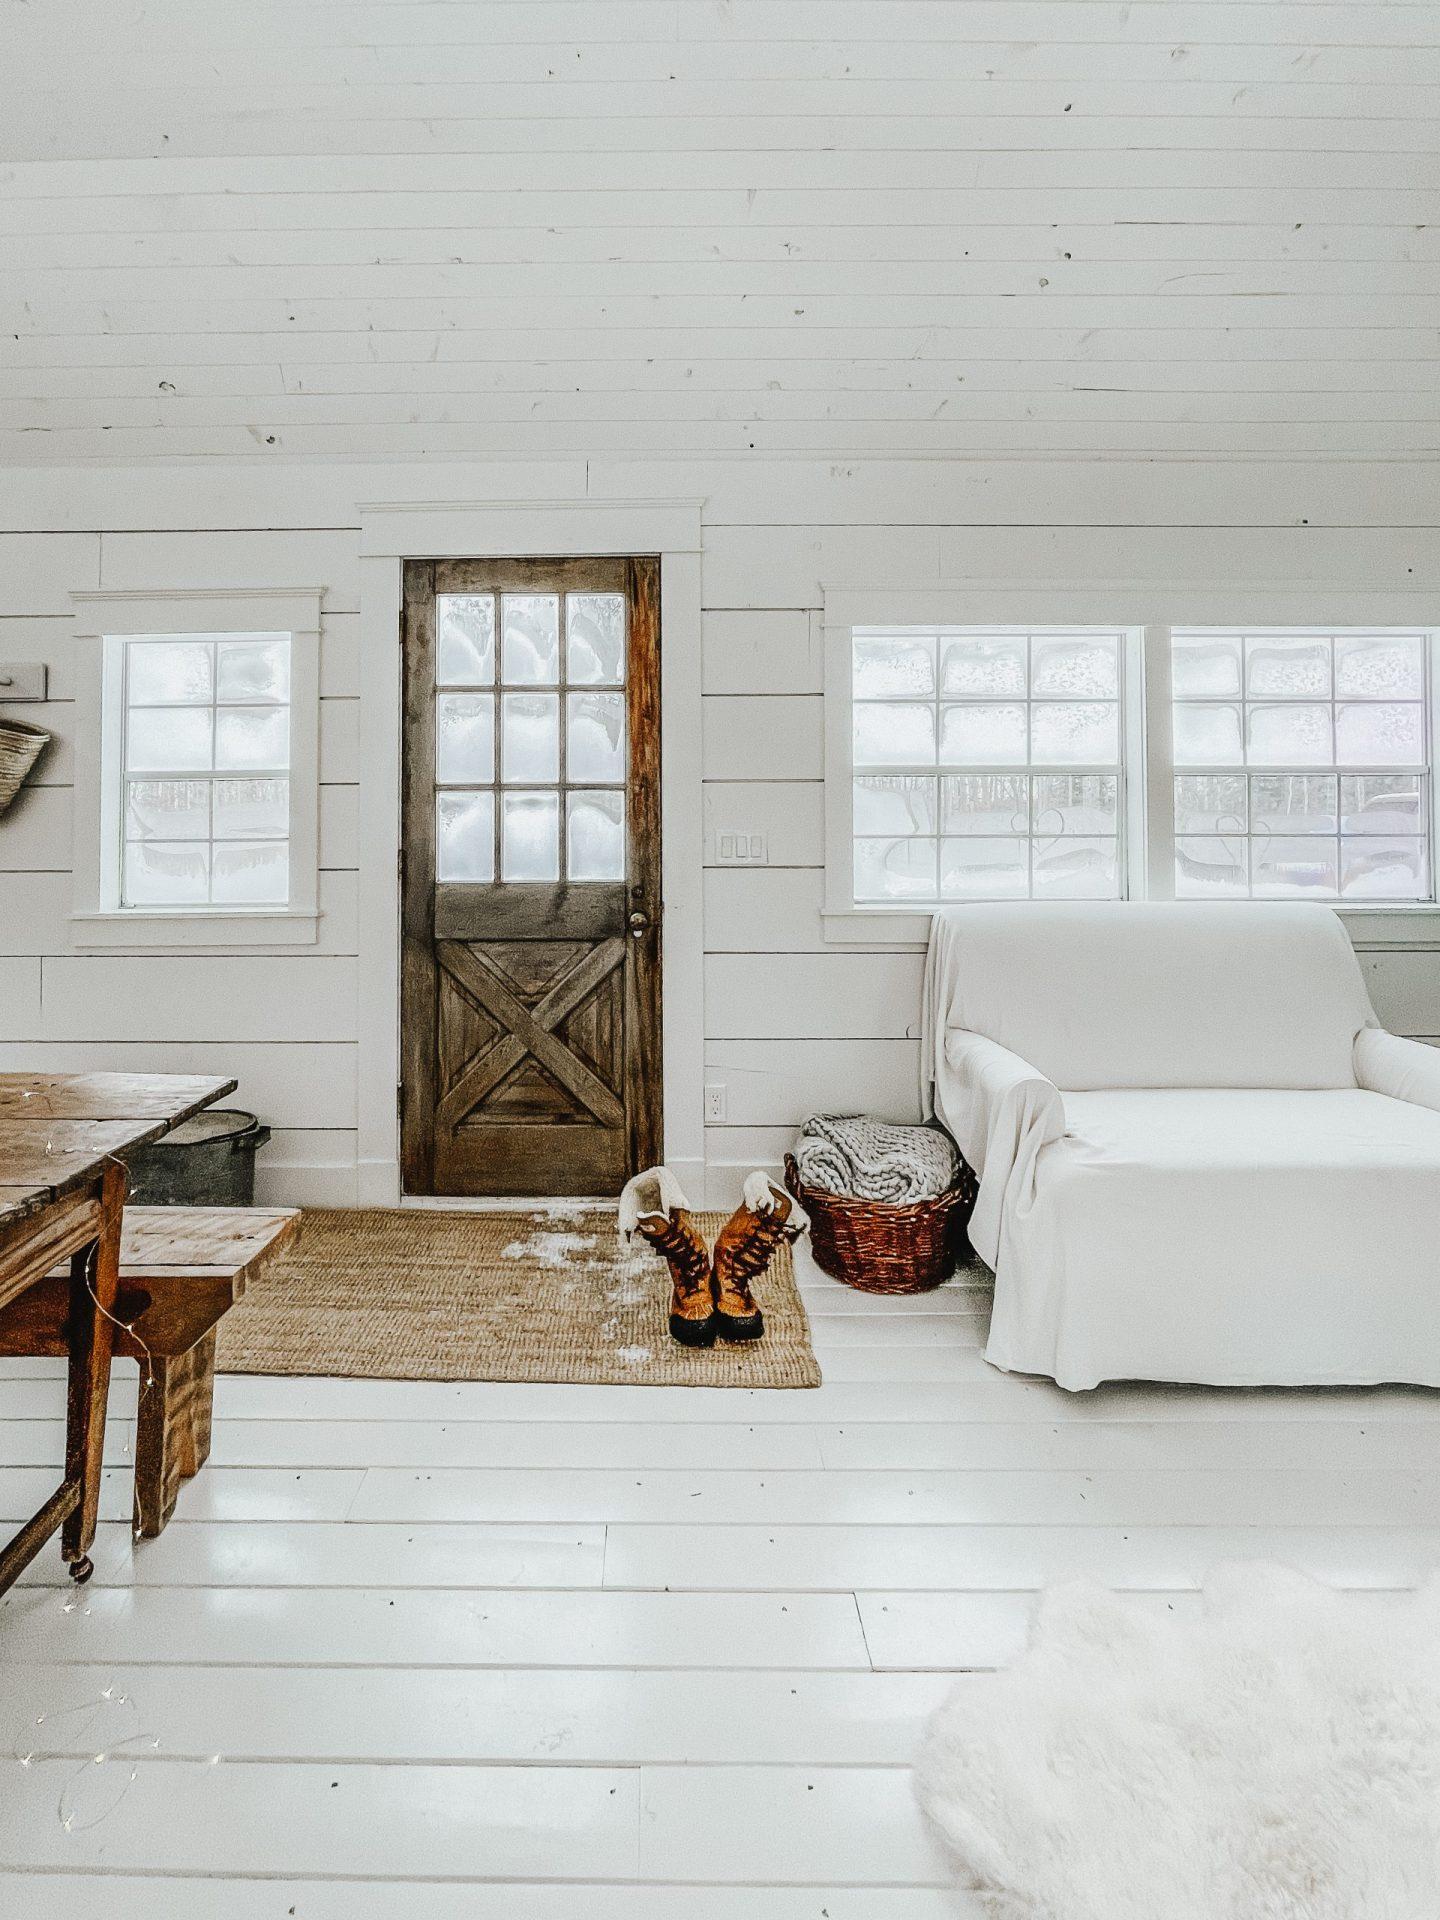
A floor is more than a surface to walk on; it’s a stage that sets the tone for everything above it. Lately, homeowners are treating that stage like a blank canvas, rolling, brushing, and stenciling fresh life into wood, concrete, and even plywood with paint. The result can be anything from a rustic checkerboard to a glossy, modern expanse – an inexpensive makeover that quietly changes how a room feels and functions.This shift reflects practical as much as aesthetic thinking. painted floors promise affordability, fast conversion, and near-limitless customization, while advances in primers and topcoats have improved durability and ease of maintenance. At the same time, the trend taps into broader currents – a move toward DIY self-expression, a desire to refresh older homes without major renovation, and interest in low-waste updates.
in the following article we’ll explore why painted floors are gaining ground: the technical reasons they work, design possibilities across styles and materials, common pitfalls to avoid, and tips for care and longevity. Whether you’re considering a weekend project or a professional upgrade, understanding the what and why behind painted floors can help you decide if your next step should start from the ground up.
Why Painted Floors Are Gaining Popularity in Homes: cost Savings, Eco Friendly Choices, and Style Flexibility
Painted floors have quietly become a practical design rebellion – a way to swap expense for ingenuity without sacrificing quality. Homeowners discover that a few coats of modern,low-VOC paint can outshine the cost of sanding and refinishing or replacing flooring,while also reducing waste by keeping existing boards and concrete in use.
- Big savings compared with new hardwood or tile installations
- Eco-friendly choices from low-VOC and water-based formulas
- Quick, DIY-friendly updates that cut labor costs
The result is not just a cheaper floor but a smarter environmental footprint and a timeline that suits busy lives.
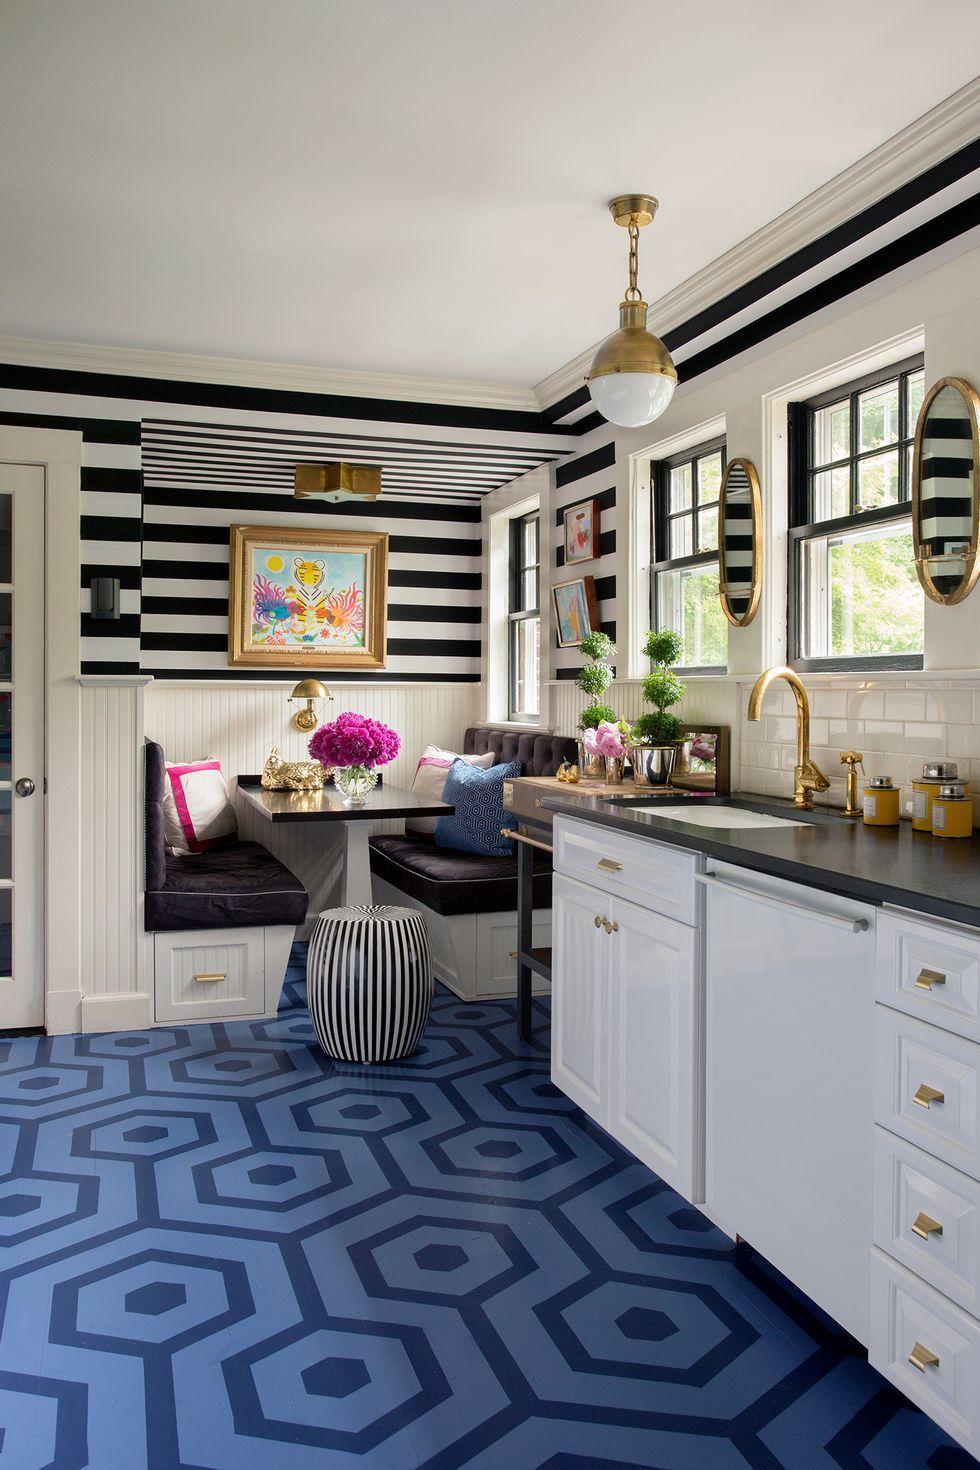
Beyond the practical wins, painted floors offer a surprising degree of stylistic freedom that keeps designers and DIYers excited. You can go minimalist with a washed gray, make a bold statement with geometric stencils, or mimic the warmth of natural materials through clever color layering.
- Limitless palettes and patterns for any aesthetic
- Easy seasonal refreshes – repaint or add accents without major renovation
- Durable finishes available for high-traffic rooms and pet-friendly households
It’s this blend of affordability, sustainability, and chameleon-like style that helps painted floors move from fringe option to a mainstream favourite.
selecting the Right Paint and Finish for Durability and Easy Maintenance
Think of your floor paint as protective clothing - it must stand up to daily wear while staying simple to clean. For most homes, a water-based acrylic or a two-part epoxy will give you the sweet spot of toughness and low odor; oil-based alkyds and enamel paints can resist scuffs but are harder to maintain during application. match the chemistry to the room: moisture-prone spaces benefit from waterproof formulas,high-traffic zones need abrasion resistance,and exterior porches require UV-stable pigments. Choose a primer formulated for concrete or wood, and always look for paints labeled “floor-grade” or “high-traffic” to ensure longevity.
Finish is where durability meets day-to-day ease: semi-gloss and satin finishes shed dirt and can be wiped clean, while matte surfaces hide scratches but might potentially be tougher to scrub. add a clear topcoat - polyurethane or polyaspartic – for an extra shield,and consider an anti-slip additive where traction matters. Quick maintenance tips:
- Dust-mop daily and spot-clean with mild detergent.
- Use felt pads under furniture to prevent gouges.
- Recoat every few years in busy areas to refresh protection.
| paint | Finish | Best for |
|---|---|---|
| Acrylic Latex | Satin | Living rooms, light traffic |
| Two-part Epoxy | Gloss | Garages, heavy traffic |
| Oil-based Enamel | Semi-gloss | Entryways, porches |
Room by Room Design Tips to Maximize Impact and Conceal Wear
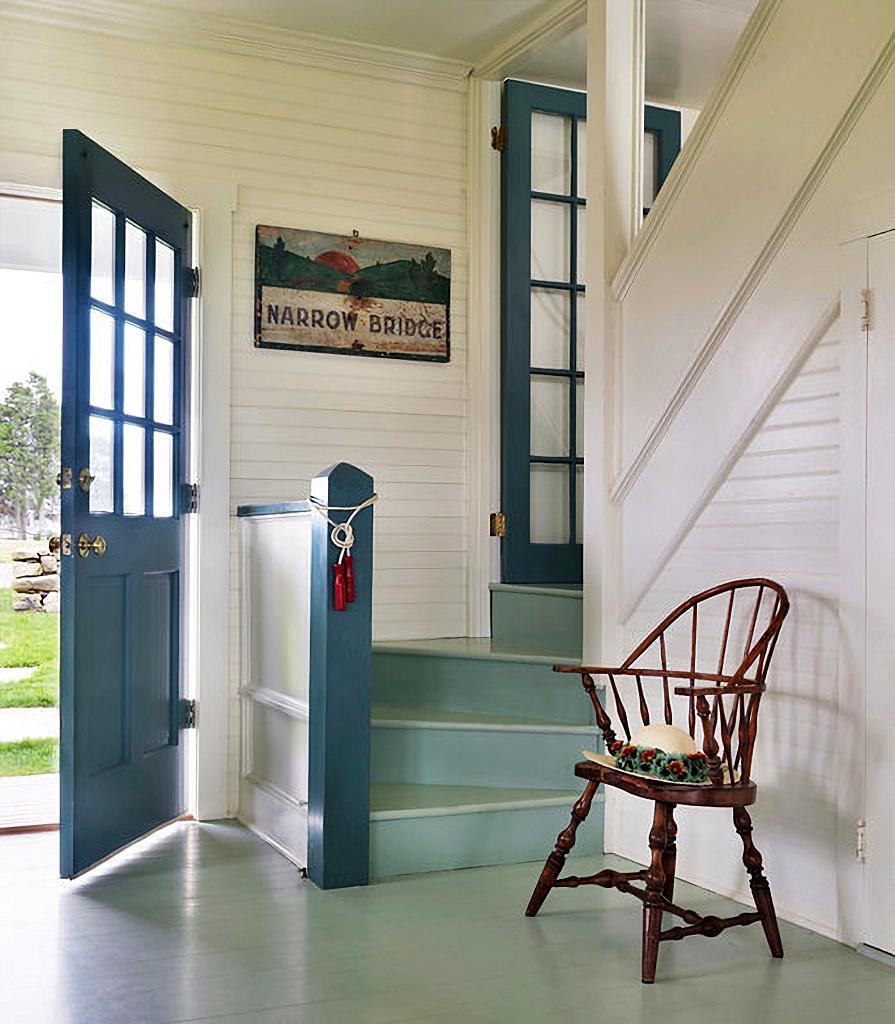
think of painted floors as a design shortcut that both elevates a room and cleverly masks the signs of daily life. Start strong at thresholds where first impressions and foot traffic collide:
- Entryway: use darker base tones or a checkerboard pattern near the door to disguise scuffs.
- Kitchen: opt for a semi-gloss, warm mid-tone-it reflects light for brightness but hides crumbs and grime.
- Hallways: a runner effect with a darker center and lighter borders camouflages worn pathways.
- Living areas: large-scale geometric motifs draw the eye upward to décor, away from high-traffic patches.
in more private or moisture-prone rooms, subtle choices extend lifespan without sacrificing style:
- Bedrooms: muted, matte paints pair beautifully with rugs and bedside wear zones.
- Bathrooms: use marine-grade sealers and slightly textured finishes to increase grip and durability.
- Outdoors and porches: choose exterior acrylics and incorporate borders or faux-tiles to hide fading.
- Universal tip: strategic distressing, stencils, or layered glazing can make wear look intentional, and a clear polyurethane topcoat will keep patterns crisp for years.
Step by step Prep and application Techniques for a Professional Finish
Start by treating the floor like a canvas: remove all furniture, sweep and vacuum deeply, and tackle stains and grease with a degreaser so paint bonds evenly. For best adhesion, repair cracks and sand glossy finishes until the surface has a consistent, dull sheen; this step alone turns a weekend job into a professional-looking result. Use a quality primer matched to your substrate-wood, concrete or laminate-and allow the recommended dry time so topcoats lay down smoothly rather than bead or peel.
- Clear & clean: remove furniture, vacuum, degrease
- Repair & sand: fill gaps, abrade glossy spots
- Prime: choose substrate-specific primer
- Mask: protect trim and door thresholds
| Surface | Primer | Typical Dry Time |
|---|---|---|
| Soft wood | Stain-blocking primer | 2-4 hrs |
| concrete | concrete bonding primer | 12-24 hrs |
| Laminate/Vinyl | Adhesion promoter | 4-6 hrs |
When painting, think thin and even: apply two to three thin coats rather than one thick one, using a good-quality microfibre roller for smooth coverage and a brush to cut in along edges. Sand lightly between coats with fine-grit paper to remove dust nibs, wipe with a tack cloth, then finish with a durable clear topcoat for traffic resistance-the right topcoat transforms paint into a long-lasting floor protection. Work in consistent strokes, maintain recommended temperature and humidity ranges, and always test a small patch first to confirm sheen and adhesion before committing the whole room.
Maintenance Schedules and When to Recoat or Repair Painted Floors
Think of painted floors like a wardrobe: some pieces you rotate often, others sit season after season.A simple maintenance rhythm keeps the finish fresh-weekly dry-mopping to remove grit, monthly gentle washing with pH-neutral cleaner, and a seasonal inspection for chips or dull patches. Traffic, pet claws, and humidity are the real schedule-setters; high-traffic zones will ask for attention sooner, while low-use rooms can go longer between touch-ups. Keep a small kit (fine sandpaper, matching paint, clear topcoat) on hand so tiny blemishes don’t turn into expensive repairs.
- Peeling or flaking: patch instantly to prevent substrate damage.
- Dull finish or surface scratches: usually a recoat restores uniform sheen.
- Deep gouges or exposed substrate: require sanding,filler and repair before recoating.
- Discoloration or stains: test a small area to confirm adhesion before full treatment.
Deciding between a quick recoat and a repair comes down to whether the coating still bonds to the floor and whether the damage is cosmetic or structural. A thin, uneven sheen or fine scratches often respond well to a light scuff-sand and a fresh coat of finish; recoat if the paint is holding and only the top layer is compromised. If you see bare material, widespread lifting, or deep damage, prioritize repair-address the substrate, refinish the area, then recoat. When in doubt, test a small patch: good adhesion and even color means you can recoat; peeling or absorption means you need a repair-first approach.
| Area | Typical Recoat | When to Repair |
|---|---|---|
| Living room | Every 2-3 years | large scratches/exposed wood |
| Kitchen/Entry | Every 12-18 months | Peeling near doorways |
| Garage/Basement | Annual | Oil stains or flaking |
Concluding Remarks
Painted floors have quietly slipped out of workshops and into living rooms, offering a palette of possibilities that marry practicality with personality. whether chosen for cost, durability, or the chance to transform a space without structural changes, they underscore a broader shift toward adaptable, intentional design: floors that do more than hold furniture-they set the mood.
They’re not a one-size-fits-all solution, but their low barrier to entry and high creative payoff make them an attractive option for many homeowners.From sustainable finishes to bold patterns and subtle washes, painted floors can be tailored to fit a home’s architecture, a family’s lifestyle, or a designer’s vision.
If you’re considering a change underfoot, think of a painted floor as a canvas that can evolve with you-practical today, reimagined tomorrow. In homes that value resourcefulness and character, the painted floor is proving it’s more than a trend: it’s a quietly confident new classic.