Hello dear readers! If you’ve ever dabbled in the world of home electrical systems or simply wanted to understand the intricacies of your home’s wiring, you’ve likely come across the term “switch loop diagram.” Today, I’ll take you on a journey to decode this diagram, ensuring you have a comprehensive understanding by the end of our discussion.
What Exactly is a Switch Loop Diagram?
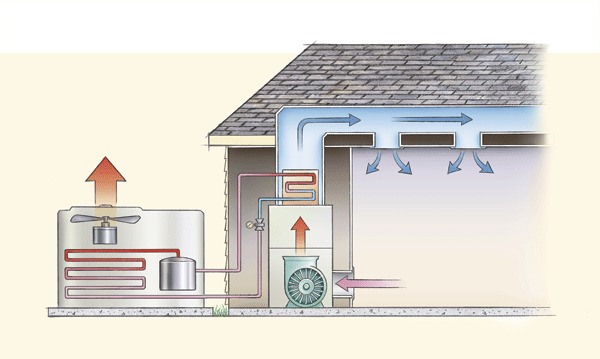
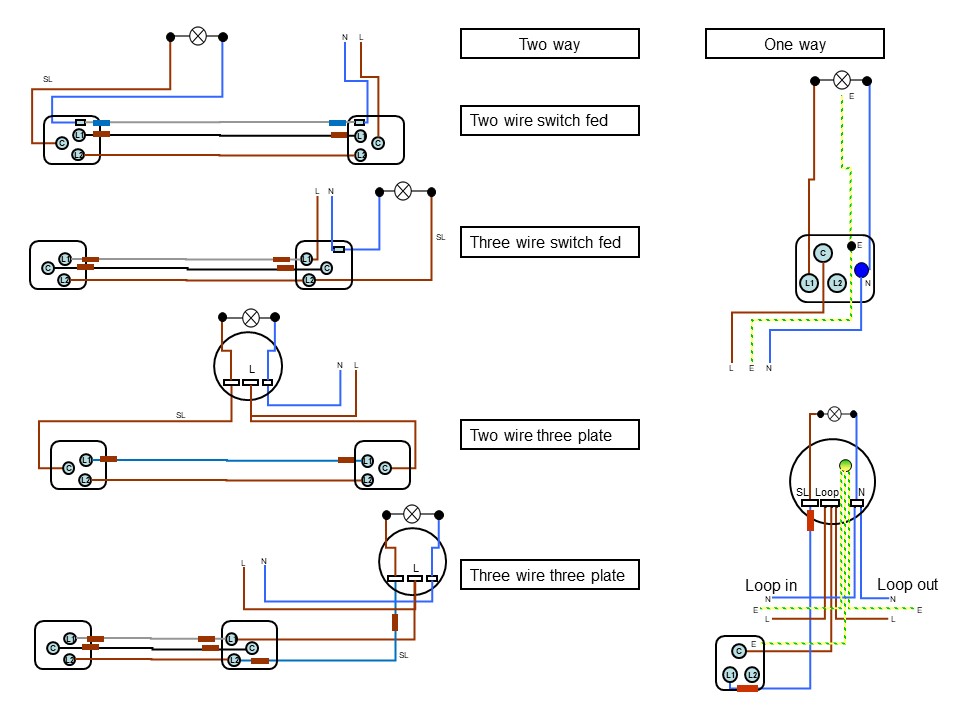
A switch loop diagram is a visual representation of how a switch loop functions in your home’s electrical system. But what’s a switch loop, you ask? Well, it’s a unique wiring configuration that connects a light to its switch, allowing you to control the light without the need to remove the bulb. For a more in-depth look, I recommend checking out this detailed article on our website.
Why Should You Care?
- Safety: Understanding the switch loop diagram ensures you’re aware of the wiring in your home, promoting safety.
- DIY Projects: For those who love DIY home projects, this knowledge is invaluable.
- Informed Decisions: When hiring professionals, having this knowledge ensures you make informed decisions.
Breaking Down the Switch Loop Diagram
Ready to dive in? Let’s break down the switch loop diagram step by step:
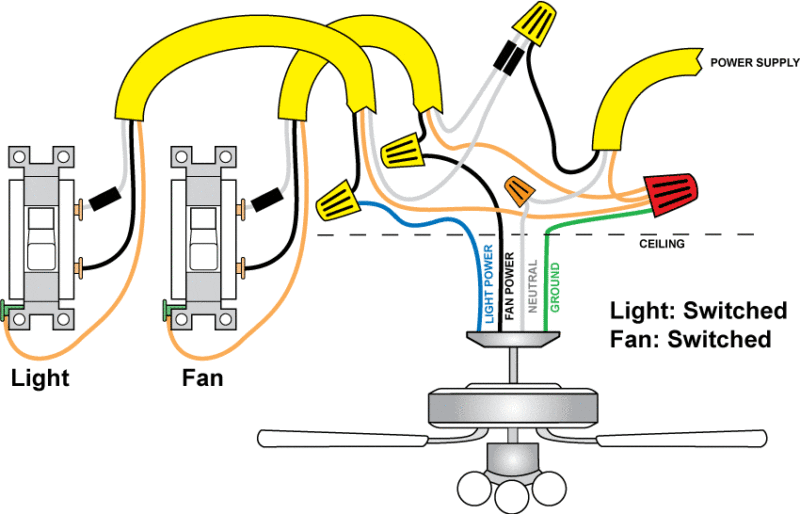
- Power Source: This is where the electricity starts. It’s typically represented by a straight line.
- Light Fixture: This is your light source. On the diagram, it might look like a bulb or a lamp symbol.
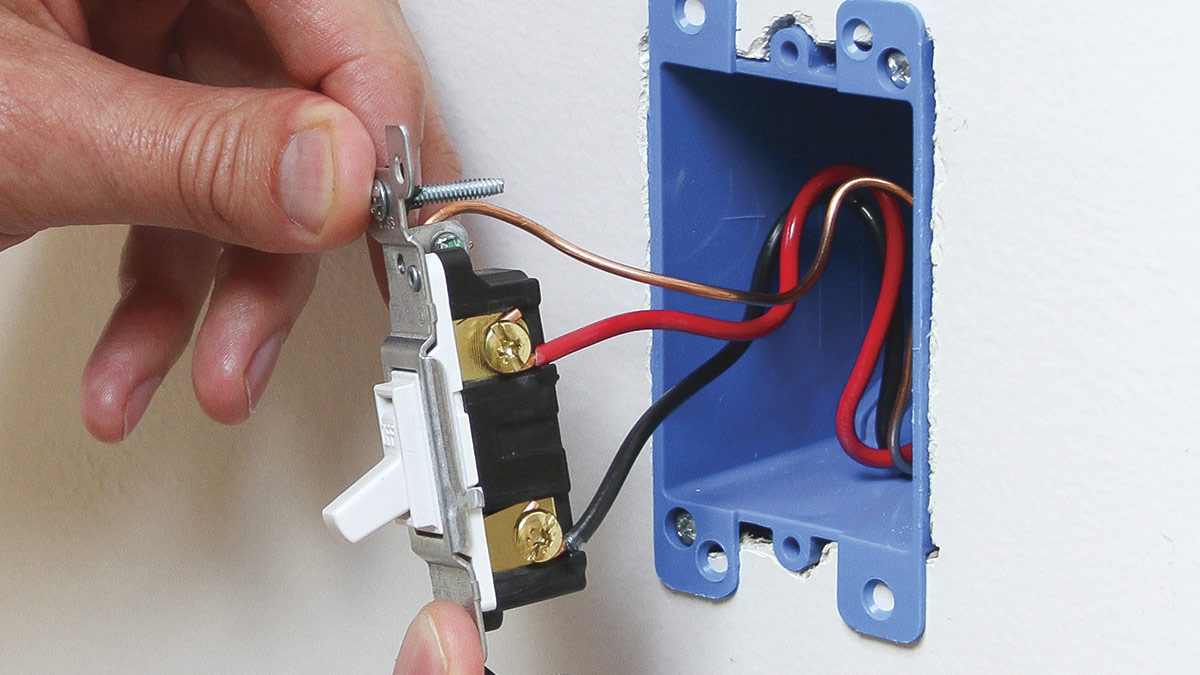
- Switch: The switch controls the flow of electricity to the light fixture. It’s often represented by a break in the line, indicating its function to interrupt or allow the flow of electricity.
Now, you might wonder, how does the electricity flow?

The Journey of Electricity in a Switch Loop
Electricity flows from the power source to the light fixture. When the switch is “off,” the circuit is open, and no electricity flows to the light. When you turn the switch “on,” you close the circuit, allowing electricity to flow and light up the bulb.
Sounds simple, right? But why is the switch loop diagram essential?
The Importance of the Switch Loop Diagram
The switch loop diagram is more than just lines and symbols. It’s a roadmap. By understanding it:
- You can troubleshoot issues in your home’s electrical system.
- You’re empowered to make minor fixes or adjustments.
- You can better plan and execute home renovation projects, especially if they involve electrical work.
Lessons Learned
- Knowledge is Power: By understanding the switch loop diagram, you’re better equipped to handle electrical challenges in your home.
- Safety First: Always turn off the main power when working with electricity and consult professionals when in doubt.
- Continuous Learning: The world of home electrical systems is vast. Stay curious and keep learning!
In Conclusion
I hope this guide has shed light on the switch loop diagram, making it less intimidating and more approachable. Remember, whether you’re planning a DIY project or just want to understand your home better, knowledge is your best tool.