Cracks in the walls can occur for a number of reasons. One of them can certainly be an earthquake you never expect. I know because I recently experienced one. However, wall damage can also be from, for example, paintings or shelves that you had on the wall and have now removed. Or it has simply been damaged over time, often in places where central heating passes or along the edges.

Define the problem
First, detect what kind of problem it is. If there is surface damage or a piece of wall has fallen off to about 1 or 2 centimeters deep, you likely can carelessly repair the crack. However, if the damage is more serious and you suspect that the statics have been disturbed, be sure to call in experts to assess the damage so that an accident does not occur later. It’s especially the case if an earthquake is involved, then the safety of the entire building may be in question, so be careful.
Shallow damage
For very shallow damage that looks like a line or if you have nail holes, you can buy a ready-made repair mixture. It comes in a tube, and you squeeze it along the length of the crack. Then level the surface with a spatula and allow it to dry. This is actually the simplest way and, I must add, the purest. You will probably smooth the surface enough at first that no sanding will be required afterward. Subsequently, just paint the wall to even out the look. However, this is not a solution if you have more severe damage.

Deeper cracks
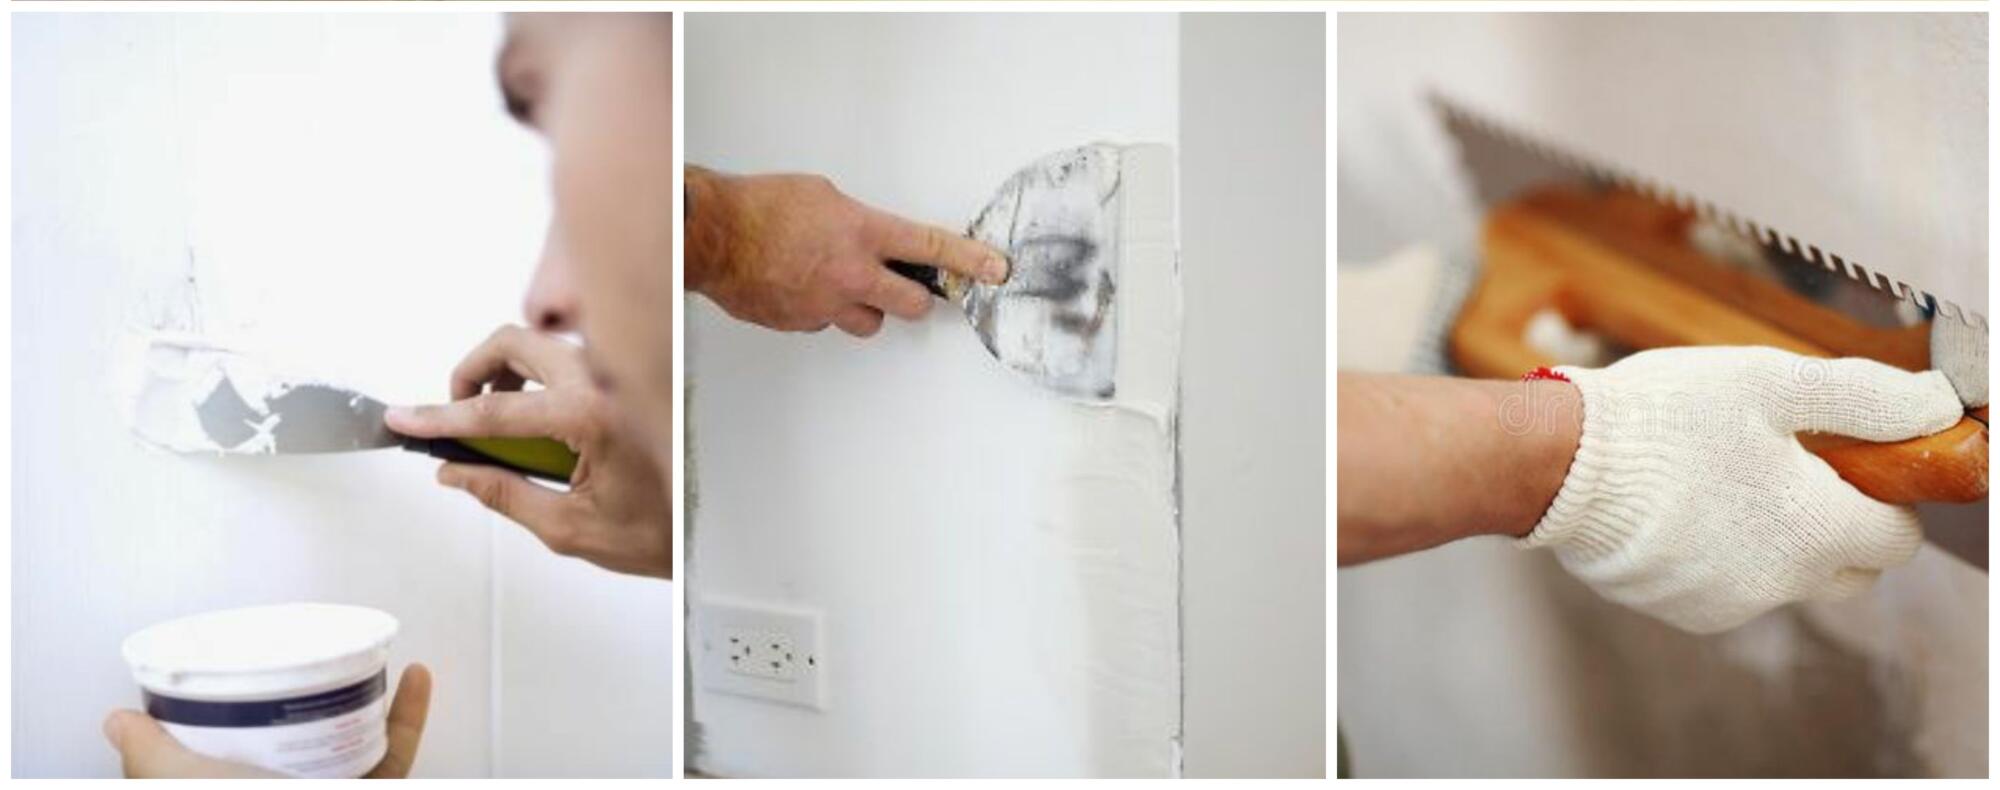
For slightly deeper cracks, it will be best to prepare the repair compound yourself. You will buy it in powder form and mix it with water. The biggest problem is to make a thin mixture that will not adhere well to the surface, and you will find it challenging to work with it. So prepare a thick mixture that you will be able to manipulate. First, remove shaky parts from the wall if they exist. You don’t want to stick the mix to parts of the wall that will soon fall off.

So first, clean the surface and remove crumbs and dust with a brush. Then mix the repair mixture. Keep in mind that it will tighten in about half an hour to an hour, so don’t count on doing that job for long. Rather prepare smaller amounts of the mixture and use it right away and mix a new one later. When you have applied the mixture to the wall, level it as much as possible to make it smooth and let it dry thoroughly. It will be safest to leave it overnight to be completely dry. Then sand the bumps to get a flat surface. And after that, you can paint over the wall.
The job is easy
You can easily do this job even if you have never done any similar jobs. It isn’t demanding, and in a situation where the handyman is unavailable to you, or you just want to save a few cents, don’t be afraid to roll up your sleeves and do it all yourself.