Are you looking for a new art form to explore? Have you ever considered pyrography, or the art of burning designs into wood? Pyrography can create stunning and unique pieces of art, and with the right techniques and tools, you can create truly breathtaking pieces. In this article, we’ll answer some common questions about wood burning art and provide tips and techniques for creating your own burned wood art.
What is wood burning art called?
Wood burning art is commonly known as pyrography. The word “pyrography” comes from the Greek words “pyro” meaning fire and “graphos” meaning writing.
How do you burn wood art?
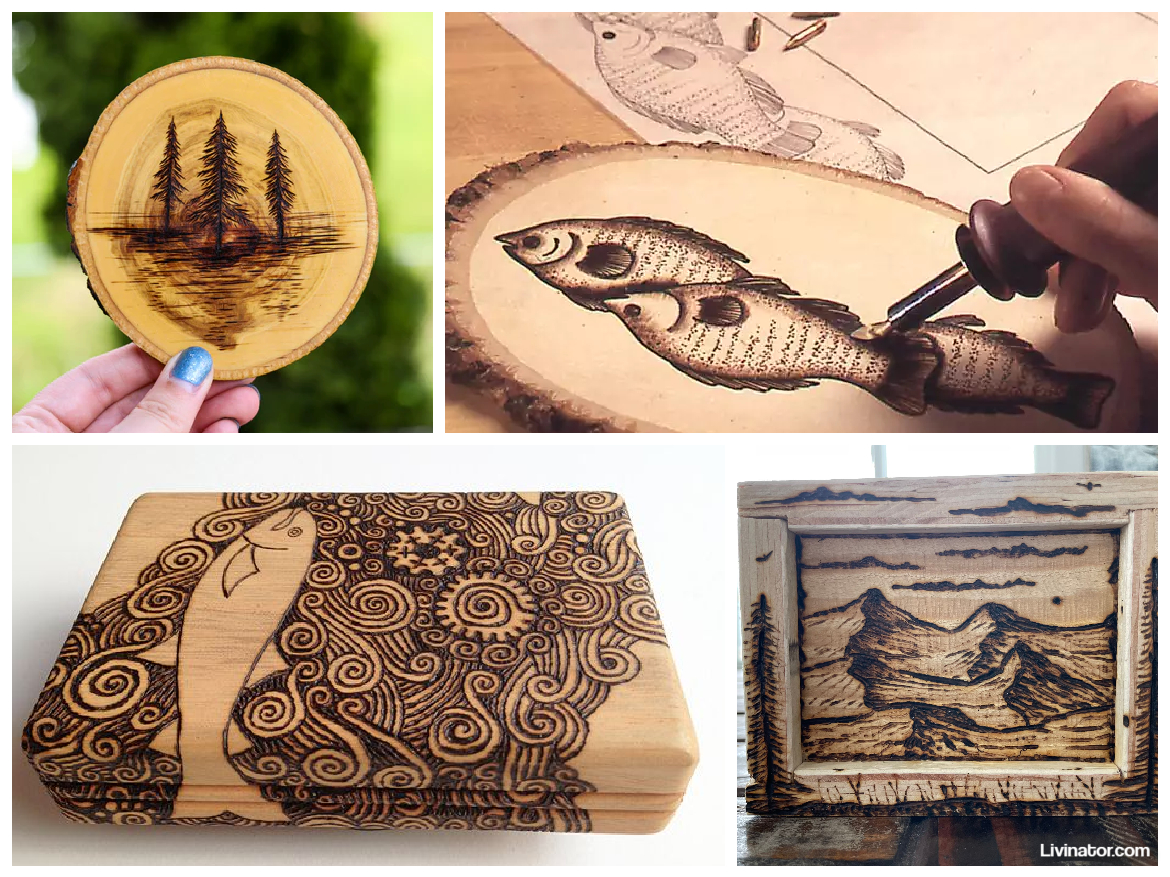
To create burned wood art, you will need a pyrography tool, which is a specialized tool designed for burning designs into wood. The tool has a heated tip that you use to burn the design into the wood. You will also need a piece of wood, sandpaper, and a design to follow. Start by sanding the wood to create a smooth surface, then use the pyrography tool to burn the design into the wood.
What do you use to seal wood burning art?
To seal wood burning art, you can use a clear polyurethane sealant or a wax finish. A polyurethane sealant will create a durable, water-resistant finish that will protect the art from moisture and wear. A wax finish will give the art a natural, matte finish and protect it from dust and dirt.
What is the difference between pyrography and wood burning?
Pyrography and wood burning are often used interchangeably, but there is a slight difference between the two. Pyrography is the art of burning designs into wood using a heated tool, while wood burning is the act of burning wood to create heat or fuel. In other words, pyrography is a form of wood burning, but not all wood burning is pyrography.
Is wood burning art toxic?
Burning wood can produce toxic fumes and smoke, so it’s important to take proper safety precautions when doing pyrography. Make sure to work in a well-ventilated area and use a respirator mask to protect yourself from the fumes. It’s also important to avoid burning treated or painted wood, as the chemicals in the wood can be hazardous.
Can you sell wood burning art?
Yes, you can sell wood burning art. It’s important to make sure that you have the legal right to sell the artwork, and that you are following any applicable laws or regulations in your area. It’s also a good idea to research the market and set a fair price for your artwork.
Does charring wood keep it from rotting?
Charring wood can help to make it more resistant to rotting and decay. This is because the process of charring the wood creates a layer of charcoal on the surface, which acts as a natural barrier against moisture and insects. Charring is often used in traditional Japanese construction, where it is known as shou sugi ban.
How do you add color to wood burning?
There are a few different ways to add color to burned wood art. One method is to use watercolor or acrylic paint to add color to the design after it has been burned into the wood. Another method is to use a technique called “colored pyrography,” where you use a heated tool to burn color directly into the wood. This technique requires specialized tools and can be challenging to master.
Does burning wood make it waterproof?
Burning wood does not make it waterproof. While charring the wood can make it more resistant to rotting and decay, it does not make the wood waterproof. If you want to make your burned wood art waterproof, you will need to apply a clear polyurethane sealant or a wax finish to the surface.
What is the best finish for burnt wood?
The best finish for burnt wood will depend on the type of wood you are using and the desired finish. A clear polyurethane sealant will create a durable, water-resistant finish that will protect the art from moisture and wear. A wax finish will give the art a natural, matte finish and protect it from dust and dirt. If you want to enhance the natural color and grain of the wood, you can use a wood stain or oil finish.
Do I need to seal wood after burning?
Yes, it’s important to seal wood after burning to protect the art from moisture and wear. A clear polyurethane sealant or a wax finish can help to protect the wood and preserve the burned design. Applying a sealant will also help to enhance the color and contrast of the burned design.
Do you sand after wood burning?
Yes, it’s a good idea to sand the wood after burning to create a smooth surface and remove any rough areas or uneven lines. Sanding will also help to remove any residual soot or ash from the burning process. Start by using a fine-grit sandpaper and gradually work your way up to a higher grit to create a smooth finish.
In conclusion, pyrography can create stunning and unique pieces of art, and with the right techniques and tools, you can create truly breathtaking pieces. Whether you’re a seasoned artist or just starting out, wood burning art is a fun and rewarding hobby that can provide hours of enjoyment. By following these tips and techniques, you can create beautiful and unique pieces of burned wood art that will be treasured for years to come. So grab your pyrography tool and start creating!