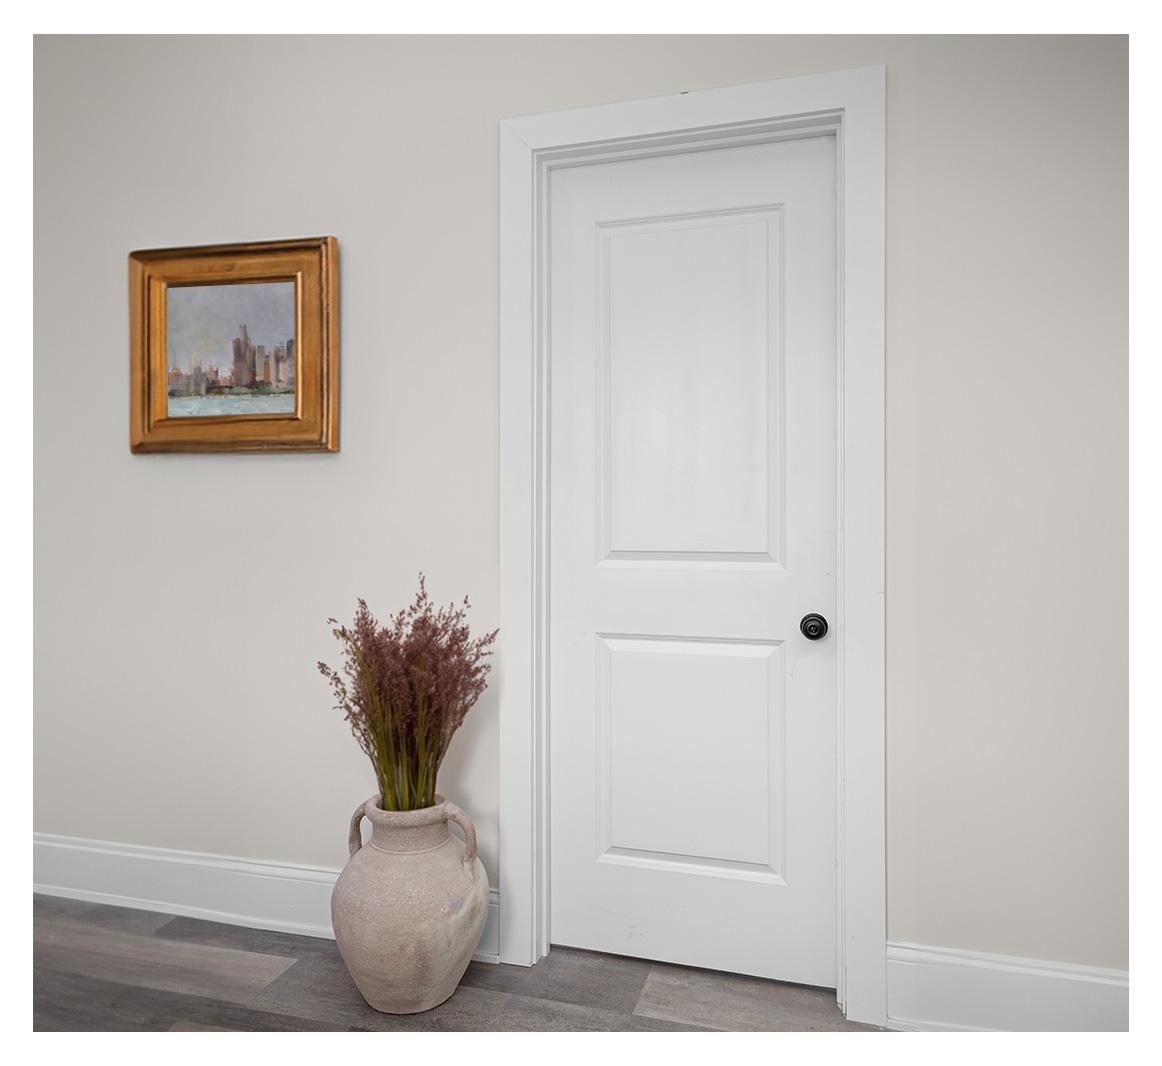
A door is more than a passage between rooms – it’s a tiny stage that sets the mood before you even step inside. Painting an interior door is one of those deceptively simple updates that can reshape a room’s personality, unify a home’s palette, and protect surfaces without the time or expense of major renovations. From subtle shifts that enhance light and proportion to bolder choices that create focal points, a fresh coat of paint can refresh both appearance and value. In the pages that follow, we’ll look at the practical and aesthetic reasons to consider painting yoru interior doors, and what to keep in mind so the change feels intentional rather than accidental.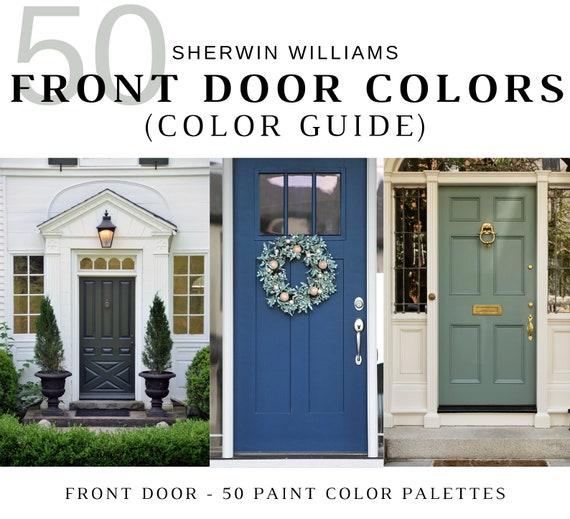
Choose a Door Color that Anchors the Room or Creates Intentional Contrast
Think of your door color as the room’s punctuation: a grounding period when you want calm, a playful exclamation when you want attitude. Deep, muted hues-navy, forest green, charcoal-can visually anchor an open plan, giving other elements something steady to orbit around. Conversely, a vivid or unexpected shade creates intentional contrast, turning a simple passage into a intentional visual cue that guides the eye and sets the mood for the space beyond.
- Anchor: choose rich, low-saturation tones to steady airy layouts.
- Contrast: pick a complementary or pop color to energize a neutral palette.
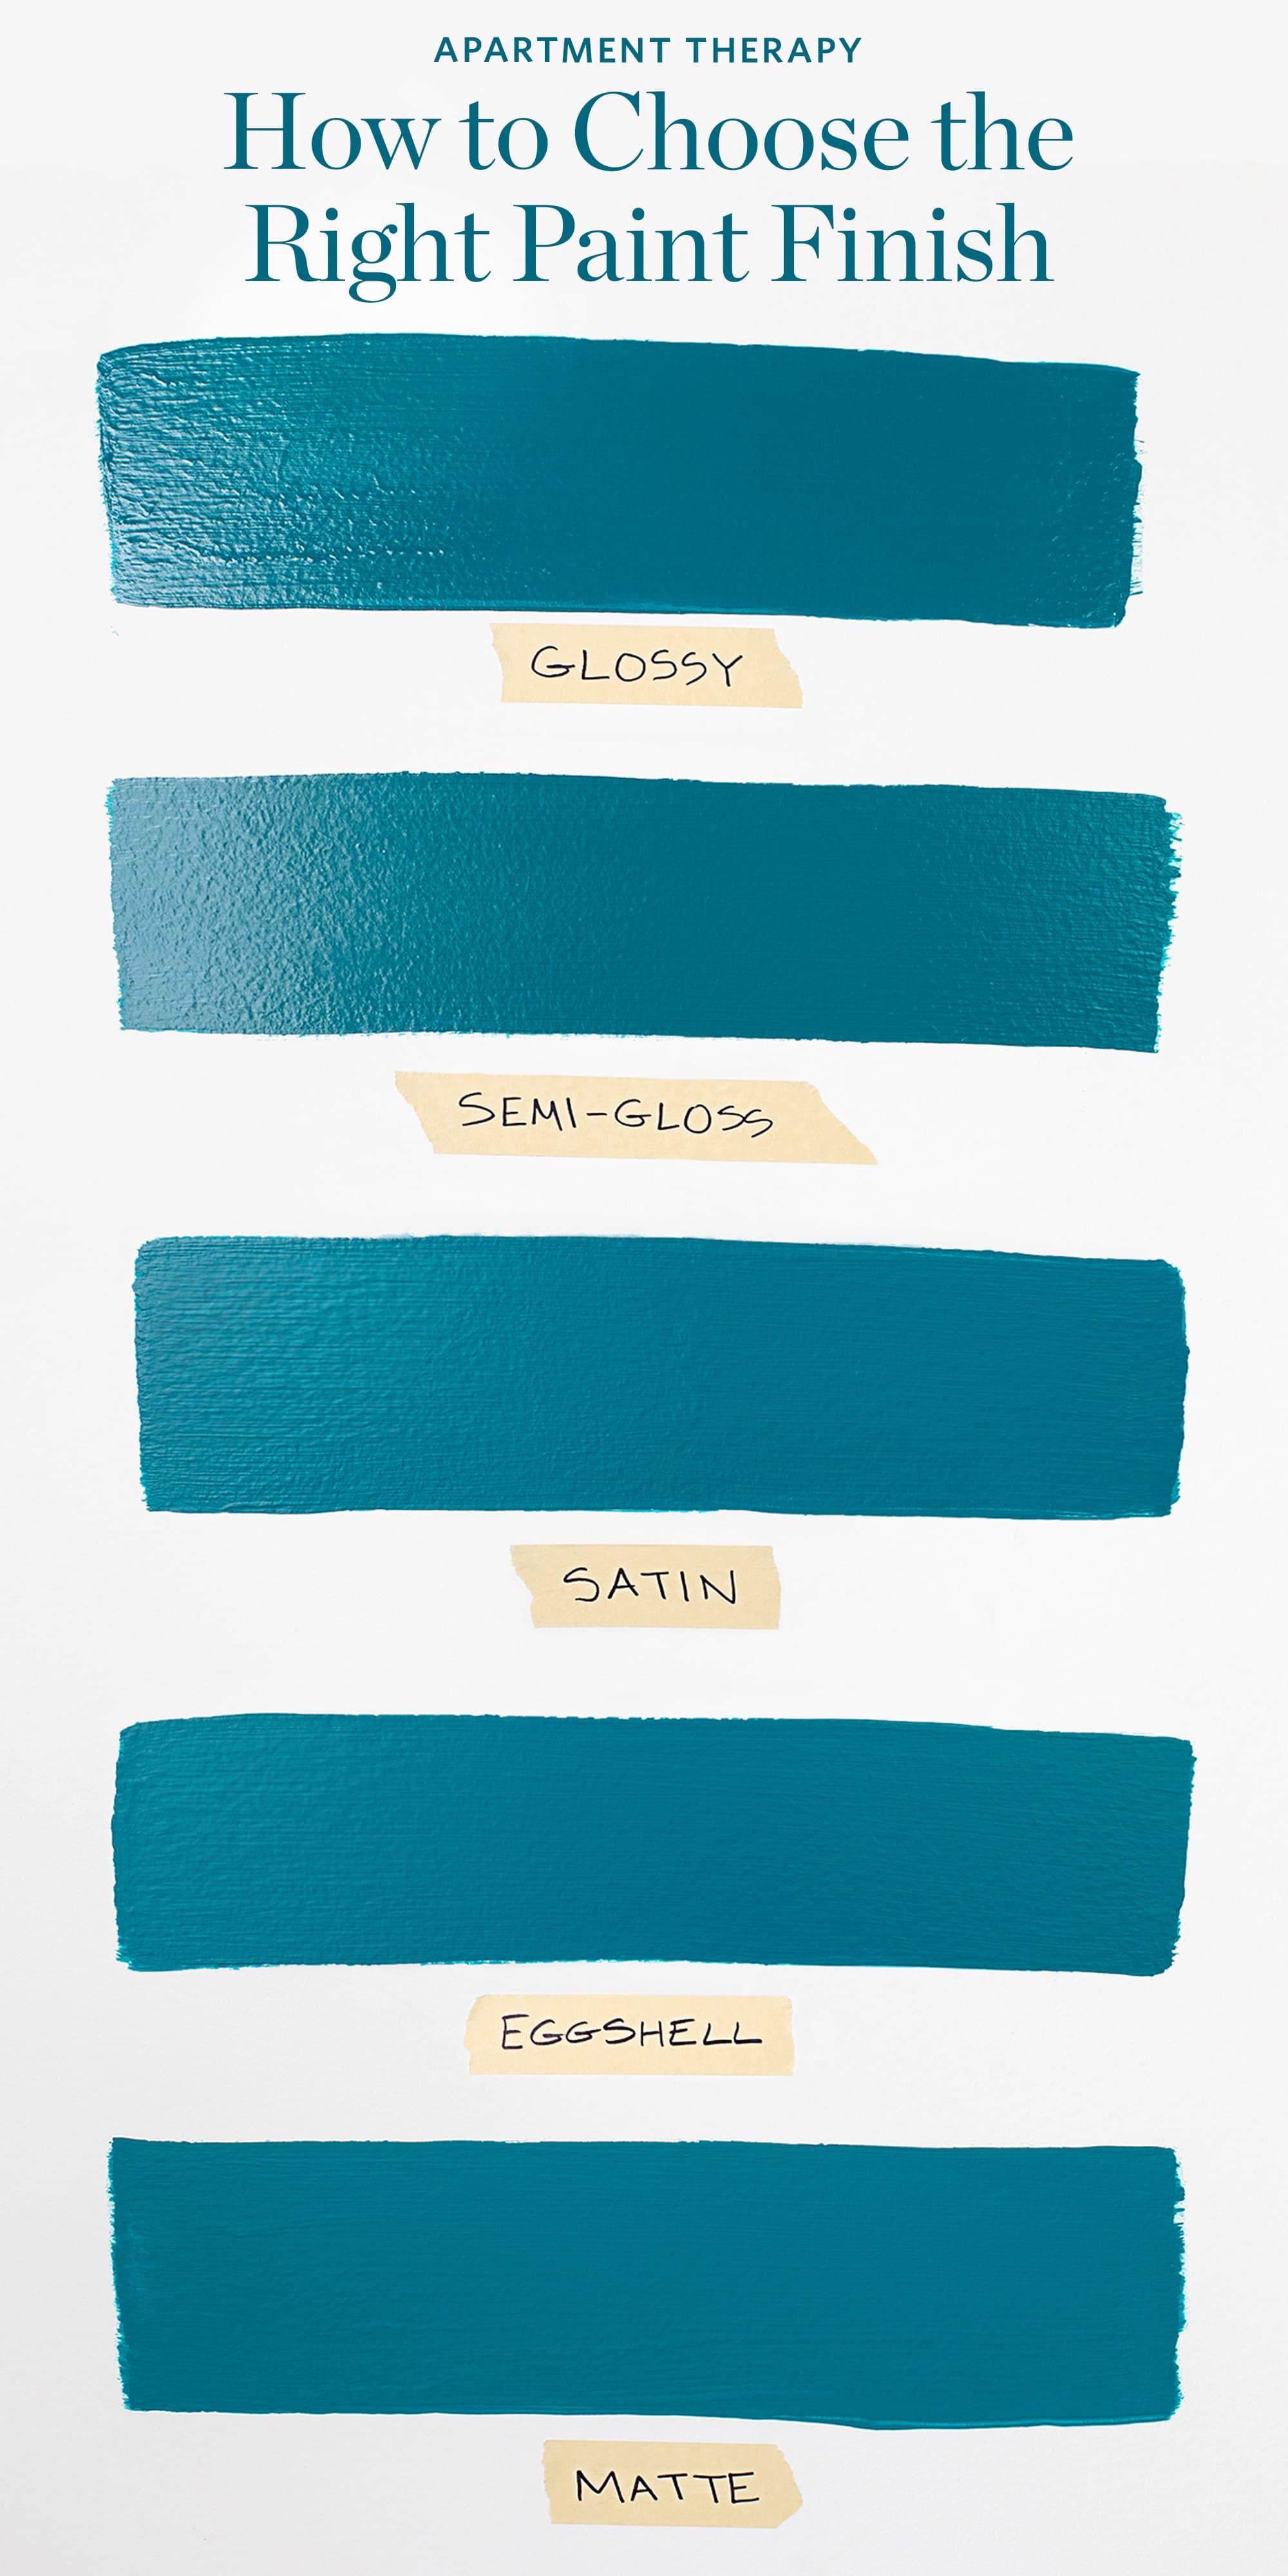
- Finish matters: eggshell for subtlety, satin or gloss for emphasis.
- Hardware harmony: match metal finishes to reinforce the chosen effect.
When deciding, weigh natural light, surrounding finishes and the door’s role-connector or statement. A fast reference can definitely help: use an anchoring color if you want cohesion and calm; use contrast to spotlight circulation and add character. Small shifts-darker trim, a glossier sheen, or swapping brass for matte black-can tip the balance from background to punctuation without a full remodel.
| Strategy | Example Color | Effect |
|---|---|---|
| Anchor | Charcoal | grounds open spaces |
| Contrast | Mustard Yellow | Creates a focal pop |
Select the Right Paint Type and Finish for Durability and Easy Cleaning
Choosing the right paint can make the difference between a door that looks fresh for years and one that shows fingerprints and scuffs the day after installation. For most interior doors, acrylic latex (water-based) enamel is the sweet spot – it dries fast, resists yellowing, and cleans up with soap and water. if you want a tougher surface, a water-based alkyd or conventional oil-based enamel gives extra hardness but with longer drying times and stronger fumes. Quick visual guide: • Acrylic latex - low VOC, flexible • Water-based alkyd – hard, durable • Oil-based - ultra-hard, slower cure
Finish matters as much as formula when you want surfaces that wipe clean without ghosting. For rooms with heavy use – kitchens, kids’ rooms, entryways – opt for semi-gloss or satin finishes: they repel grime and buff out light marks. Reserve eggshell or matte for low-traffic doors where texture is more importent than scrubbability. Simple care tips: • Wipe weekly with a damp microfiber cloth • Use mild detergent for stains,avoid abrasive pads • Touch up chips with a small brush matched to the finish
Prep Like a Pro: Surface Repair,Priming Tips,and Painting Techniques
start like a pro by addressing every blemish-scrape,fill,and sand until edges feather smoothly so new paint sits flat and lasts. A quick checklist helps keep the process tidy and predictable:
- Fillers: wood putty for gouges, lightweight spackle for dings
- Sanding: start 120 grit, finish 220 for a smooth profile
- Cleaning: remove dust and grease with a mild degreaser or TSP option
- Primer: use a bonding primer on slick surfaces and a stain-blocking primer where tannin bleed is a risk
These small investments in prep cut down on touch-ups and ensure crisp edges where panels meet rails and stiles.
When it’s time to paint, think thin and steady: multiple thin coats beat a single thick one every time, and light sanding between coats gives a factory-smooth finish. Match tools to the door: brushes for detailed grooves, a 4″ foam roller for flats, and a quality angled sash brush for cutting in-then follow with the brush to lay paint into corners for a seamless look.A quick reference table below summarizes ideal pairings for common door styles:
| Tool | Best for | Pro Tip |
|---|---|---|
| Angled brush | Panels & trim | Keep a wet edge |
| 4″ foam roller | Flat door faces | Use light pressure |
| Fine sandpaper (320) | Between coats | Wipe dust with tack cloth |

Coordinate Doors with Trim and Hardware to Upgrade the Whole Room
Think of doors as punctuation marks in a room – a chance to repeat a motif or introduce a deliberate pause. When the door color picks up on the trim tone or echoes the finish of the hardware, the whole space reads as intentional rather than accidental. Subtle matches (soft white trim with a cream door and brass pulls) whisper cohesion, while bolder contrasts (deep charcoal doors against shining white trim with matte black levers) create dynamic focal points without overwhelming the architecture.
Practical coordination doesn’t need to be complicated: choose a dominant finish and let at least two elements (door, trim, or hardware) share it for visual unity, or let each be distinct for layered interest. Below are quick pairings and a simple reference to help you visualize combinations before testing samples in your light.
- Classic Neutral: Soft white trim + light oak door + satin nickel handles
- Modern Monochrome: Matte black door + crisp white trim + black hardware
- Warm Contrast: Deep walnut door + cream trim + aged brass pulls
- Subtle match: Muted gray door + matching gray trim + brushed chrome hardware
| Door Color | Trim | Hardware |
|---|---|---|
| Soft White | Warm White | Satin Nickel |
| Charcoal | Crisp White | Matte black |
| Walnut Stain | Ivory | aged Brass |
Budget and Time Savers: When to DIY, When to Hire a Pro, and Cost Expectations
Deciding whether to tackle door painting yourself or call in a pro frequently enough comes down to time, tools, and desired finish. For a straightforward refresh-sanding light scuffs,applying primer and two coats of paint-a single interior door is a DIY-amiable afternoon project that saves labor costs and lets you customize colors on the fly. Though, when doors require repairs, intricate molding, or a ultra-smooth sprayed finish, it’s wiser to hire a pro: experienced painters deliver faster turnaround, superior preparation (fillers, deglossing, professional primers), and the consistent sheen that makes a door look factory-fresh.
- Supplies-only (DIY): $20-$60 per door – rollers,brushes,primer,paint (2-6 hours).
- Contractor touch-up: $75-$200 per door – sanding, two coats, minor repairs (1 day).
- Specialty finishes / spraying: $200-$500 per door – veneer matching,lacquer,or spray finish (1-2 days).
Smart money-savers: remove hardware yourself,paint multiple doors at once to buy paint in larger quantities,and opt for high-quality primer to reduce coats. if you value time and flawless results, budget for a pro; if you enjoy small home projects and want to keep costs minimal, set aside an afternoon and go DIY.
Concluding Remarks
A fresh coat of paint does more than change a door’s color – it reinterprets the way a room begins and ends. Whether you choose a bold hue to punctuate your décor, a subtle shade to unify a scheme, or a hard-wearing finish to lengthen a door’s life, painting interior doors is a small effort that yields visible, cumulative effects on light, mood, and perceived space.
If you’re intrigued, start simple: test a swatch, weigh matte versus gloss, and consider hardware and trim as part of the overall picture. For many homes this is a weekend project with immediate payoff; for others it might potentially be a staged improvement alongside other updates.
your doors can be quiet storytellers – small canvases that reflect style,protect function,and shape the way you move through your home. A thoughtful coat of paint might just be the nudge your rooms need to feel finished.