Transforming a room can breathe new life into your home, but the thought of tackling a paint job might feel daunting. You may envision the expertise of a professional painter wielding their brush wiht precision, but what if we told you that achieving that polished, pro-like finish is well within your grasp? Whether you’re looking to refresh a tired space or make a bold statement, painting your own room can be a rewarding adn fulfilling project. In this article,we’ll guide you through the ins and outs of painting like a pro — from selecting the perfect colors to mastering essential techniques,all while avoiding the pitfalls that can lead to messy walls and frustration.Get ready to roll up your sleeves and unleash your inner artist; it’s time to create a space that reflects your style and personality!
Choosing the Right Colors and Finishes for Your Space
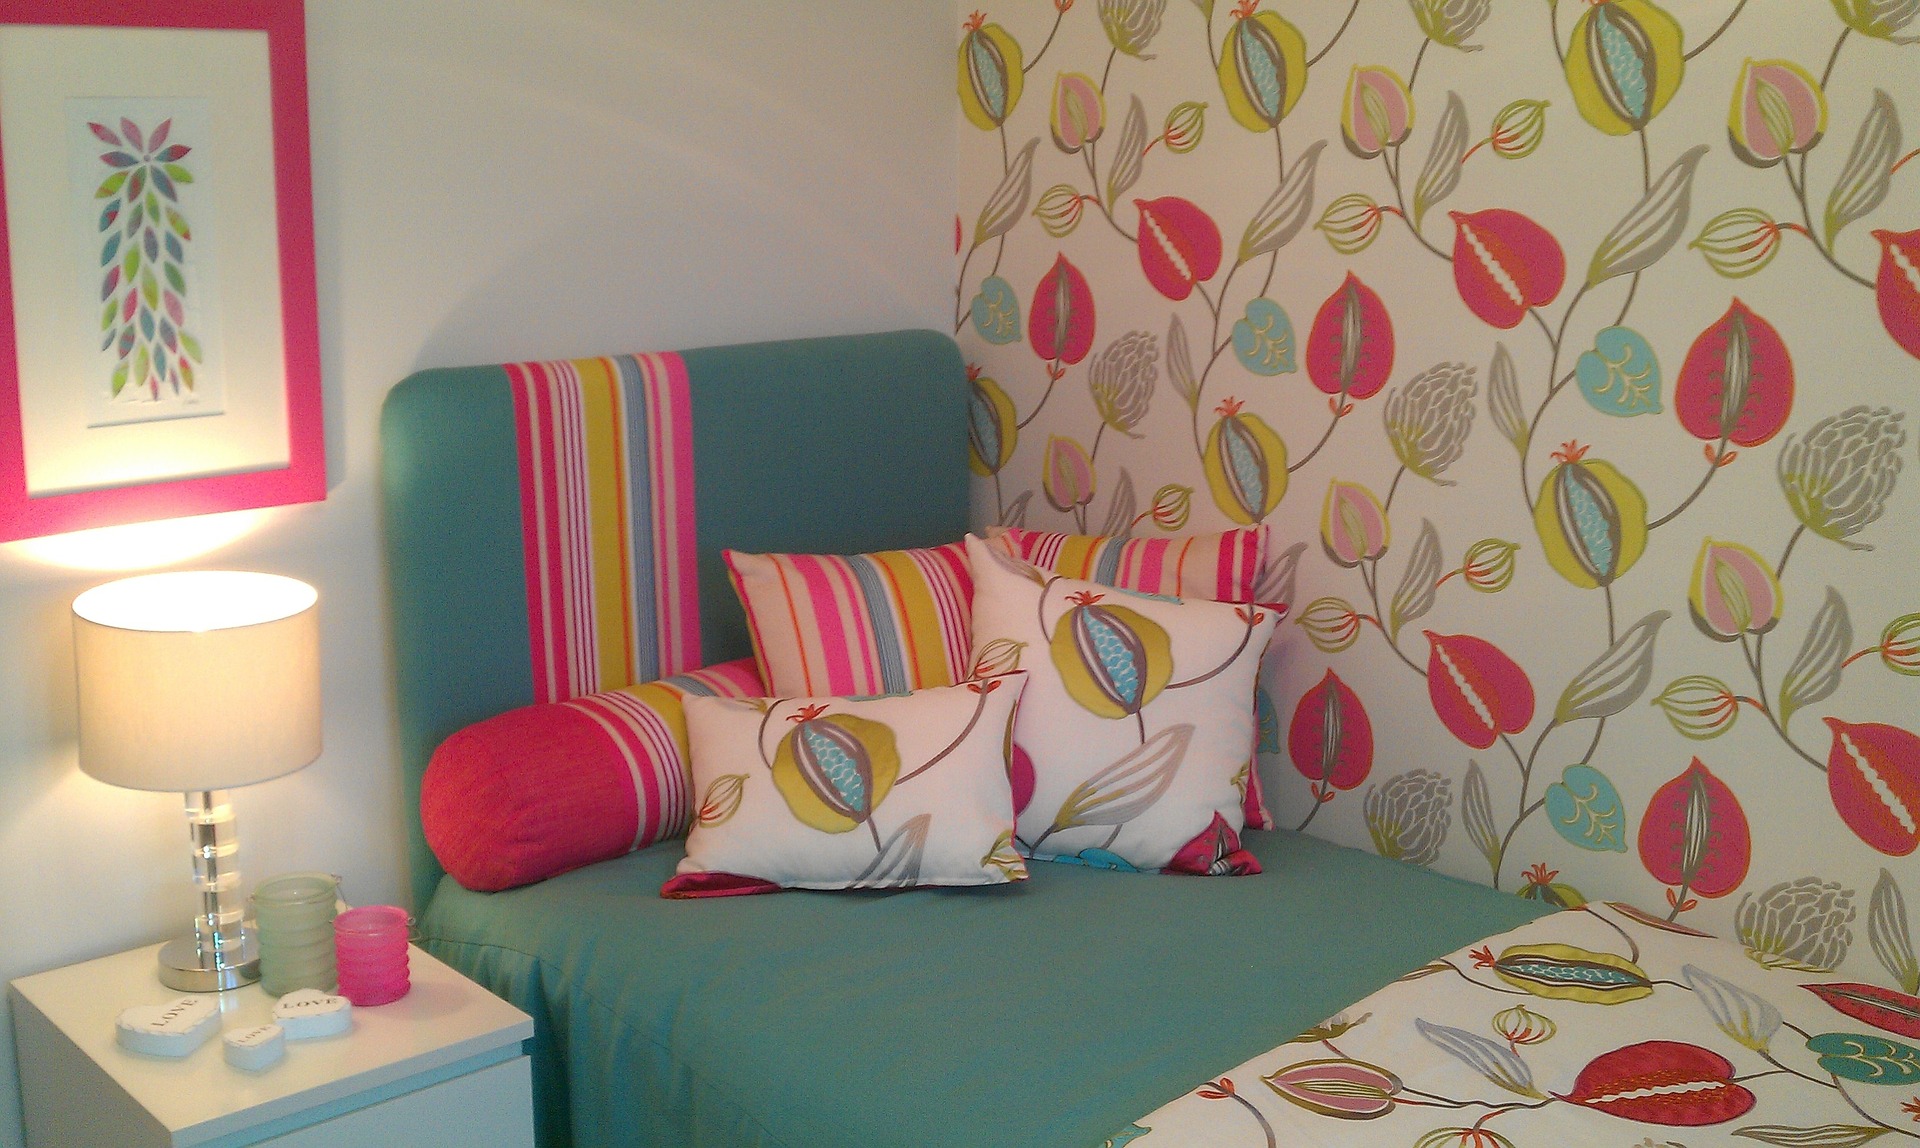
When it comes to selecting the perfect colors and finishes for your room, understanding the mood you want to create is crucial. Different shades can evoke various emotions and energy levels; as a notable example, warm colors like reds and yellows can bring vibrancy and warmth, while cool colors such as blues and greens frequently enough promote calmness and relaxation. Consider the function of the space you’re painting. Such as, in a cozy reading nook, you might want to opt for softer, muted tones, while a home office could benefit from more stimulating, vibrant hues to encourage productivity.
Another notable factor is the type of finish you choose, which can considerably affect the overall look and durability of your walls. here are a few options to consider:
- Matte Finish: Best for low-traffic areas; gives a complex look but is less durable.
- Satin Finish: Offers a soft sheen; ideal for most rooms,combining durability with aesthetics.
- Eggshell Finish: Slightly more lustrous than matte; resistant to stains,making it suitable for living rooms and bedrooms.
- Gloss Finish: High shine and highly durable; best for trim, cabinets, or high-traffic areas like kitchens and bathrooms.
To help you visualize your choices, consider using the following color scheme table:
| Color | Mood | finish |
|---|---|---|
| Soft Blue | Calm | Satin |
| Warm Beige | Welcoming | Eggshell |
| Bright Coral | Energetic | Gloss |
| Deep Green | Relaxing | Matte |
Essential Tools and Supplies for a Flawless Finish
Achieving a professional-looking paint job requires more than just good technique; it’s also about having the right tools at your disposal. Before you embark on your painting journey, gather these essential supplies to ensure a smooth and flawless finish. Start with high-quality brushes and rollers designed for the type of paint you’re using. Look for an assortment of sizes to handle different areas, from larger wall spaces to intricate corners. In addition, a paint tray will help you avoid drips and ensure even paint application. Don’t forget to invest in painters’ tape, which will help you create clean lines and protect surfaces that shouldn’t be painted.
Your toolkit should also include drop cloths to protect your floors and furniture from accidental spills. Consider using a paint edger for easier access to tight spaces, making it simple to reach those difficult spots. A roller extension pole is a game changer, allowing you to cover high areas without the need for a ladder. For a tidy workspace, keep some rags on hand for swift cleanups, and don’t overlook paint can openers and mixing sticks to ensure your paint is ready to go. Below is a concise table summarizing these vital tools:
| Tool/Supply | Purpose |
|---|---|
| Paint Brushes | For edges and detailed areas. |
| Rollers | Ideal for larger wall surfaces. |
| Painters’ tape | For clean lines and protection. |
| Drop Cloths | To cover floors and furniture. |
| Paint Edger | To reach tight spots easily. |
| Roller Extension Pole | To paint high areas without a ladder. |
| Rags | For quick cleanup of spills. |
| Paint Can Opener | For easy access to paint. |

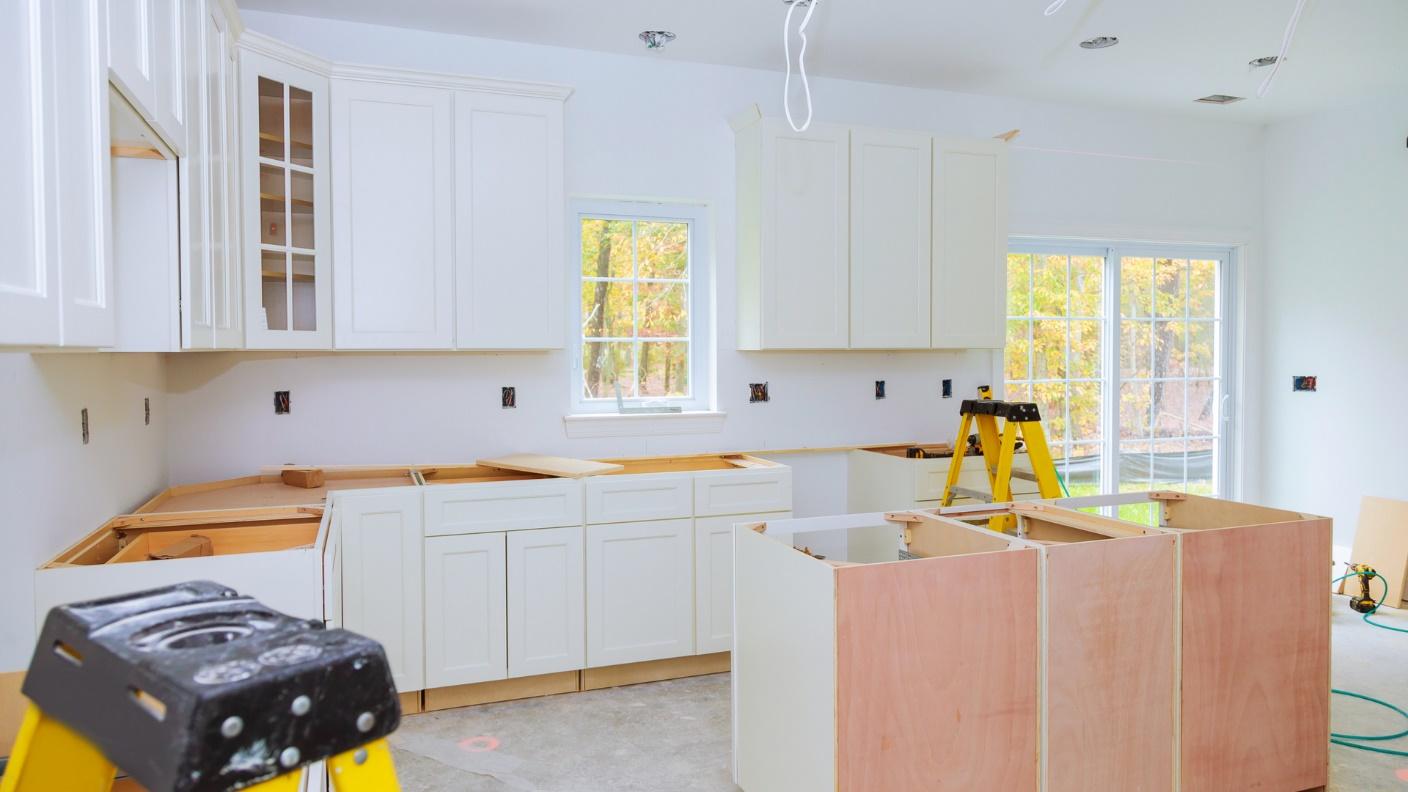
Mastering the Preparation Process: The Key to Success
Before you even think about picking up a paintbrush, it’s crucial to master the preparation process. This phase can make or break your paint job, so careful attention here will pay off significantly. Start by gathering all your tools to ensure efficiency and avoid interruptions. Here’s a concise list of essential items you’ll need:
- Painter’s tape to create clean lines
- Drop cloths or old sheets to protect your floors and furniture
- Sandpaper for smoothing out surfaces
- Primer for even coverage
- High-quality brushes and rollers for a professional finish
Next, it’s time to prepare your actual space. Begin by removing any furniture or covering it with the drop cloths. Make sure to clear the walls of nails or screws and give them a good wipe-down to remove dust and grease. If there are any imperfections,fill them with spackle and sand them down once dry. To further assist with the tasks ahead, consider using this simple preparation checklist:
| Task | Status |
|---|---|
| Clear room | ☐ |
| wipe down walls | ☐ |
| Sand imperfections | ☐ |
| Apply painter’s tape | ☐ |
by following these steps thoroughly, you will create an ideal canvas for painting, allowing your creativity to flow and resulting in a beautifully transformed room.

Techniques for Applying paint Like a Professional
to achieve a professional finish, start with proper surface preparation. This means cleaning your walls thoroughly to remove dust, grease, or old paint flakes. Use a quality primer before applying your main paint color,especially if you’re covering a darker hue or working with a porous surface. Here are some tips to ensure a smooth foundation:
- Fill cracks and holes using spackle or caulk.
- Sand any rough patches to create an even surface.
- Use painter’s tape to protect trim and edges,ensuring clean lines.
Next, focus on the application technique. Invest in a good quality roller and brush, as they will make a tremendous difference in the final appearance. When rolling paint, apply it in a W or M pattern to evenly distribute the product before feathering it out. For edges and tight spots, use a brush for precision. Consider these methods for a professional look:
- Cut in around the edges before rolling for a seamless transition.
- Back-roll after spraying to blend the paint and eliminate roller marks.
- Less is more: Apply multiple thin coats instead of one thick coat for better adhesion and finish.

Tips for a Clean and touch-Up Ready Environment
Creating a clean and touch-up ready environment is essential for achieving a professional-looking paint job. before you pop open that can of paint, take a moment to prepare your space. Here are some effective strategies:
- Clear the Area: Remove all furniture and decor from the room, or move them to the center and cover with drop cloths.
- Clean Surfaces: Dust, wipe down walls, and clean any scuffs or stains to ensure the paint adheres properly.
- Repair Imperfections: Fill in holes, cracks, and dents with spackle or caulking, then sand them smooth for a flawless finish.
After prepping the space,it’s crucial to set up your painting area efficiently. This not only saves time but also increases the quality of your work.Consider these tips:
| Tip | Description |
|---|---|
| Lighting | ensure sufficient lighting to spot any uneven coverage as you paint. |
| Tools Ready | Gather brushes, rollers, painter’s tape, and trays in advance for easy access. |
| Ventilation | Open windows or use fans to keep the air circulating and reduce paint fumes. |
Closing Remarks
As you step back and admire your newly transformed space, it’s hard not to feel a sense of pride in your DIY accomplishment. Painting a room like a pro, without the assistance of a professional, is not just about the final coat of paint; it’s about the journey of planning, preparation, and execution that brings your vision to life. Armed with the right tools, techniques, and a dash of creativity, you’ve harnessed the power of paint to breathe new life into your home.
Remember, every stroke tells a story, and every color evokes a mood. as you embrace your freshly painted walls, take a moment to reflect on the process – the careful taping, the calculated color choices, and even the minor mishaps that only added to the adventure. You’re not just a homeowner; you’re an artist, shaping your sanctuary with your own hands.
So, whether you’re contemplating your next project or simply enjoying your handiwork, hold onto that inspiration. With patience and a little practice, you’ll find that the world of DIY painting is vast and full of possibilities. Go ahead, unleash your inner designer, and let your walls sing with the colors of your creativity!