Do you want professional looking walls?
Are you tired of peeling paint and unsightly stains on your walls? Do you want an even, long-lasting finish for your painted surfaces? If so, then using primer when painting your walls is a must!
So, let’s dive in and discover why primer should be your go-to tool for achieving professional-looking walls!
What is Primer?
Primer is a preparatory coating that is applied to the surface before painting. It acts as a foundation for the paint, providing a smooth and uniform base for better adhesion and coverage. Essentially, primer allows the paint to adhere better to the surface, ensuring a more professional and long-lasting finish.
The Role of Primer in Wall Painting
Think of primer as the unsung hero – it creates a barrier between the raw surface and the paint, preventing various issues that can arise during the painting process.
One of the primary roles of primer is to enhance paint adhesion. It forms a bond between the surface and the paint, ensuring that it sticks firmly and doesn’t peel or flake off over time. Additionally, primer improves paint coverage, allowing you to achieve a more vibrant and even colour tone with fewer coats.
Furthermore, primer acts as a shield against stains and prevents them from bleeding through the paint.
With these benefits in mind, it’s clear why using primer is a smart choice!
The Importance of Using Primer
If you want your paint job to stand the test of time and look flawless, using primer is a non-negotiable step in the process. Let’s explore some of the key reasons why:
Enhancing Paint Adhesion
As mentioned earlier, primer promotes better adhesion between the surface and the paint. Without primer, paint may have difficulty sticking to certain surfaces. You end up with a lacklustre finish and potential peeling or flaking. By using primer, you create a solid foundation for the paint, ensuring it adheres uniformly and remains durable over time.
Improving Paint Coverage
Another significant advantage of using primer is improved paint coverage. Applying paint directly to a bare surface or an existing colour can be challenging, as it often requires multiple coats to achieve the desired result.
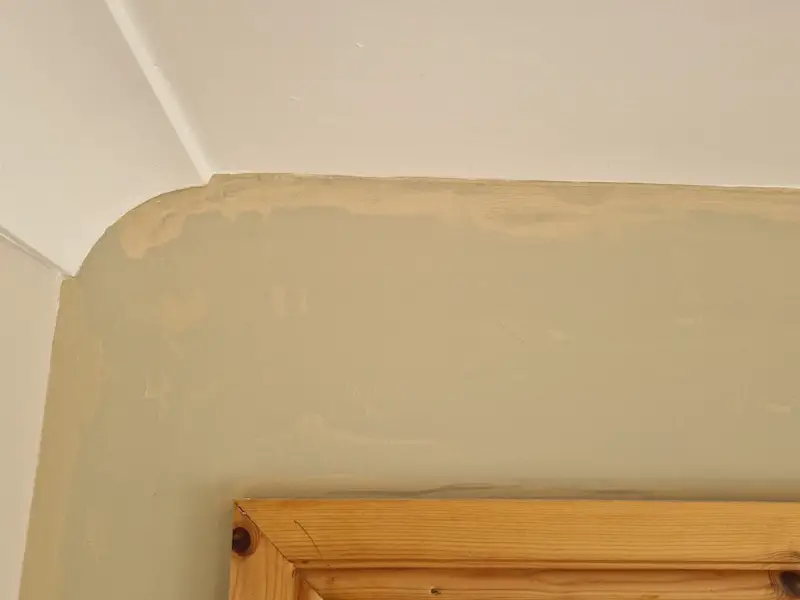
Without a primer wall coverage can be very patchy.
Primer helps to fill in pores and smooth out imperfections, making the paint application more efficient and effective. This means fewer coats of paint and less time spent on touch-ups!
Preventing Stains and Peeling
Perhaps one of the most frustrating things about painting is seeing stains bleed through the fresh coat of paint. With primer, you can prevent this issue.
Primer seals the surface, preventing stains from surfacing and spoiling your beautiful walls.
It also acts as a barrier to reduce the chances of paint peeling or cracking, keeping your walls looking impeccable for years to come.
Choosing the Right Primer for Your Walls
When it comes to primer, choosing the right one for your walls is crucial for achieving the desired results. Consider these factors while selecting the perfect primer:
Primer for New Drywall
If you’re painting new drywall, opt for a primer specifically designed for this purpose. New drywall tends to be porous, so a PVA (polyvinyl acetate) primer will work wonders.
This type of primer seals the surface, prevents the paint from being absorbed too quickly, and promotes smooth paint application.
Primer for Dark Walls
When seeking to cover dark-coloured walls with a lighter paint shade, a high-hiding primer is your best friend. These primers are formulated to conceal the existing colour, providing an even base for your new paint.
Primer for Glossy Surfaces
If you plan to paint over a glossy or shiny surface, such as tile or laminate, choose a bonding primer. Bonding primers have excellent adhesive properties and help the paint adhere to these tricky surfaces. They ensure better adhesion and reduce the chances of peeling or chipping over time.
How to Apply Primer Correctly
Now that you have the right primer for your project, let’s learn the proper technique to apply it.
Following these steps will ensure a flawless paint job and ultimate wall perfection:
Preparing Your Walls for Primer
The first step is to prepare your walls before applying primer. Clean the surface by removing any dust, dirt, or grease. Repair any cracks or imperfections, as primer can only do so much without a solid foundation.
Remember, the smoother the surface, the better the paint finish will look.
Applying the Primer
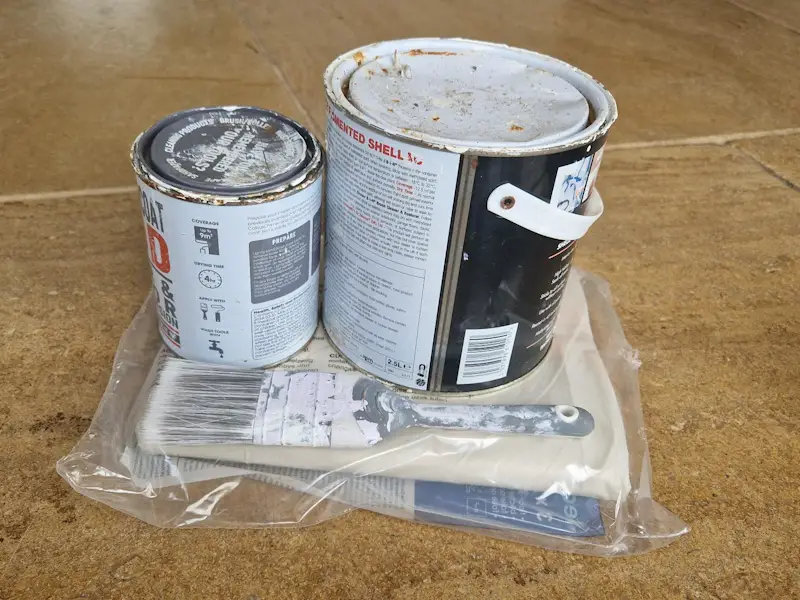
Once your walls are prepped, it’s time to apply the primer. Use a brush or roller and start with a coat of primer. Apply it evenly and avoid excess buildup or thick layers, as this can interfere with paint adhesion. Allow the primer to dry completely before moving on to the next step.
Drying and Sanding the Primer
After the primer has dried, it’s essential to sand the surface lightly. This step helps to smoothen any imperfections or roughness caused by the primer.
Use a fine-grit sandpaper to achieve a silky-smooth finish. Remove any dust or debris and your walls are now ready for the final paint application!
To Sum Up
Using primer when painting your walls is a game-changer. It promotes better adhesion, enhances paint coverage, and prevents stains and peeling.
By choosing the right primer and applying it correctly, you’ll achieve flawless walls with a professional touch. So, before starting your next painting project, don’t forget the power of primer.
Your walls will thank you!
About the author
 During home inspections, Brightchecker co-founder John Antill frequently takes photos of walls that aren’t properly painted. Although the Brightchecker home inspection software is very user-friendly, he wanted to offer some tips for applying primer so he wouldn’t have to take as many photos in the future.
