How can you raise a recessed or sunken floor to give your home a new look?
Well, the sunken room is an old-school design— not common in the many homes nowadays. But that doesn’t mean they aren’t widespread.


Plus, many homeowners would like to try a sunken living room. But the primary worry for a majority is what happens when someday you decide to switch to another style.
So raising a sunken floor is not a far-fetched topic for you, after all.
Sunken Living Rooms are Not Written in Stone


The fact that you can raise a sunken room without breaking the bank is reassuring. Knowing that you can correct that dip anytime makes you want to try a sunken living room.
With sunken living rooms, you can either sink a circular or rectangular area, based on your space and design needs.

Sinking your room in this manner leaves a cozy area that you can furnish with furniture and turn into a gorgeous living space.
But like any other style, it has its pros and downsides; the “hole” you create being one of them. The sunken area poses a lot of challenges when the time comes to make a switch.
Why You May Need to Raise a Sunken Floor

There are many instances when raising a sunken floor can be a solution to your problem. Raise a recessed floor when you need to;
- Switch from sunken design: of course, you’ll need to fill the pit in your room if you have to try a different look.
- Achieve a low-slung roof: Raising a floor is the simplest and cheapest way to achieve a low-roof design.
- Make your room look larger: A large sunken area threatens to eat up all your space, filling the hole can make it bigger. Add a wall to your room design: a dip in your room can be an obstacle if you need to add a separating wall to your space.


That said, let’s learn how to fill a sunken area to achieve your needs.
The 7 Steps to Raise a Sunken Room
Here’s you 7-step procedure to fill a hole in your floor
1. Declutter


The first step is to declutter. Remove everything from furniture to carpeting and any other form of padding.
Be ready with handy carpentry tools like a claw hammer, a pair of pliers, screwdrivers, and so on. These will help you remove any boards and strips. Put everything a distance away to leave ample working space.
2. Measure the height you need to fill/raise


Measure the height you need to fill— i.e., from the sunken room’s floor to your standard or desired floor height.
Of course, taking measurements also gives you a sense of how much material you need to accomplish your project.
3. Do away with any erect building materials

Eliminate any erect building metals, dry cement, etc., linking your sunken area to the neighboring floor. The goal is to attach your newly raised floor to the nearby floor to create uniformity, and not two separates.
4. Check pattern and measure present beams/joists

Check the architectural material and style used in the neighboring floor. Most designs are uniform and will allow you to build a matching pattern.
Measure the distance between the floor beams and then cut new joists around 20 inches longer than your measurement.
5. Pair new joists with present beams
Pair your new joist to a beam in the neighboring floor. To pair is to place the new cut against the existing board.
Make sure the ends overlay around 10 inches onto the old joists. Drill four strategic holes in your new beams, slide in the lag bolts and then tighten.
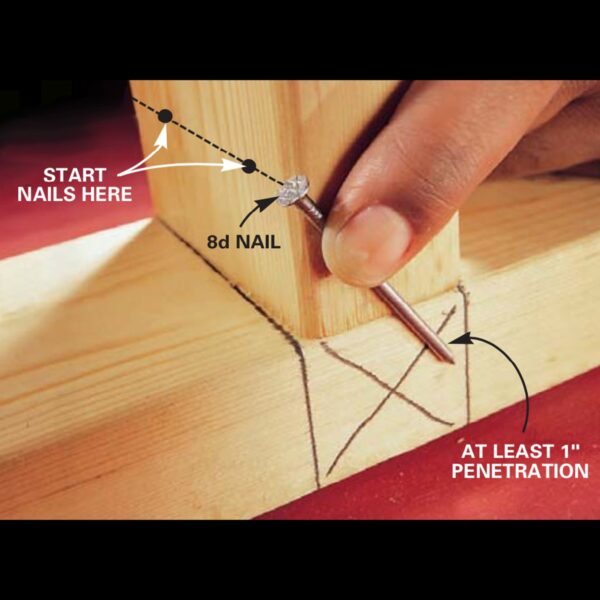
Measure the distance between beams and cut blocks 2”x6” or 2”x8”. Slide the blocks between the joists and nail them end to end with a nail gun.
Add blocks after every 4 feet. And for a sturdier result, ensure you stagger your blocking.
6. Reinforce your beams
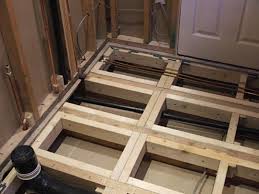
Next, you want to reinforce your newly joined joists with posts to support the further and ensure maximum sturdiness.
7. Lay Plywood and fasten
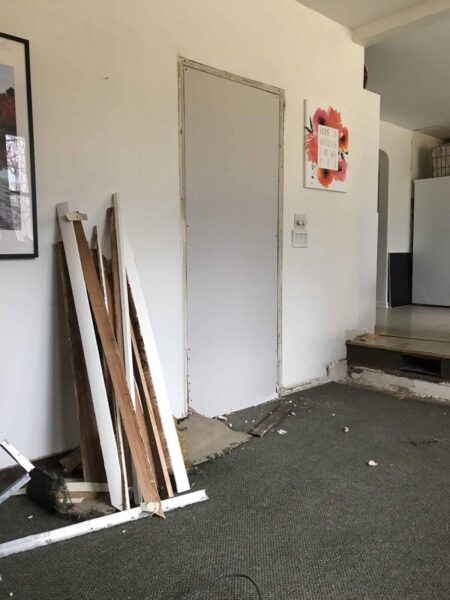
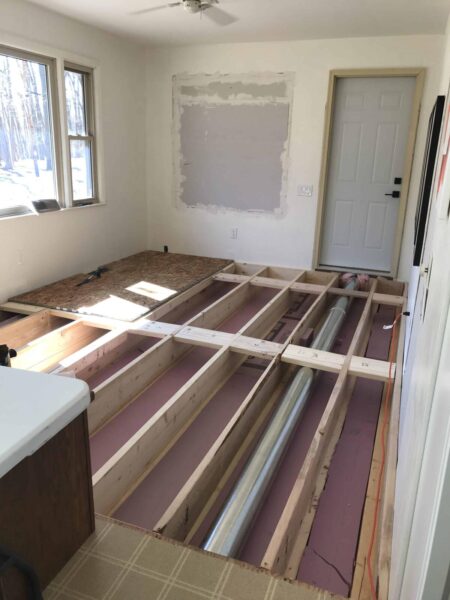
Lay your plywood sheathing at right angles to the beams. Use floor fasteners to nail every 10 inches.
You can DIY!

If you like to play with tools and do things on your own, then nothing can stop you from raising your sunken room! Prepare tools and materials in advance. And lastly, don’t forget to wear personal protective equipment.


