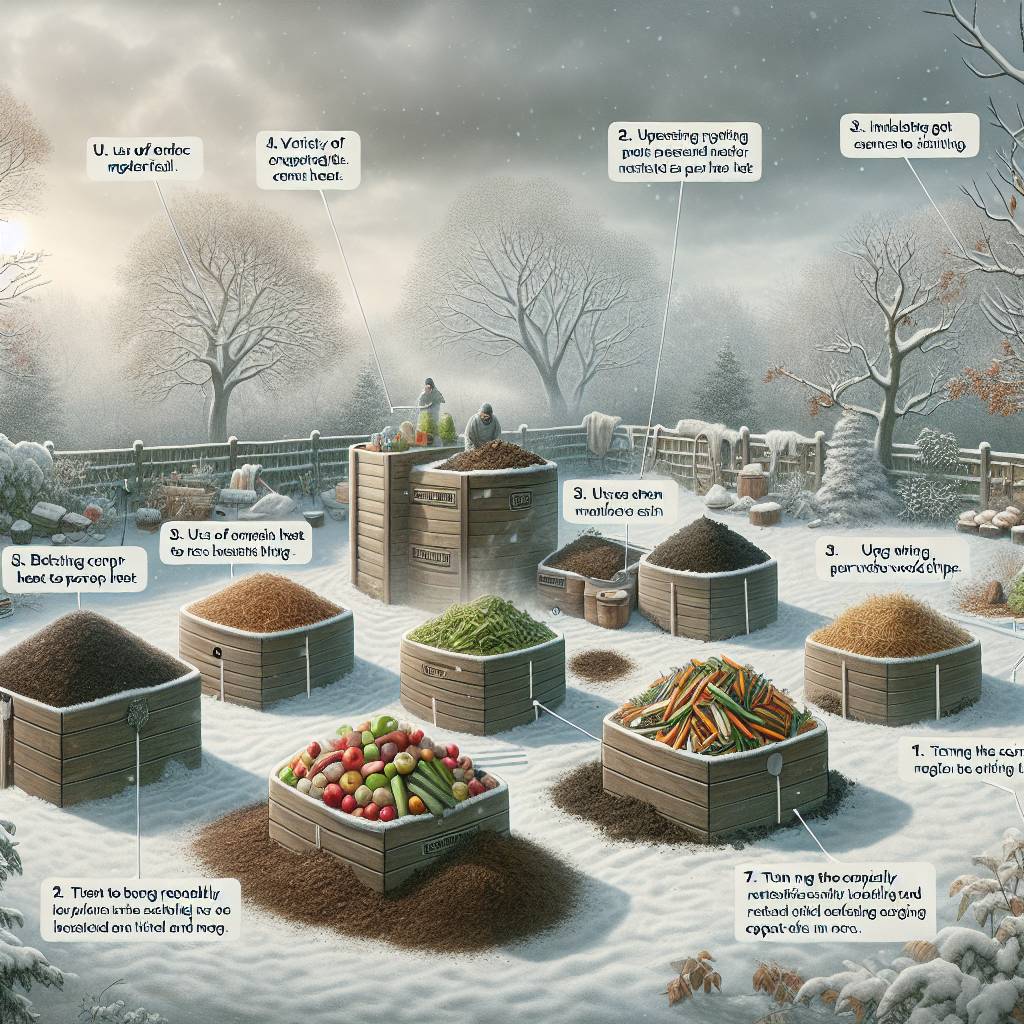
Composting in cold climates presents unique challenges for composters, but with the right techniques, you can turn winter into a productive time for your compost. As the practice of composting dates back to ancient civilizations, it has evolved to accommodate various environmental conditions. In colder regions, maintaining an active compost pile during winter requires specific strategies that differ from those used in warmer seasons.
In this post, we will explore effective methods for winter composting in cold climates with plants, brown materials, wind, and fall. From adjusting carbon-to-nitrogen ratios to utilizing insulating materials and choosing the right location for your compost bin, we’ll cover practical tips to help you sustain a thriving compost pile throughout the winter months. By implementing these techniques, you can continue contributing to a more sustainable environment even when temperatures drop.
Key Takeaways
- Insulate your compost pile using materials like straw or leaves to maintain warmth during winter.
- Balance the ratio of greens and browns in your compost to ensure efficient decomposition, even in cold weather.
- Monitor moisture levels and aerate the compost regularly to prevent it from becoming too wet or compacted.
- Consider using a compost tumbler for easier management and faster decomposition during the cold months.
- Add kitchen waste to your winter compost bin, but avoid adding large quantities that could disrupt the composting process.
- Harvest and utilize winter compost to enrich your soil in the spring, promoting healthy plant growth.
Basic Preparations for Winter Composting
Clearing the Area
Before delving into winter composting techniques for cold climates, it’s crucial to prepare the composting area. Start by clearing any debris or fallen leaves from the designated spot. This helps create a clean and organized space for your compost pile. By doing so, you eliminate potential obstructions that could impede the decomposition process during winter.
Once the area is clear, it’s time to address larger materials that may take longer to decompose in colder temperatures. Chop up these items into smaller pieces to accelerate their breakdown. For instance, if you have large branches or twigs, using a shredder or simply cutting them into smaller segments can facilitate quicker decomposition during winter.
Insulating with Straw or Cardboard
To ensure that your winter composting remains effective despite frigid temperatures, insulate the ground around your compost pile with a layer of straw or cardboard. This insulation helps retain heat within the pile and prevents excessive cooling due to external conditions. The retained warmth supports microbial activity essential for decomposition even in cold climates.
Selecting the Right Winter Compost Bin
Insulated Compost Bin
Selecting the right compost bin is crucial. An insulated compost bin is an excellent choice as it helps in maintaining the heat required for the decomposition process during colder months. This type of bin retains warmth, which supports the breakdown of organic materials even in low temperatures. For instance, a double-walled plastic or wooden compost bin provides better insulation compared to open-air or single-wall bins.
Opt for a bin with a tight-fitting lid to keep out excess moisture and pests. A secure lid not only prevents rain and snow from entering but also helps regulate moisture levels within the compost pile. Excessive moisture can hinder the decomposition process by creating a soggy environment that lacks sufficient oxygen, leading to unpleasant odors and anaerobic conditions. A tightly sealed lid keeps pests such as rodents and raccoons away from your compost pile.
Consider a compost bin with a built-in thermometer for easy temperature monitoring. Monitoring the internal temperature of your compost pile is essential, especially during winter when maintaining optimal heat levels can be challenging. With a built-in thermometer, you can easily track whether your compost pile is generating enough heat for effective decomposition or if adjustments are needed to enhance microbial activity.
Insulating the Compost Pile for Winter
Using Natural Insulation
To protect your compost pile from the harsh winter weather, surround it with bales of straw or hay. These natural insulators will help retain heat and keep the composting process going even in cold climates. Positioning the compost bin against a south-facing wall or in a sunny spot can provide natural warmth, aiding in maintaining an optimal temperature for decomposition.
During winter, it’s crucial to cover the compost pile to shield it from snow and rain. A simple yet effective way to achieve this is by using a tarp or plastic sheeting. This covering not only prevents excess moisture from seeping into the pile but also helps trap heat generated during decomposition, creating a more conducive environment for microbial activity.
Importance of Carbon-Rich Materials
Incorporating carbon-rich materials such as straw, dry leaves, or shredded paper into your compost pile during winter serves as an additional layer of insulation. These materials act as bulking agents that create air pockets within the pile, enhancing its ability to retain heat. As organic matter breaks down, these carbon-rich components contribute to sustaining microbial activity and preventing excessive cooling.
When dealing with winter composting techniques for cold climates, understanding how to effectively insulate your compost pile becomes essential for ensuring continuous decomposition despite low temperatures.
Balancing Greens and Browns in Cold Weather
Increasing Brown Materials
In cold climates, it’s crucial to increase the amount of brown materials in your compost pile. This helps maintain the right balance of carbon-rich browns and nitrogen-rich greens. Add dry leaves, shredded paper, or sawdust as browns to absorb excess moisture caused by snow or rain. By doing this, you create a more favorable environment for decomposition even during freezing temperatures.
During winter, the decomposition process slows down due to the lack of heat from green materials. Therefore, adding more brown materials ensures that the composting process continues despite the low temperatures outside.
Avoiding Excessive Green Materials
It’s important to avoid adding excessive amounts of fresh grass clippings or fruit/vegetable scraps during winter. These are high in nitrogen and can upset the balance when there aren’t enough brown materials present. The imbalance may lead to a smelly pile that doesn’t break down effectively.
Managing Moisture and Aeration in Winter Compost
Monitoring Moisture Levels
Maintaining the right moisture balance is crucial for successful winter composting. Excess moisture can lead to waterlogging, slowing down the decomposition process. Regularly check the moisture levels by squeezing a handful of compost. It should feel like a damp sponge, not dripping wet.
During snowy periods, cover your compost pile with a tarp to shield it from excessive moisture. This helps prevent saturation and maintains an optimal level of moisture within the pile. Consider using a rain gauge near your compost area to monitor precipitation levels accurately.
Promoting Airflow
Turning your winter compost pile is essential for promoting airflow and preventing anaerobic conditions that could hinder decomposition. Use a pitchfork or specialized aerator tool to gently turn over the materials every few weeks. This introduces oxygen into the mix, aiding in the breakdown of organic matter despite cold temperatures.
Creating air channels within the pile further enhances oxygen circulation during colder months when natural ventilation may be limited due to snow coverage or frosty conditions. Utilize a pitchfork or aerator tool to pierce through layers of material vertically and horizontally, allowing air pockets to form within the heap.
Using a Compost Tumbler During the Cold Months
Insulated Compost Tumbler
Investing in an insulated compost tumbler is crucial. This specialized equipment helps maintain the internal temperature, supporting the activity of microbes even in low temperatures. The insulation prevents excessive heat loss and keeps the environment inside conducive for decomposition.
An insulated compost tumbler designed for winter use creates a microclimate that encourages microbial activity, allowing the breakdown of organic materials despite chilly outdoor temperatures. By retaining heat effectively, these tumblers facilitate continuous decomposition throughout winter.
Increased Rotation Frequency
During colder months, rotating the compost tumbler more frequently becomes essential to generate additional heat within the compost. Increasing rotation frequency enhances aeration and distributes warmth evenly throughout the mixture. This process not only accelerates decomposition but also ensures that microbes remain active despite external cold.
Frequent rotation serves as a workaround to compensate for lower ambient temperatures during winter months. It helps maintain optimal conditions inside the tumbler by preventing stagnation and promoting consistent microbial activity.
Proper Ventilation Management
Proper ventilation is critical when using a compost tumbler in cold weather conditions. Periodically opening the tumbler’s vents allows excess moisture and gases to escape while facilitating airflow into the mixture. Adequate ventilation prevents anaerobic conditions from developing inside, ensuring efficient decomposition throughout winter.
Managing ventilation effectively is vital to prevent issues such as foul odors or excessive moisture buildup within an enclosed environment like a compost tumbler during colder seasons.
Adding Kitchen Waste to the Winter Compost Bin
Smaller Quantities
During the winter, it’s essential to continue adding kitchen waste to the compost bin, but in smaller quantities. This is because colder temperatures slow down the decomposition process. By adding smaller amounts of food scraps, you ensure that they can still break down effectively despite the cold weather.
It’s important to remember that even during winter, kitchen scraps contribute valuable nutrients to your compost pile. While you may not have as much yard waste available during this time, kitchen scraps are a reliable source of organic material for your compost.
Chopping Food Scraps
To speed up decomposition in cold climates, chop your food waste into smaller pieces before adding them to the compost bin. Cutting or breaking down larger items like vegetable peels and fruit rinds increases their surface area. This allows microorganisms and other decomposers to work more efficiently on breaking them down despite lower temperatures.
Chopping food scraps also helps create a more uniform mixture within the compost bin. This ensures that all parts of your pile receive an equal amount of organic matter, promoting balanced decomposition throughout.
Burying Under Browns
When adding kitchen waste during winter months, consider burying it under a layer of browns such as dried leaves or straw. Doing so serves multiple purposes: it deters pests from being attracted by exposed food scraps and controls any potential odors that may arise from them.
Burying kitchen waste under a layer of browns also helps maintain an optimal balance between greens (nitrogen-rich materials like food scraps) and browns (carbon-rich materials like dried leaves). This balance is crucial for successful composting regardless of the season.
Harvesting and Utilizing Winter Compost
Harvesting Finished Compost
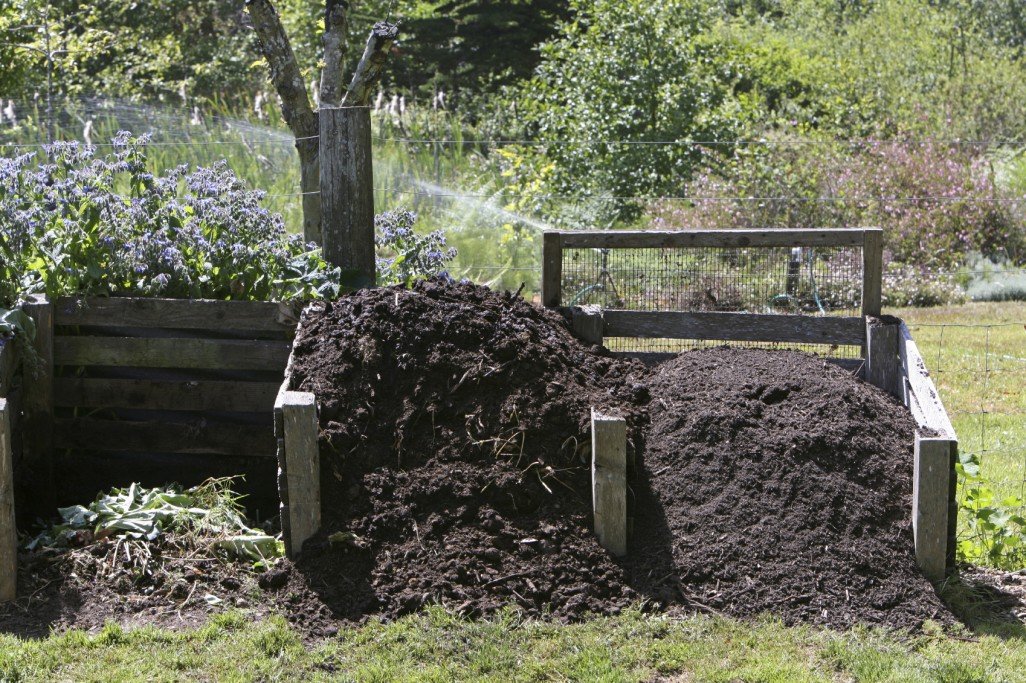
To gather compost ready for use, utilize a garden fork or shovel to carefully extract the finished compost from the bottom of the pile. This well-processed compost is often found at the core of the heap, away from exposure to freezing temperatures. By using this method, you can ensure that you are only gathering fully decomposed matter.
When harvesting compost, it’s essential to be gentle with your movements. Avoid disrupting any remaining organic material that may still be in the process of decomposition. By taking care during this step, you’ll preserve any living organisms within the compost that contribute to its richness and fertility.
Applying Winter Compost
Once harvested, apply winter compost as a top dressing around dormant plants in your garden. This technique adds vital nutrients back into your soil during periods when most plant growth is at a standstill due to cold weather conditions. The slow release of nutrients from this top dressing will help sustain soil health until spring arrives.
By adding winter compost as a protective layer over your garden beds or around trees and shrubs, you also provide insulation against extreme temperature fluctuations throughout the season. This helps maintain a stable environment for beneficial microorganisms and earthworms present in the soil.
Storing Excess Compost
Any excess compost not immediately used can be stored for future application by placing it in a covered container or bag. Ensure that these storage containers are tightly sealed to prevent moisture from entering and causing further decomposition before it’s needed again.
Storing processed compost properly also helps retain its nutrient content over time. When kept dry and protected from direct sunlight, finished compost from composting at home can remain viable for an extended period without losing its effectiveness as an organic fertilizer for your garden.
Springtime Transition for Your Winter Compost Pile
Adding More Greens
As the temperatures rise and winter transitions into spring, it’s time to start adjusting your winter compost pile. Begin by increasing the amount of green materials you add to the compost. This includes kitchen scraps like fruit and vegetable peels, coffee grounds, and grass clippings from your yard. These nitrogen-rich materials will help balance out the carbon-heavy content that accumulated during the winter months.
You can also consider adding fresh garden waste such as spent flowers or plant trimmings. Remember, a healthy compost pile should have a good mix of both brown (carbon-rich) and green (nitrogen-rich) materials to support effective decomposition.
Turning Frequency
Another crucial step in transitioning your winter compost pile is to increase the frequency of turning or aerating it. Turning the pile helps introduce oxygen, which is essential for the activity of aerobic microorganisms responsible for breaking down organic matter. As temperatures rise, these microorganisms become more active and require additional oxygen to thrive.
By turning your compost more frequently—ideally every week or two—you’ll create an environment conducive to faster decomposition. This increased aeration will also prevent any unpleasant odors from developing as things warm up.
Removing Insulation Materials
Gradually remove any insulation materials that were added to protect your winter compost pile from freezing temperatures. As spring progresses, expose the pile to direct sunlight whenever possible. Sunlight not only warms up the compost but also provides energy for microbial activity.
Straw or hay used as insulating layers can be redistributed elsewhere in your garden or saved for future use when creating new beds or mulching around plants later in the year.
Final Remarks
You’ve now got the lowdown on winter composting in cold climates. With the right preparations, bin selection, insulation, and attention to moisture and aeration, you can keep your compost thriving even in the chilliest of seasons. Remember, it’s all about balance – just like maintaining a healthy diet or nurturing a delicate plant. So, don’t let the frosty weather freeze your composting efforts. Instead, gear up and get ready to turn your kitchen scraps and yard waste into nutrient-rich soil for your spring garden. Happy composting!
Frequently Asked Questions
How can I prepare my compost pile for winter?
You can prepare your compost pile for winter by insulating it with straw or leaves, selecting the right compost bin that retains heat, and balancing the greens and browns in the pile. Managing moisture and aeration is crucial to keep the decomposition process active during cold weather.
What’s the best way to insulate a compost pile for winter?
To insulate a compost pile for winter, consider using materials like straw bales or dry leaves as an outer layer. This will help trap heat generated from decomposition within the pile and protect it from harsh cold temperatures.
Can I add kitchen waste to my winter compost bin?
Yes, you can continue adding kitchen waste to your winter compost bin. However, make sure to bury it under existing material in the center of the heap where it’s warmer. This will aid in its breakdown despite colder external temperatures.
Should I use a different type of compost bin during the cold months?
Using an insulated tumbler-style composter during cold months can be beneficial as it helps retain heat better than open bins. The constant turning action also aids in maintaining warmth and accelerating decomposition even when outdoor temperatures are low.
How do I transition my winter compost pile into springtime?
As temperatures warm up, gradually shift your focus towards aerating and turning your winter-composted materials more frequently. Introduce fresh greens such as grass clippings while reducing reliance on insulation materials. This transition allows for faster microbial activity essential for breaking down organic matter efficiently.
