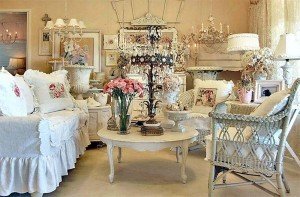
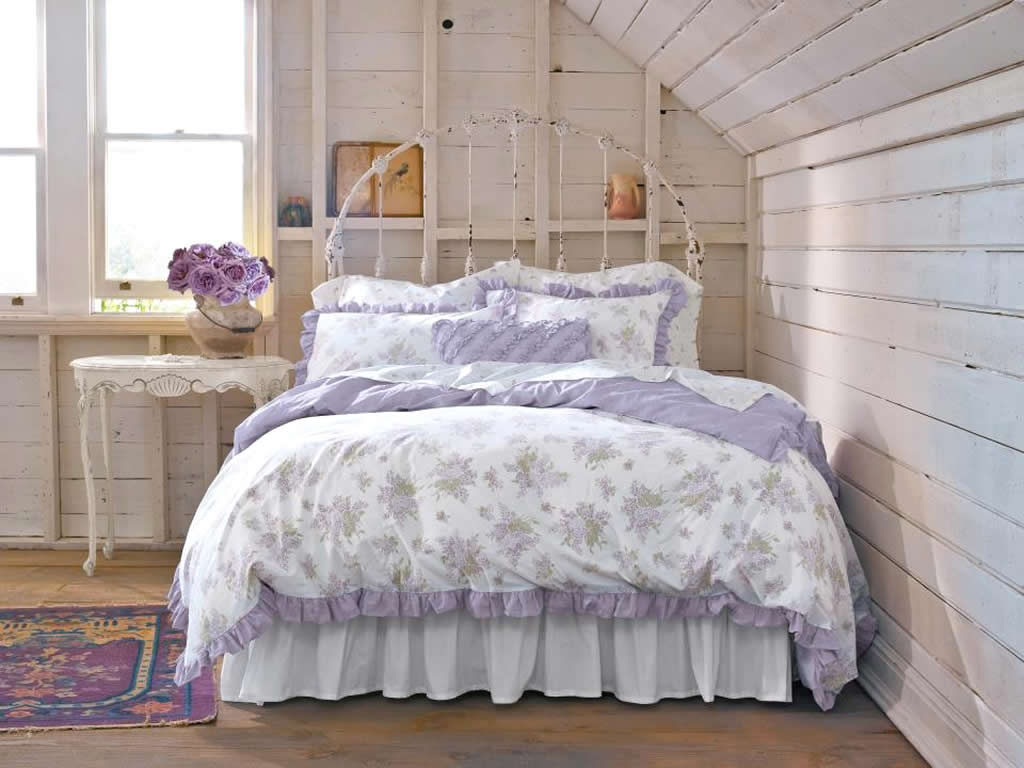
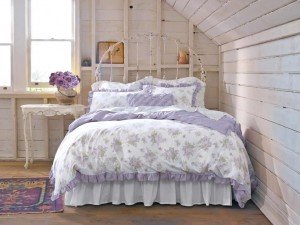
Here are 10 simple steps for creating a gorgeous shabby chic project or conversion. You can use these guidelines either to create/alter a specific furnishing in your house, or to redecorate and revamp your interior design.
So here it goes:
1) First of all, there must be ivory. Any shade of ivory (even off white or ecru) is essential to create a soft base for the rest of the colours.
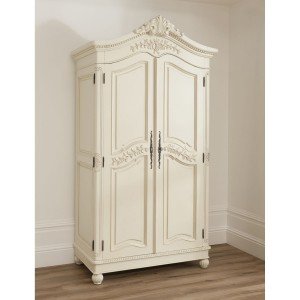
2) This ivory base must then be distressed. This means it must look faded and uneven (by sanding, rubbing, etc) so to echo a vintage romantic style.
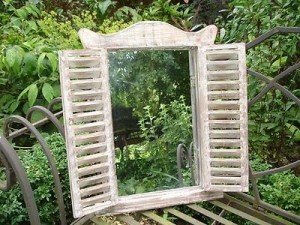
3) You then need to choose a dominant colour(s) that you want to be a recurrent theme in the project. Usually these are soft pastels, with dusty rose and aqua blue being particularly popular. You might then choose a more complete palette, but this is not essential. Shabby chic is about using what you have, and there are no clear guidelines as to how to achieve it (you can visit my previous post on ‘what is shabby chic’ to have a well-rounded knowledge of what this style entails).
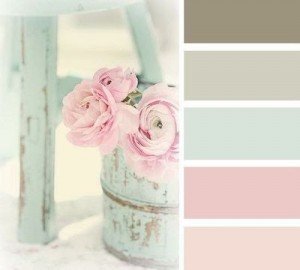
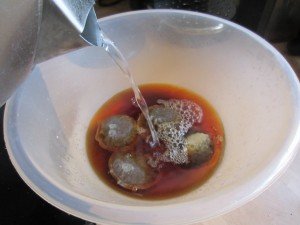
4) It needs to be true faded style, so no bold hues of pink (like shocking pink). Instead, use bleached or faded shades. You can do that with fabric both by bleaching and through tea-dying.
5) You then need floral or chintz patterns. It can be big and beautiful roses and rhododendrons, or a cute little chintzy pattern. This is up to your taste, and what materials you have available. This must have at least a hint of FOILAGE, to spruce up the colours with shades of green (or other contrasting colour).
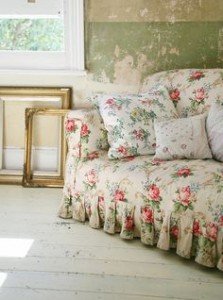
6) Couple the floral with a complementing pattern, such as gingham, small polka, or even plain. The important thing is that they are of a similar level of fading, and complementing colours – or at least in a similar palette.
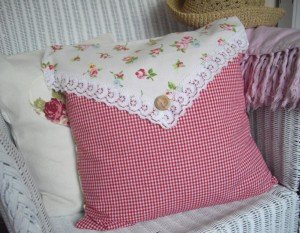
7) LACE is probably the most important thing you need here. Any kind of lace will look smashing with your project. Try dying it in tea, or keep it pure white. Both options are good, depending on your kind of project. For paper crafts, use the edges off paper doilies, they are perfect. I think scalloped lace looks very apt for shabby chic, but eyelet is nice too. If you want to save yourself some time, you’re better off getting a hold of lace that is already gathered at the top (frilly). You could also crochet your own lace, which works out cheaper (most of the times).
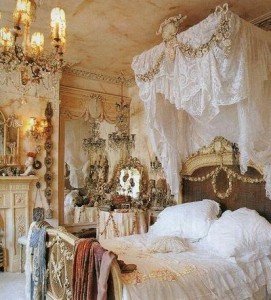
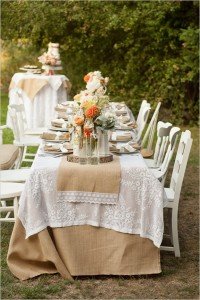
8) In the background, try and fit earth tones too (with a hint of gold). This is very important to give it a country edge, or you might risk the shabby chic to be too saccharine like, thus slightly claustrophobic. The best earth tone effect is probably offered by jute, burlap and twine. These natural fibres are a great addition to any shabby chic project.
9) Textures and Layers are very important here to transform a basic girly shabby chic into a real masterpiece. Make things three dimensional, or give an impression that you do. Use different textures. For instance instead of using only satin ribbon, try mixing them with organza ribbons, scraps of tulle, and lots of pearls. User products from nature too, like twigs and little acorns. This will give the eye such an overwhelming amount of beautiful details, that it will be difficult to even begin to identify what looks the nicest.
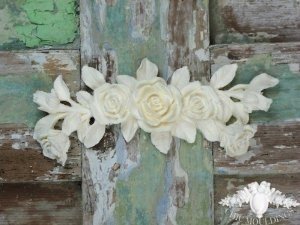
10) Lastly, you need appliques. This can be furniture appliques like cherubs and garlands. For other projects you might want to use old brooches, cabochons, wrought iron broken jewellery and skeleton keys, pearls of all sizes, shapes and colours, silver charms, fabric flowers, pasted coloured buttons, wooden buttons and metal buttons, paper flowers (roses usually), diamantes, and faux Swarovski. Also, a lit candle (maybe on an altered candelabrum) adds that extra romance when you have to present your finished beauty.
Finally, good luck with your Shabby Chic projects!
