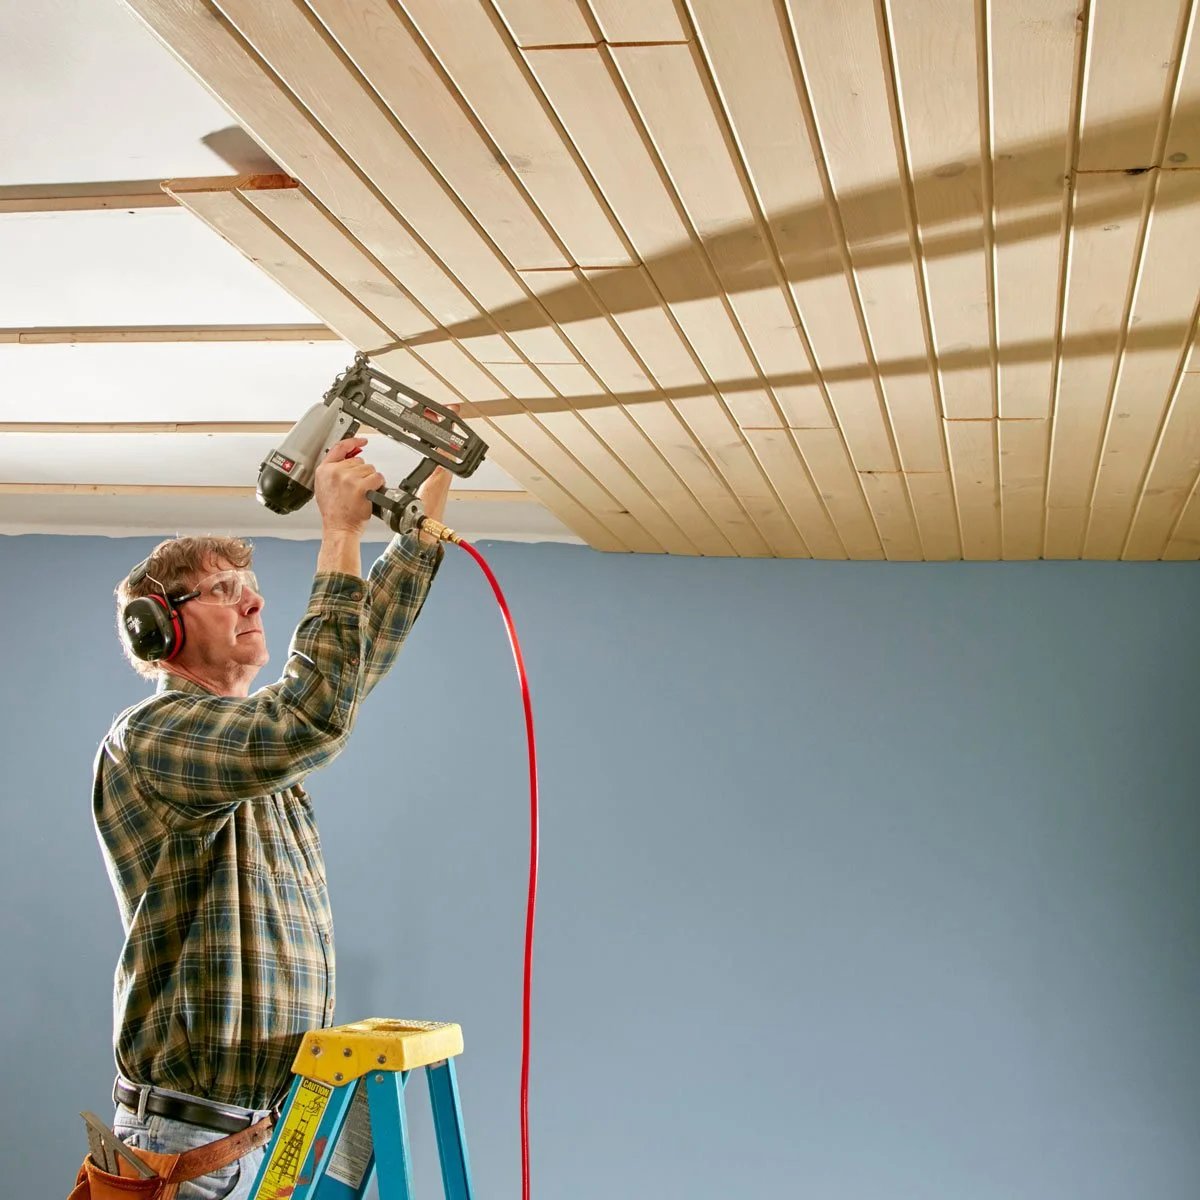
Imagine walking into a room with a stunning, wood-paneled ceiling that adds character and charm to the space. This eye-catching feature can transform a plain, drywalled room into a cozy, inviting retreat. Ceiling tongue and groove ceilings offer a beautiful, natural alternative to traditional drywall, and with the right knowledge and tools, you can install one yourself! In this comprehensive guide, we’ll take you through a step-by-step process to install a ceiling tongue and groove ceiling, from choosing the right boards to adding the final touches.
Short Summary
-
Choose the right tongue and groove boards, prepare your ceiling surface, mark joist lines & install battens
-
Install planks with blind nailing around obstacles. Prime/paint or stain/seal for finishing touches
-
Consider pros & cons of installation before calling a professional carpenter or contractor
Choosing the Right Tongue and Groove Boards
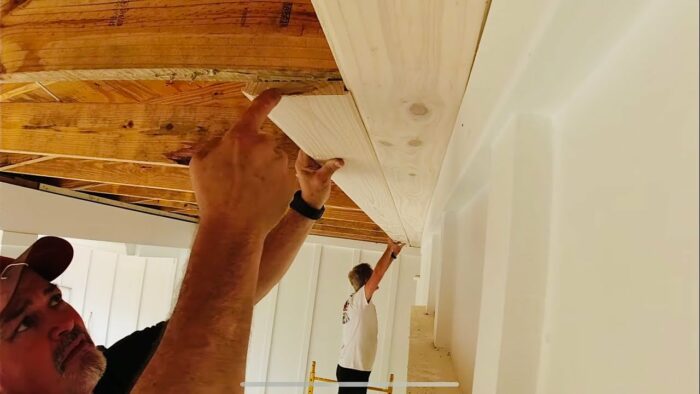
Selecting the appropriate tongue and groove boards is crucial for the success of your ceiling project. Various wood options are available, such as:
-
Pine: cost-effective and easy to work with
-
Spruce: affordable and lightweight
-
Cedar: natural resistance to moisture and decay
-
MDF (Medium Density Fiberboard): smooth and stable
Each wood type has its own advantages and disadvantages. Consider your specific needs and preferences when choosing the right boards for your project.
To determine the amount of material needed, divide the total square footage of your ceiling by.4 (5” divided by 12”). Keep in mind that tongue and groove boards typically cost between $2.50 to $4.00 per square foot.
Preparing Your Ceiling
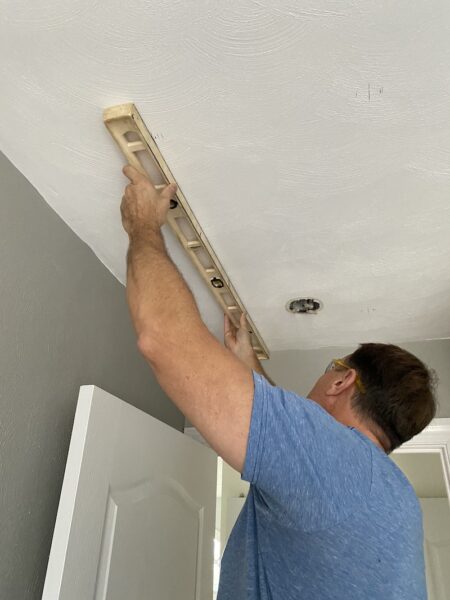
Before you install tongue and groove planks, it’s essential to prepare the ceiling surface. This involves marking joist lines and installing battens if necessary.
In the next two subsections, we’ll delve into the details of these crucial preparatory steps.
Marking Joist Lines
To ensure proper plank alignment during installation, it’s vital to mark the ceiling joists accurately. You can use a chalk line, laser, or string to mark the joist lines. Align the laser or string along the desired joist line and mark it with a pencil or chalk. Repeat this process for each joist line.
To verify the accuracy of the joist lines, measure the distance between the straight lines. If necessary, adjust the lines by shifting the laser or string and marking the new line.
Installing Battens
Battens provide a solid nailing surface for your tongue and groove planks. To install battens, follow these steps:
-
Measure the ceiling and mark the desired spacing and layout.
-
Attach the battens to the ceiling using screws or nails, ensuring proper alignment with the ceiling ribs, if applicable.
-
Use a level to guarantee that the battens are straight and evenly spaced.
Continue attaching battens until the entire ceiling is covered. If desired, paint or finish the battens to match the ceiling or desired aesthetic.
Installing the Tongue and Groove Planks
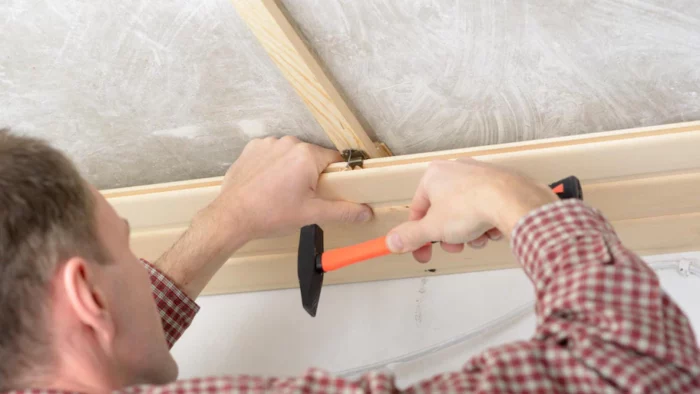
Now that your ceiling is prepared, it’s time to install the tongue and groove planks. In the following subsections, we’ll guide you through a step-by-step process, beginning with the first plank and working around obstacles such as lights and fans.
Start by measuring the width of the room and cutting the first plank to size. Make sure to make sure.
First Plank Installation
Start by nailing the first board close to the wall, ensuring it is properly aligned. It’s essential to nail through the tongues of the planks at a 45-degree angle to conceal the nails behind the grooved edges of the planks in the next row. This technique, known as blind-nailing, creates a cleaner, more finished appearance without visible nail holes.
As you progress, make sure each next board is securely fitted into the previous board.
Working Around Obstacles
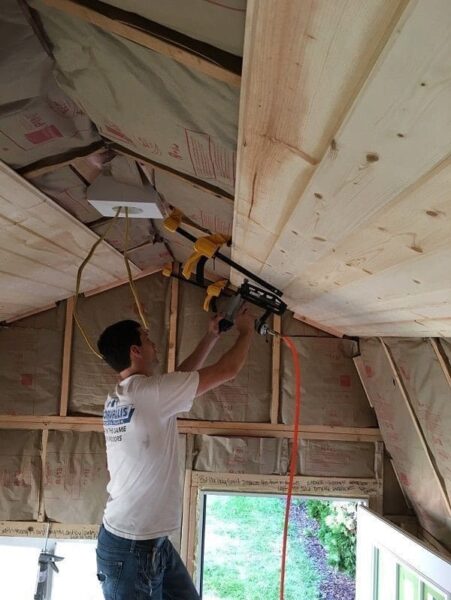
When installing tongue and groove planks, you may encounter obstacles such as lights, fans, or other ceiling fixtures. To work around these elements, carefully measure and cut the groove ceiling planks to fit around the objects. If necessary, add backing pieces for nailing.
For precise cuts, use tools such as a jigsaw. Patience and attention to detail are crucial during this step to ensure a smooth and successful installation.
Finishing Techniques for Tongue and Groove Ceilings
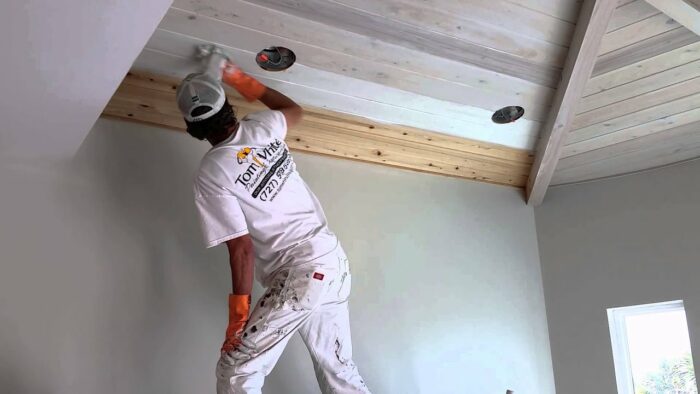
Once your tongue and groove planks are installed, it’s time to apply the finishing touches. You can choose between priming and painting or staining and sealing to achieve your desired ceiling appearance.
In the next two subsections, we’ll explore these techniques in detail.
Priming and Painting
Applying a primer, such as a shellac-based primer, is essential to seal wood knots before painting. It’s recommended to pre-prime and pre-paint the wood ceiling planks before installation, as this facilitates cutting in and around beams.
Choose a paint color that complements the room, such as White Dove, a warm white shade favored by the author. After the primer dries, apply your chosen paint color, ensuring even coverage for a professional finish.
Staining and Sealing
To enhance the natural beauty of the wood, consider staining and sealing your tongue and groove planks. Linseed oil and polyurethane are popular options for this process, each with its own advantages and disadvantages. Linseed oil is simpler to apply and more environmentally friendly, while polyurethane offers greater durability and protection.
Apply your chosen finish by wiping or brushing it directly onto the wood. Ensure the surface is thoroughly cleaned and sanded before applying the finish for best results.
Handling Warped and Stubborn Boards
During the installation process, you may encounter warped, twisted, or bowed boards. Handling these difficult boards can be frustrating, but there are solutions. One option is to cut the boards shorter, which can improve their appearance and save valuable material.
Patience and perseverance are key when working with warped and stubborn boards to ensure a successful outcome.
Final Touches: Installing Lights and Speakers
With your tongue and groove ceiling installed and finished, it’s time to complete the project by adding lights and speakers. Here’s how:
-
Plan the layout of these elements before starting the installation.
-
Use a drill to create holes through the planks for the electrical wiring.
-
Install the fixtures according to the manufacturer’s instructions.
Test the fit of the lights and speakers to ensure a polished, professional appearance.
Pros and Cons of Tongue and Groove Ceilings
Tongue and groove ceilings offer a unique and aesthetically pleasing solution to traditional drywall ceilings, but they also come with some drawbacks. Pros include a natural wood alternative to drywall, a simpler installation process compared to ceiling framing, and the potential to enhance your home’s value with tongue and groove board. One of the key features of these ceilings is the use of tongue and groove joints, which provide a seamless and attractive finish.
Cons include reduced soundproofing compared to drywall, a longer installation process due to multiple boards, and laborious overhead work. Consider these factors when deciding if a tongue and groove ceiling is the right choice for your home.
When to Call a Professional
While many aspects of tongue and groove ceiling installation can be completed as a DIY project, there are situations when it’s best to seek the help of a professional carpenter or contractor. If working overhead is challenging for you, or if the boards or ceilings are not perfect, consulting a professional may be the best course of action.
Professionals can ensure a superior and accurate installation, as well as offer guidance for large-scale projects or tricky aspects.
Summary
We’ve walked you through the entire process of installing a tongue and groove ceiling, from choosing the right boards to finishing techniques and final touches. Tongue and groove ceilings can add character and charm to any room, transforming your living space into a cozy retreat. With the right knowledge, tools, and perseverance, you can tackle this DIY project and create a stunning, wood-paneled ceiling that enhances your home’s value and aesthetic appeal. So, why not give it a try and elevate your living space to new heights?
Frequently Asked Questions
Can you use tongue and groove on ceiling?
Yes, it is possible to use tongue and groove on the ceiling. It needs to be securely attached, with the ideal situation being each board going into a stud.
Is tongue and groove outdated?
Tongue and groove panels have come back with high-quality real wood for lasting beauty and durability, although they have been replaced in many applications by plywood or composite wood boards.
These materials are often more cost-effective and easier to install than traditional tongue and groove panels, but they don’t have the same aesthetic appeal. Real wood tongue and groove panels offer a timeless look that can be used in a variety of applications, from flooring to walls.
What kind of tongue and groove for ceiling?
Hemlock is the most economical and popular choice for tongue and groove ceiling installations due to its lightweight and easy to work with properties. It is also able to take paint and stain well, allowing you to customize your ceiling to suit any décor.
How much does it cost to tongue and groove a ceiling?
On average, professionally installed tongue and groove pine ceiling planks cost between $4 – $8 per square foot.
DIY projects are usually much cheaper at around $3 – $4 per square foot.
How much should I charge to install tongue and groove ceiling?
Professional installation of tongue and groove ceiling planks typically costs between $4 and $8 per square foot, while DIY projects cost an average of $3 to $4 per square foot.
